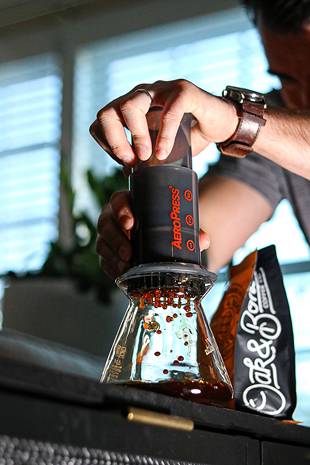
If you’ve been keeping up with most of our articles lately, you may have been upping your coffee game by using an AeroPress coffee maker.
And if that’s the case, you might be starting to wonder how to clean an AeroPress.
While we can appreciate the concept of seasoning time-defying cast iron kitchenware, letting coffee residue bake into your AeroPress parts is not a viable (or advisable) way to enhance your brew.
You’ve got several options for taking care of your AeroPress, and we’ve got a few tricks and tips to help you get it done quickly, thoroughly, and in a way that ensures it will keep making great coffee for a long time. Read on for our guide.
Why Clean an AeroPress?
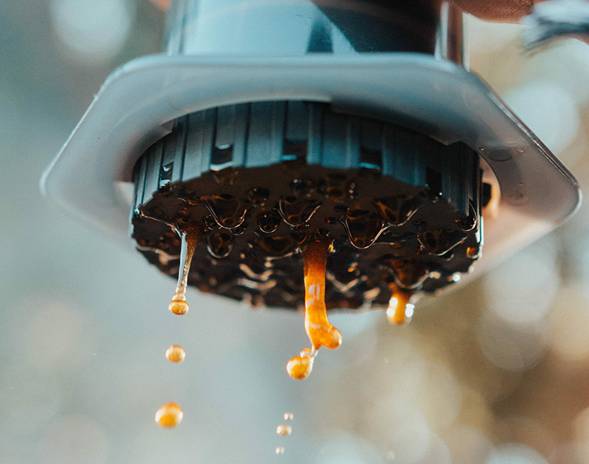
When you use your AeroPress for coffee, you may notice that the plunger gets a sticky substance.
This substance is a result of coffee oils and other byproducts that are left over after the brewing process.
These substances are completely harmless, but they do make the plunger and gasket sticky.
If left unaddressed, over time they can corrupt the materials and cause the silicone seal to become tacky and tough to use.
Regular cleaning will help maintain the quality of your AeroPress and ensure that it lasts for years to come. It’s also key to hygiene and the overall quality of your coffee.
If you’re using an AeroPress to brew coffee regularly, you’re going to want to invest a bit of time to clean it thoroughly.
Removing old coffee particles and scrubbing away coffee residue will not only help make sure you brew the best coffee every time (and avoid you accidentally getting some very old, used coffee sprinkled into each new cup), it’s key to keeping your AeroPress in top shelf shape for the long run.
But Is It Easy to Clean?
Fair question, and in fact the first question that often comes up after someone’s purchased an AeroPress is, “Is it easy to clean?”
Well, good news! Cleaning your AeroPress or Aeropress Go is remarkably easy, even compared to the French press and the Italian mocha pot.
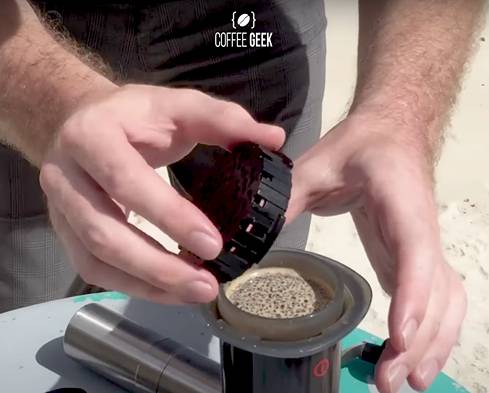
To start, all you need to do is depress the plunger, unscrew the cap, and slide the compact coffee puck into a bin. Some people choose to use water and soap, but in fact, the abrasive cleaning liquid is not recommended.
There are, however, several simple and straightforward methods—from a quick rinse to a real deep cleaning—that we can support, and we’re going to outline them for you right here.
How to clean an AeroPress Coffee Maker
Primarily, you’ll keep your AeroPress clean by giving it a nice thorough rinse after each use. That will take care of most of the stuck-on-ground coffee on the AeroPress plunger and inside the shaft.
When you can, let the AeroPress soak now and then for a passive cleaning boost.
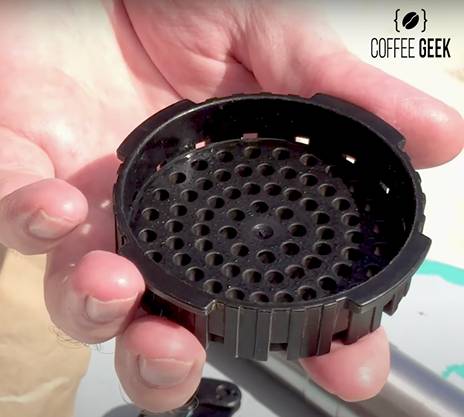
Over time though, you’re likely to find some old coffee clinging onto parts like the AeroPress seal, filter cap, and some of the small metal parts.
When that happens, use these tips to clean the AeroPress thoroughly.
We’ve outlined a couple of quick wash methods and detailed a full deep cleaning technique to keep your AeroPress brewing top-notch coffee, every time. Let’s start cleaning.
Is my AeroPress Dishwasher Safe?
Let’s cut to the important question on everyone’s minds. Is the AeroPress dishwasher safe?
Technically, yes. But don’t rush off just yet! The body of an AeroPress is dishwasher safe, but the small parts should be cleaned manually.
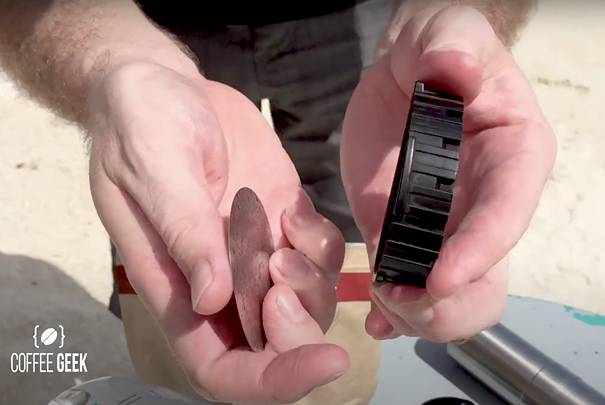
If you do choose to go this route, make sure you keep your AeroPress on the upper rack to minimize any heat damage.
Also important is to set your dishwasher to do an extended rinse cycle and use restraint with dish soap so it doesn’t affect your coffee’s taste in the future.
For best results, we actually advise against using the dishwasher or any soap at all. Your brews deserve better.
The Basic Hot Water Scrub
No matter how you accomplish the task, you should remove the plunger, filter, and puck of condensed grounds from the coffee maker.
Start by using warm water and if necessary, baking soda in a solution diluted at about one-third part baking soda to one part water.
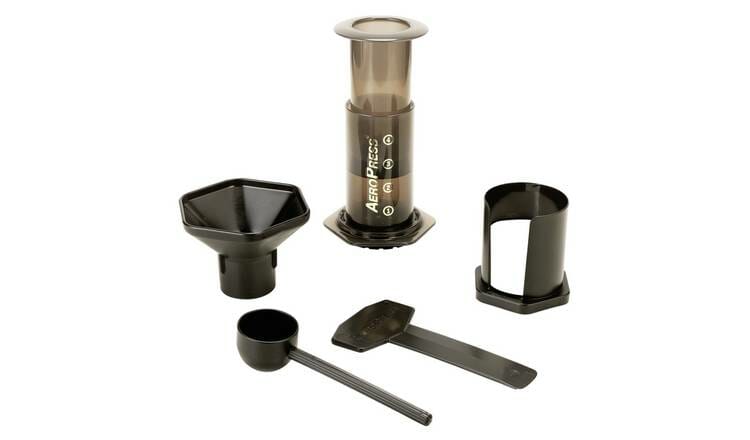
Using a cloth or paper towel, scrub the AeroPress plunger as well as the inside of the body. rinse it with clean water, and dry the AeroPress afterward.
Using soapy water and vinegar can also help you clean the parts, but keep the soap to a minimum and treat it as a last resort to minimize the impact on taste.
Before cleaning the plunger, rinse the AeroPress thoroughly under running water. Be sure to remove any paper filters, which will eventually warp.
Always rinse the chambers with hot water, as soap can leave an unpleasant taste in your coffee. Alternatively, you can use a solution of vinegar and warm water.
The Vinegar Soak Method
If you have a lot of residue and coffee stains on your AeroPress, doing a vinegar soak is your best option. Run the whole AeroPress under water first, and be sure to keep the filter cap attached.
Why Vinegar?
Because science! Vinegar has an acidic pH of 2.4, which allows it to very easily break down coffee oils and remove them from the AeroPress.
Since the pH level of coffee is around 5.0, a vinegar solution will also neutralize any off-flavors that may have developed in your AeroPress.
Alternatively, soap has an overpowering effect on the residue, so much so that it actually tends to replace it and become a persistent off-flavor itself. So it’s best to avoid it altogether.
Pour some vinegar into a large bowl of warm water and place the AeroPress inside. The more it needs the soak, the more vinegar you can add, and the longer you can leave it in for.
For more effective cleaning, you can soak the parts overnight in the mixture.
Pro Tip
If the AeroPress doesn’t want to stay submerged, place a small plate upside down on top of the AeroPress, and weigh it down by letting a heavy cooking utensil rest across the rim of the bowl, so it holds the plate beneath it.
Deep Cleaning with Purpose-Made Cleaners
If the vinegar-based solution doesn’t work, you can try using a powdered brewery wash or Bar Keeper’s Friend for a real deep clean.
This product is specially formulated to help remove tea and baked-on stains. Be sure to rinse thoroughly with hot water after using it.
If we haven’t made it painfully clear already, we’ll say it again: rinsing the AeroPress is an essential part of the cleaning process and will ensure you enjoy the best of the coffee maker.
Using Bar Keeper’s Friend or, believe it or not, store-brand denture cleaner, along with hot water (but not dish soap!) are great ways to achieve a real deep cleaning.
Best Practices for Ongoing Use
It is best to clean your AeroPress after each use by first removing the filter cap, as coffee grounds and oils inevitably get trapped inside. Left alone, the result can be cloudy, off-tasting brews.
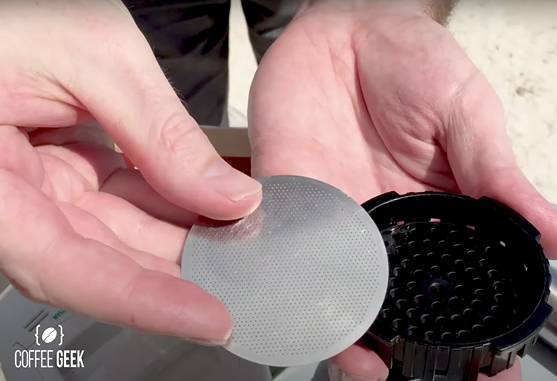
If you encounter a good deal of buildup that makes it difficult to plunge your AeroPress, try using a soft-bristled scrub brush and vinegar solution. Afterward, be sure to let it dry completely so that the oil won’t adhere to it.
Giving your AeroPress a simple but thorough cleaning each time before you use it is the best way to keep it in optimal shape, and avoid the need for deep cleans with concentrated solutions or (gasp!) soap.
This is because a buildup of oils or residue can cause an unpleasant taste. It typically forms around the chamber’s rubber seal, filter basket, and brewing end.
You can clean these parts as part of your brewing routing by using lukewarm water and a regular sponge. Be careful not to scrub too hard or use any abrasive cleaners, as these could damage the AeroPress.
Recap: Key Tips
Before you brew, you should first rinse your AeroPress with warm water. If you want to be thorough and reduce the need to manually clean, you can soak your AeroPress overnight between uses.
Rinsing with denture cleaner is a good alternative for cleaning the AeroPress.
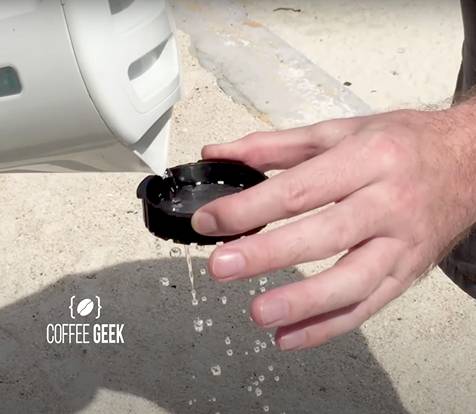
After using your AeroPress, wipe off the plunger seal with a kitchen towel. If you don’t want to use a sponge, you can soak the plunger in vinegar for 20 minutes.
No matter what approach you take to cleaning, rinse your AeroPress well afterward.
As we mentioned, for best results and consistent flavor, you should avoid washing the AeroPress in the dishwasher, or even with normal dish soap.
Regular cleaning is a great way to prevent coffee grounds from collecting in the brew chamber, but don’t take the easy way out!
Cleaning AeroPress Filters
One final note: when you buy an AeroPress coffee maker, you may notice that the metal filters have a lot of dirt and debris.
Fortunately, it’s simple to clean your AeroPress metal filter by making a series of passes with it over a fine stone.
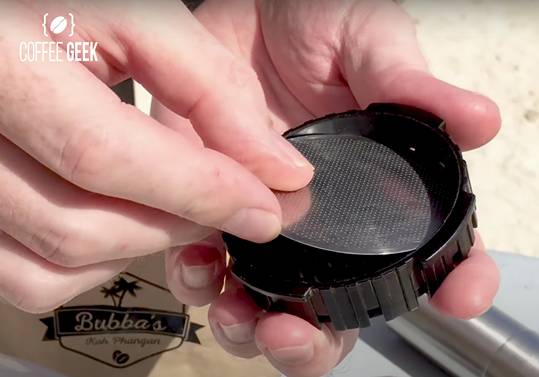
This will prevent your AeroPress from developing a rusty coating on the filter, which can damage your device and, obviously, degrade your coffee.
The next time you use your AeroPress, make sure to follow these steps for optimal performance.
Purchasing a new AeroPress metal filter is an unavoidable occasion for every AeroPress owner. The type of filter you use may make a difference in how much residue is created.
Depending on your needs, there are a variety of options to choose from, and we’ll go into those in an upcoming article.
Helpful Hint
Those that have a higher rating generally do not have as many defects as a cheaper filter. But if you have more demanding standards, you may want to go for a more expensive filter.
While paper filters reduce cleaning time, a metal filter can require a more complicated process. You can wash the paper filter by unscrewing the filter cap and dumping expired grounds into the trash.
But better yet, reusable metal filters can be cleaned in a dishwasher. This method will help you preserve the metal filter for years to come. You’ll also be supporting the environment by buying an AeroPress metal filter and avoiding repeated waste, which we need now more than ever.
Follow Coffee Geek For The Best Coffee Brewing Tips
Stay up to speed with us! We’re always discussing coffee and new ways to brew and enjoy it. We cover topics all over the spectrum and love to discover new insights and ways to enjoy a fresh cup of coffee.
Whenever we do, we write about it right here. Stay tuned and get in touch with us to share your tips and experiences!

