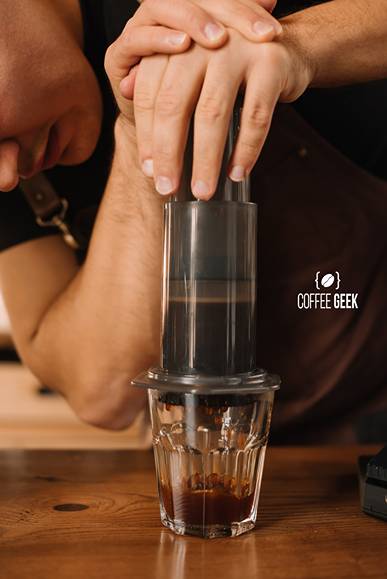
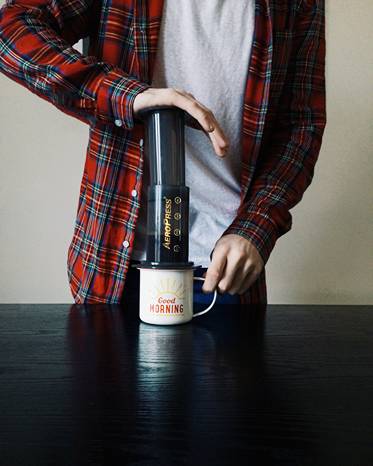
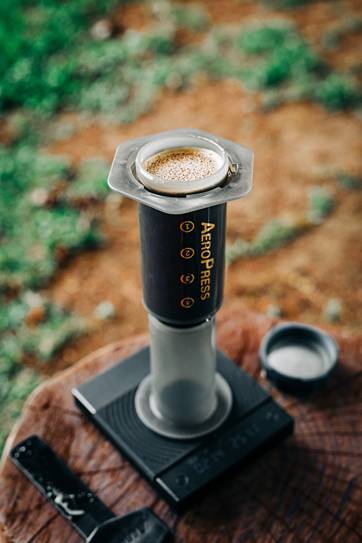
If you’ve just started brewing AeroPress coffee, one of the first things you may have noticed is that the brewing process seems to require a significant amount of physical strength!
In fact it’s well documented and acknowledged that the plunger in the AeroPress can be notably difficult to press down.
Even if you’re doing everything perfectly and have been brewing coffee with an AeroPress for years, it can still take up to a full minute to completely depress the plunger to force all of the hot water through the device, until it ends up as a very well-earned cup of coffee.
OK, but WHY is my AeroPress so hard to press down?
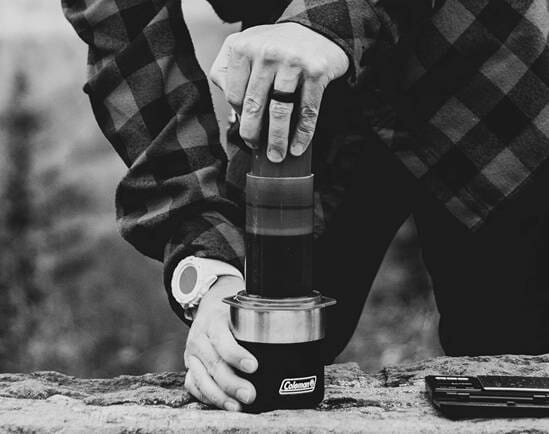
The short of it is there are a handful of factors, any one of which could be the culprit behind your struggles. In all likelihood, it’s some combination of…
The grind size of your ground coffee
The type of filter you’re using
Whether or not you’ve rinsed your AeroPress before using it
Forgetting to stir your coffee grounds in hot water before plunging
How hard you’re trying
Let’s dive in and outline how these variables affect the resistance in the coffee maker and may be causing you some extra difficulty.
Understanding the Pressure Problem
The Cost/Benefit of AeroPress Coffee
The AeroPress coffee maker is an immersion brewer that leverages both water and air pressure in the brewing process to create a richer brew than is possible with many other coffee makers.
It’s also designed to be compact, portable, affordable, resilient and extremely low-maintenance.
Compared to an espresso machine, it’s vastly superior in every one of those categories, and yet AeroPress espresso is a very close facsimile to the real thing.
In order to provide the best of all worlds, it’s manually operated, requiring the user to physically force water through pre-ground coffee with a decent amount of strength.
It’s far from automatic, but the resulting AeroPress coffee taste has an incredible depth and range to it that makes it well worth the effort.
AeroPress coffee has a remarkable complexity to it that users can also tweak to their liking.
If your coffee tastes sour, you can try grinding coffee beans a bit finer, or leave them the same and increase the water temperature or brew time.
So on the one hand, that delicious cup of AeroPress coffee is inevitably going to be more difficult to brew than coffee brewed in other types of coffee makers.
But having said that, there’s a lot we can do to ease the process, much of which is easy to overlook.
Issue 1: Your Coffee Beans Need a Coarser Grind
If you’re using espresso grind ground coffee, you’ve probably just found your biggest issue.
While you want to use a finer grind with your AeroPress than you would with a French press, for example, ground coffee intended to brew espresso is too fine.
Using ground coffee at this fine grind size will basically form a cement block between the plunger and the filter cap, making the pressing stage of your brew process nearly impossible.
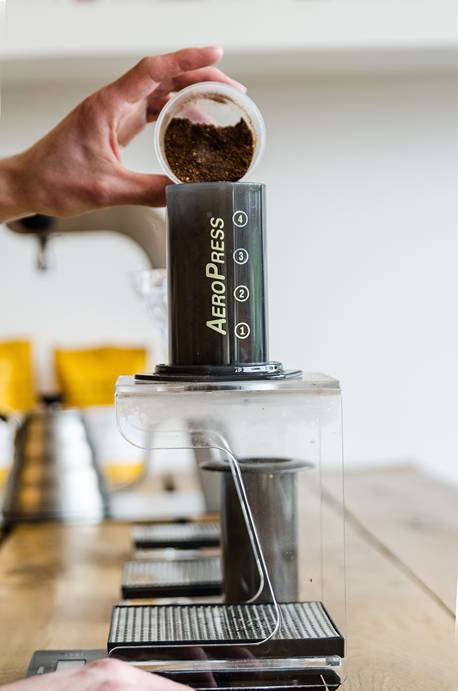
If you’re buying pre-ground coffee, make sure it’s a medium-fine grind size at the smallest. It is technically still possible to make AeroPress coffee using finer grinds, but be aware that espresso grind takes longer without a doubt.
Bonus Tip: Use a Quality Coffee Grinder
Not only does grind size matter, but consistency is a big factor as well.
AeroPress themselves point out in their ‘Brewing with AeroPress Coffee Makers’ FAQ section that using a cheap grinder that produces inconsistent coffee grounds will almost definitely make the process harder.
That’s because if some of your coffee grounds are coarser than others, the finer particles tend to clump up around the larger ones, producing a similar clogging result as using a thoroughly fine grind size.
We recommend investing in a good burr coffee grinder, which will grind coffee to the exact size you specify, and do it consistently.
Issue 2: It’s Your Filter(s)
If you’re using a filter other than the stock paper filters that come with your AeroPress, that could also be a contributing factor.
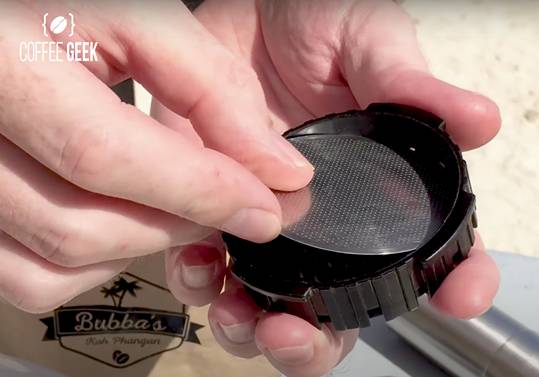
Yes, there are good cases for using a reusable metal filter and your filter cap can definitely support 3rd party alternatives with their own potential benefits, but the filters included with the device were designed specifically to make it the most usable.
Some people don’t like how a paper filter blocks coffee oils from getting through the coffee maker into the final brew, while others just prefer the sustainability of a reusable metal filter.
The type of filter you use can definitely affect that AeroPress coffee taste, so experimenting for that purpose could be beneficial. Just be aware of the potential impact on flow.
If you are using the stock filters, make sure you haven’t accidentally used 2, as that will definitely inhibit the flow of coffee through the filter cap.
Some coffee lovers also advocate for wetting your paper filter before using it.
Issue 3: You Forgot to Lubricate
This is one of the easiest steps to miss by mistake. Are you aware that you’re actually supposed to rinse the AeroPress and leave it slightly wet before using it?
The same goes for the rubber seal inside the chamber.
If you “go in dry”, you’re asking for an overload of pressure and friction that together are inevitably going to work to make the coffee maker hard to push down.
Putting a bit of water between the two plastic pieces creates just enough of a gap for air to travel alongside the plunger as it’s pushed down.
The water will also prevent too much friction from preventing movement as the tight-fitting parts are forced together.
This can be one of the biggest factors along with being careful with the grind size of your coffee beans, and it’s very easy to overlook.
Issue 4: You Forgot to Stir
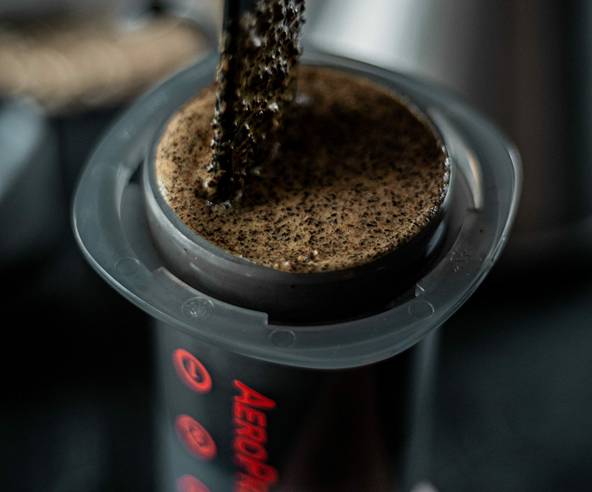
After you’ve poured your water over your coffee inside the AeroPress brewing chamber, it’s critical to stir it for at least 10-15 seconds.
Not only does this ensure all the coffee grounds get fully immersed in the hot water for the best-tasting coffee, it also makes sure it doesn’t all settle at the bottom and form that dreaded impenetrable wall.
Essentially, even if you’ve kept your coffee grounds to a slightly coarser grind size, skipping this step can cause you to suffer from very similar side effects to those that come with using espresso machine-level ground coffee.
Stirring will ensure you’re brewing fully saturated coffee while simultaneously benefiting flow inside the AeroPress chamber.
Issue 5: You Push AeroPress Too Hard
If you’ve already tried everything we’ve outlined above, don’t drop off now.
This may sound negligible, but how hard you press can be the difference between an easy brew and a painful challenge.
The AeroPress is all about patience.
It requires some degree of effort no matter what, but you absolutely cannot force the process to speed it up. In fact, doing that will have the exact opposite result.
Because the AeroPress uses pressure and an air-tight seal to forcefully immerse and brew those precious coffee bean grinds, it inevitably needs to be forced down.
Even if you keep your coffee coarser, it’s not going to totally alleviate this.
If you over-exert and try to force the plunger down, because only so much water can squeeze through the coffee grounds and filter cap at a time, it will effectively end up pushing back against you.
Your best bet (and the official guidance from AeroPress) is to press firmly but slowly, even pausing for a moment after a few seconds to allow some of that built-up pressure to alleviate before continuing on with your brew.
The patience and consistent pressing can be a bit frustrating for some, but over time it becomes muscle memory, and you won’t even consciously notice you’re doing anything.
Meanwhile, the coffee you’ll get from the process, in our experience, is well worth it.
One Final Tip
If you haven’t heard of the inverted method for the AeroPress, we definitely recommend checking out our article dedicated to it and all the benefits.
It’s an officially recognized brewing method for the device and one that’s made some incredible, award-winning coffee.
As an added bonus, some users report a bit of an easier time using the inverted method for brewing coffee, even if their coffee grounds are a bit finer than recommended.
Wrap-Up
Between watching your grind size, checking your filters, wetting your AeroPress, stirring your coffee grounds, easing up on your press and trying the inverted method, we hope this article has given you a few solutions to this initially tricky problem.
Did these tips work for you? Let us know!


