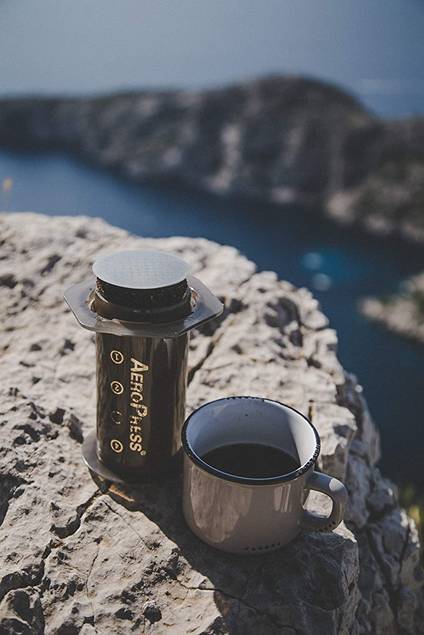
To use an AeroPress coffee maker is to love one. Brewing delicious coffee in this innovative coffee maker is a treat that’s easy to become obsessed with for coffee lovers.
This little tube—and its even smaller sibling, the AeroPress Go travel coffee maker—can make espresso-style coffee, cold brew coffee and nearly any style in between.
It produces a rich, complex brew that’s made AeroPress coffee a thing unto itself, and sparked fierce loyalty amongst coffee lovers around the world.
So naturally, you’ll want to take yours with you wherever you go and you wonder how do you pack your AeroPress when you travel?
Because once you’ve had AeroPress coffee, drip coffee or (gasp) instant coffee, just won’t cut it.
The good news is, they don’t need to!
Because with all of its features and advantages over other coffee makers, both models of AeroPress are delightfully portable.
They’re also incredibly rugged.
How Do You Pack Your AeroPress When You Travel, Ideally?
The short answer is there are very few wrong ways to pack your AeroPress, although some ways can have some advantages over others.
The most common options we can speak to from personal experience include:
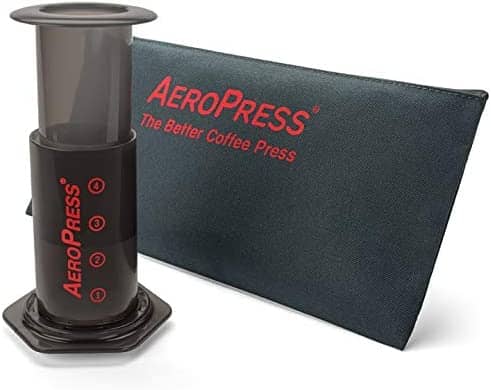
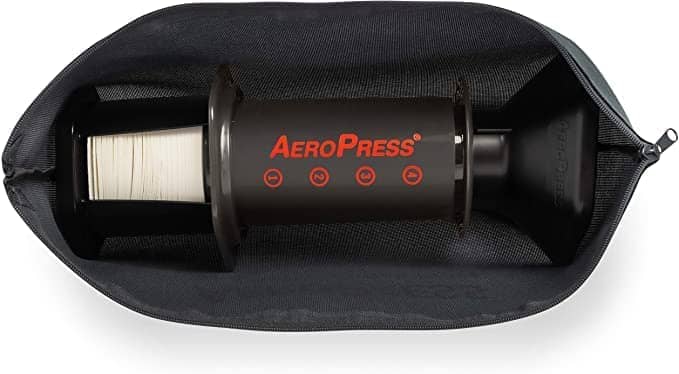
Using the official AeroPress Original Tote Bag
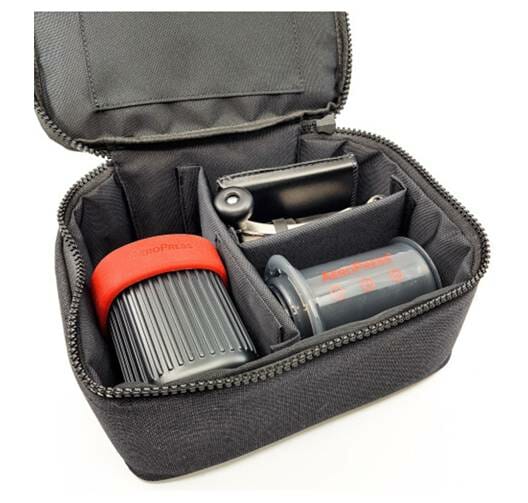
Using a larger toiletries/cosmetics bag
Using a small general-purpose travel zipper pouch
By flipping the plunger over and inserting it in reverse
Keeping it fully assembled
Slipping it straight into a backpack
What Not to Do When Packing Your AeroPress for Traveling
Out of all the options above, only one presents a potential problem for your coffee maker while on the go.
Can you guess which?
It’s option 5—keeping it fully assembled.
As we discussed in depth in our recent article all about wear and tear with AeroPress coffee makers, and in particular with the plunger seals, when it comes to storage and transport, that’s more or less the main thing you want to avoid doing.
Why Shouldn’t You Leave Your AeroPress Assembled?
When the AeroPress is dry, as it tends to become when not in use, the seal on the plunger is prone to becoming warped.
When you leave the plunger fully inserted as it is when used, the seal dries out inside the air-tight tube.
Pulling it out again in this state can cause the seal to warp and even degrade over time.
When that happens, the coffee maker is no longer able to maintain an air-tight seal while you’re brewing coffee, and the result will first and foremost be poorly brewed coffee that doesn’t taste good and furthermore wastes those precious coffee beans.
In the long run, you’ll wind up having to replace your seal much more frequently than intended, which can really drive up the cost of owning this otherwise very budget-friendly coffee maker.
Beyond that, if the deal degrades and crumbles, you could wind up with tiny silicone particles in your coffee before the device has started working poorly enough for you to notice the problem.
So whether it’s in transit or just sitting on your kitchen counter after you’ve made a nice cup of cold brew-style coffee, for the sake of both your coffee and your coffee maker, don’t leave the plunger sitting inside the chamber.
What’s the Most Space-Efficient Packing Method?
Not to worry!
You don’t need to resort to collecting all the individual parts and pieces of your AeroPress coffee maker and devoting half your backpack to the device in fully disassembled form.
You can actually consolidate all the components together so you can have AeroPress coffee on the go while fully taking advantage of its compact form factor.
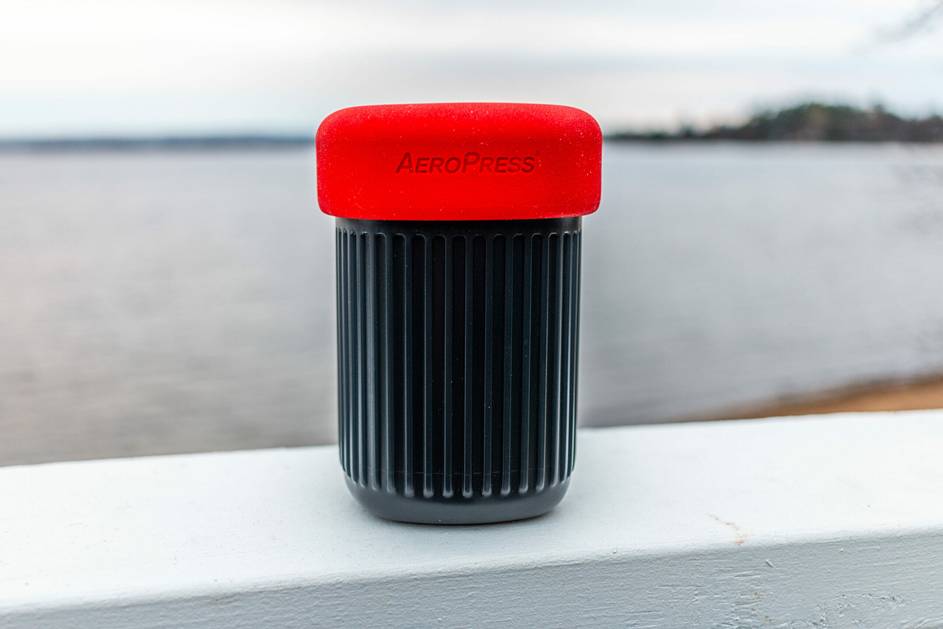
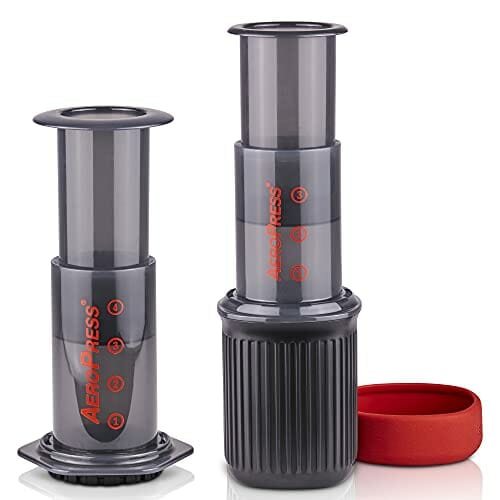
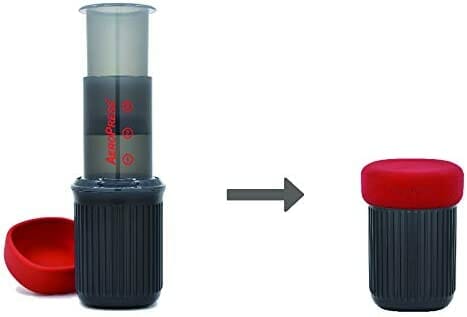
Owning an Aeropress Go makes this even easier while traveling as you can see pictured above.
Flip The Plunger For A Space-Saving Stack
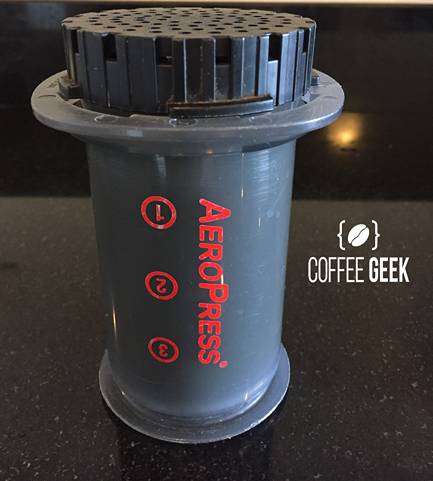
The AeroPress coffee maker can, thankfully, safely be fully consolidated into itself with just a simple tweak: flipping the plunger over and inserting it in reverse.
We don’t know what it is about inverting everything AeroPress to make it all better, but just how the inverted method seems to make even more delicious coffee from the same coffee grounds used with the original method, inverting the plunger solves the stacking problem.
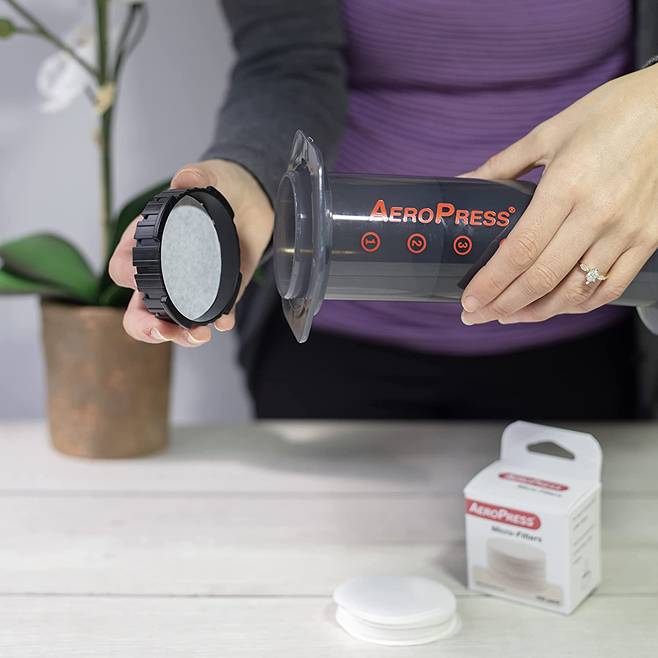
You can then stick your filter cap right onto it, and you should even be able to fit a few filters in the cap.
With a tiny bit of clever DIY, some users report fashioning a stopper for the plunger when it’s stored in this position so that their coffee grounds can also be stored right inside.
And to be clear, this will work for the AeroPress Original coffee maker—no AeroPress Go required.
This doesn’t consider the filter holder, though if you’re trying to stay as compact as possible it’s likely you’re leaving that behind.
What About Storage Bags and Accessories?
If saving maximum space isn’t your top priority, you have a lot more freedom in terms of how you solve your packing problem.
The Official Option
AeroPress makes an official tote bag in the form of a nice branded zipper pouch.
It’s reasonably priced if sticking with first-party accessories is important to you.
The Better (Unofficial) Option
If not, we’ve found that a quality zippered cosmetics/toiletries bag works excellently for transporting the AeroPress.
Many of them have one or two flat, secondary zippered compartments on the outside that are ideal for storing extra filters and your stirrer.
Depending on the size you purchase you’ll have enough room to leave the AeroPress coffee maker disassembled if you prefer, and likely also keep a small jar of ground coffee inside as well, assuming you don’t plan to bring your coffee grinder.
The Life Hack Option
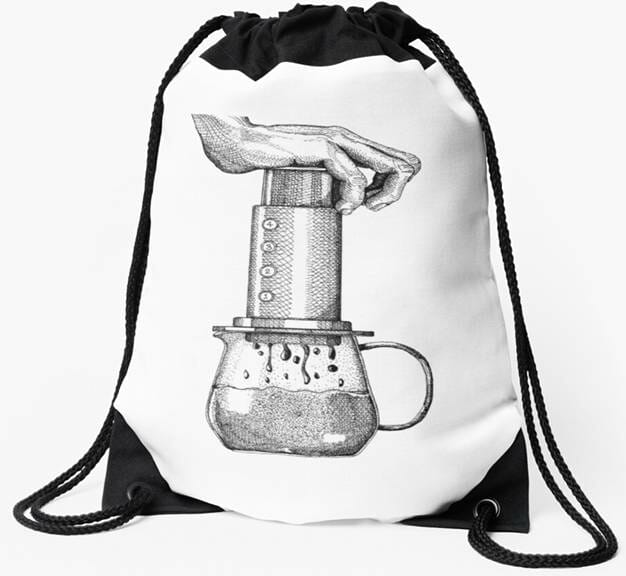
On more than one occasion we’ve gathered up all our AeroPress components and tucked them neatly away inside a simple drawstring pouch.
The same kind that often comes with larger electronic devices, higher-end cosmetics, or lots of different products meant for travel.
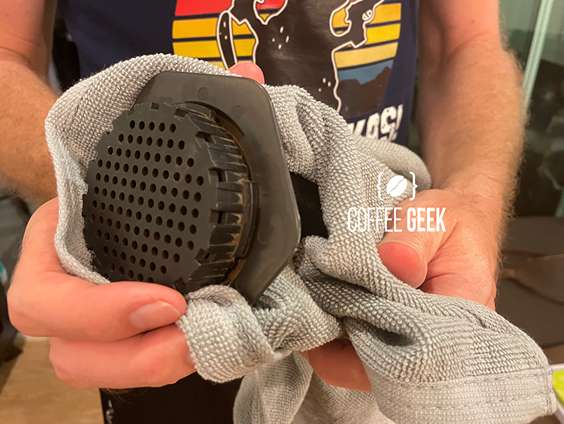
If we’re going “down and dirty” like that though, we tend to first wrap our AeroPress in a light towel or washcloth to give it just a bit of extra padding.
Just because we love it so much.
But the truth is it would be perfectly fine tossed all by itself loose into a duffel bag or backpack, as the BPA-free plastic it’s made from is thick and designed to be extremely resilient.
We definitely can’t say the same about most other coffee makers.
Summary: Optimal Travel Storage for AeroPress Coffee Makers
If great coffee is a necessity for you regardless of where you’re going or how you’re getting there, nothing beats the robust portability of AeroPress coffee makers.
Few other coffee makers offer even a fraction of AeroPress’s level of control over your coffee or the benefits of AeroPress coffee itself.
With an AeroPress tucked neatly away inside your bag, all you need is some fine drip grind coffee and water and you can brew a cup of coffee that blows away the complementary instant coffee in your hotel room, not to mention the french press coffee or drip coffee you might pay for downstairs.
So the next time you think you might fancy a cup of cold brew coffee on a mountain, just flip that plunger upside down, pop it into the chamber with a few AeroPress filters, and you’ll fully equipped to enjoy some delicious coffee in nearly any situation.


