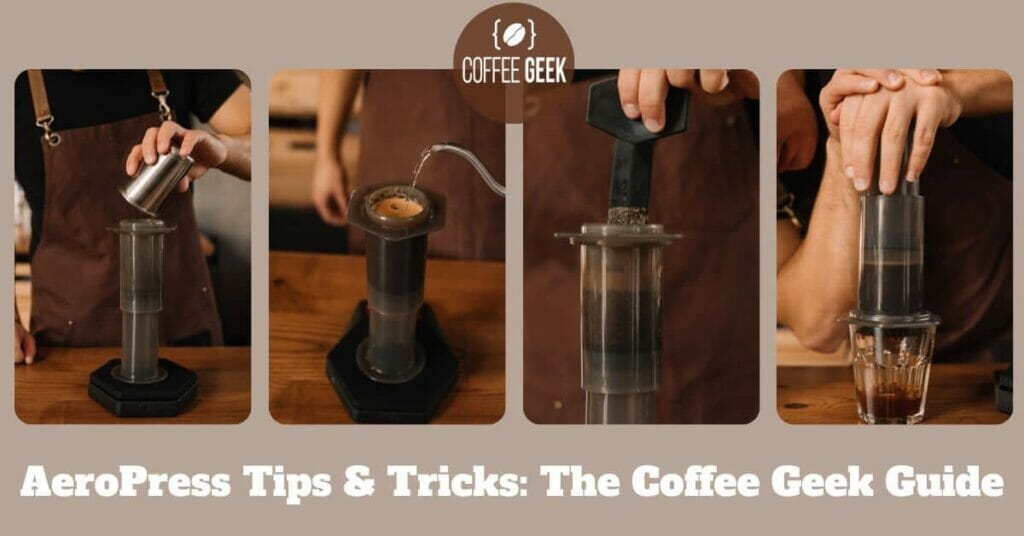
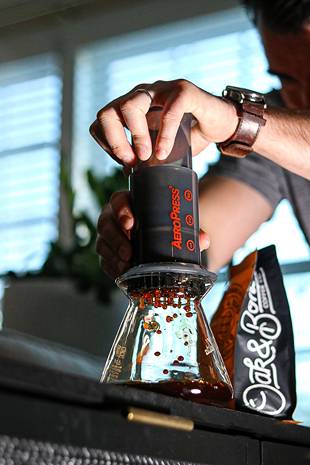
If you’re staring at an AeroPress and a bunch of coffee beans and feeling overwhelmed or intimidated, your caffeinated friends at Coffee Geek have got your back.
Even if you’ve been brewing coffee for years with our most beloved coffee maker, you’re sure to find a novel idea or two for your next AeroPress brew in this article.
The passionate dedication to the AeroPress held by so many coffee lovers around the world has ensured there’s been a consistent flow of innovative approaches and brewing methods since the device launched back in 2006 including the latest Aeropress Go.
There’s a reason the AeroPress has thoroughly dethroned the drip coffee maker and a French press for so many coffee enthusiasts.
Here are a few of our best AeroPress tips and tricks and hacks you can use to make your very own unique AeroPress recipes.
Give these a try and get the most out of your AeroPress and your coffee beans.
The Essentials For Brewing Coffee with an AeroPress
First off, a few small pointers to remember when making your AeroPress brew.
Keep your parts organized, especially the paddle and scoop.
And did you know that adding a second filter will prevent unwanted drips, as well as ensure the brew is strong enough?
For the best-brewed coffee, remember that an AeroPress allows you to control for more variables than almost any other brew methods.
A Sample of What We’ll Cover
Using your AeroPress upside down
Ways to avoid a watery cup of coffee
Grind size for your coffee grounds
Whether to use boiling water, hot water or warm water
Fine-tuning ideal brew time
A Note on Filters
A hint before we jump into the real keys to getting delicious coffee from your AeroPress:
Don’t blindly default to paper filters every time you brew. While standard instructions say to use a paper filter, it’s okay to experiment with a metal filter, as this can give you different flavors.
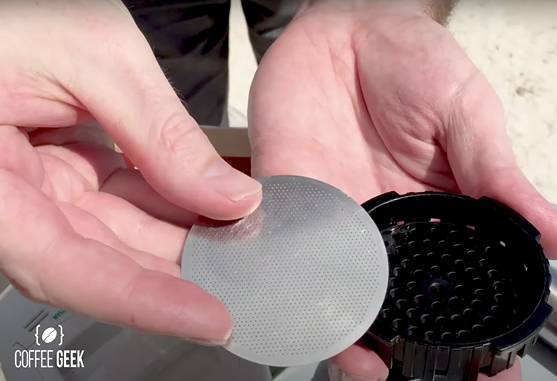
Why mention this here? Because it exemplifies the key takeaway from this article: don’t be afraid to go against convention and create your own brew method.
The AeroPress itself was created to hack the traditional process of brewing coffee.
Since then, the best coffee brewers in the world have continuously disrupted the accepted AeroPress method to find new, often superior ways to get a delicious cup of coffee.
For example:
Lukas Zahradnik’s Signature AeroPress Brew
Why not learn to master the art of AeroPress brewing from the 2015 World Championship winner Lukas Zahradnik?
His tricks include using water at 174 degrees F, 25 seconds of steeping time, and 75 seconds of pressing time.
His methods point out just how significant even the subtlest of tweaks to the brewing process can be.
The Best AeroPress Tips and Tricks
Ready for the best AeroPress tips, tricks and hacks? Here’s what you came for.
These AeroPress tips and tricks will help you make great coffee wherever you go, and hopefully, spur new ideas you’ll try to extract your own spin on coffee brewed using this beloved coffee maker.
The Inverted AeroPress Method
Ever looked at a beloved, purpose-made device and thought, “I wonder if this would work better upside down?” Well, good luck if you’re talking about a bicycle.
But believe it or not, using the AeroPress upside down is a beloved hack amongst the coffee community that will actually get you some remarkably tasty coffee.
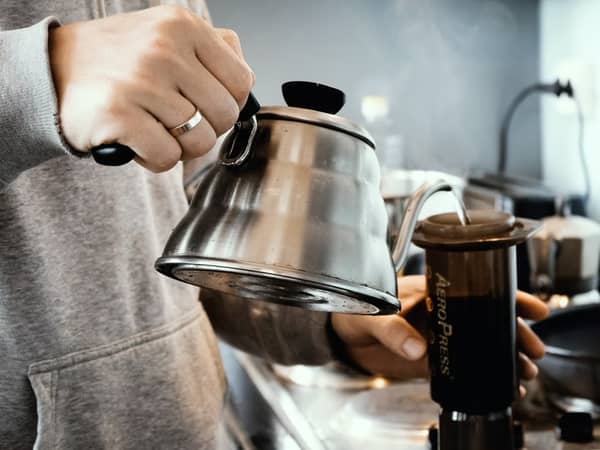
We’ve got a whole instructional article on the inverted AeroPress method here.
Solve Pesky AeroPress Leaks
You might be wondering how to stop AeroPress from leaking.
The truth is that addressing a leaking AeroPress isn’t as difficult as you might think. You just have to know how to troubleshoot the problem.
Let’s nip this in the bud right away: it’s NOT because we told you to try using the thing upside down.
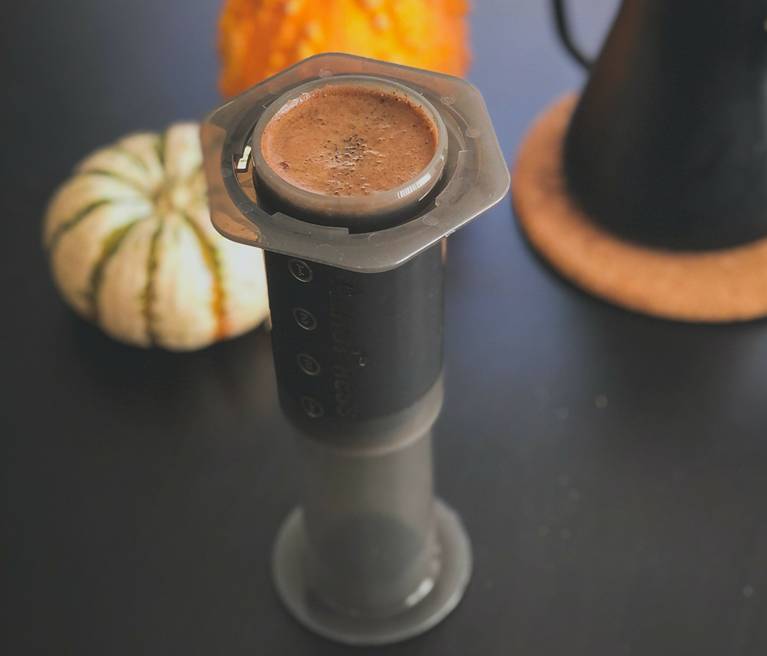
In fact, it’s common to experience that using the inverted method is a surefire way to avoid leaks while brewing coffee.
Air pressure
There are two main reasons why your AeroPress might be leaking. One reason could be the pressure of water on the filter.
Too much pressure will push the water through the filter and cause it to drip.
While the AeroPress was made to harness the positive effects of pressurization for better coffee grounds extraction, too much is known to result in leaks.
Press slowly but firmly on the plunger after steeping and stirring in order to get the most out of your coffee beans without flooding your cup.
Water level
Alternatively, leaks can happen if the chamber is filled to the brim, even if you’re being careful pressing the plunger into the AeroPress chamber.
If you fill the chamber completely, the water level may drop to three or even lower during steeping.
We know the struggle of wanting to get a bigger cup (or even two) out of each brew, but it’s worth it to repeat the process rather than risking messing it up.
Better Than Blooming: Degassing Your AeroPress Brew
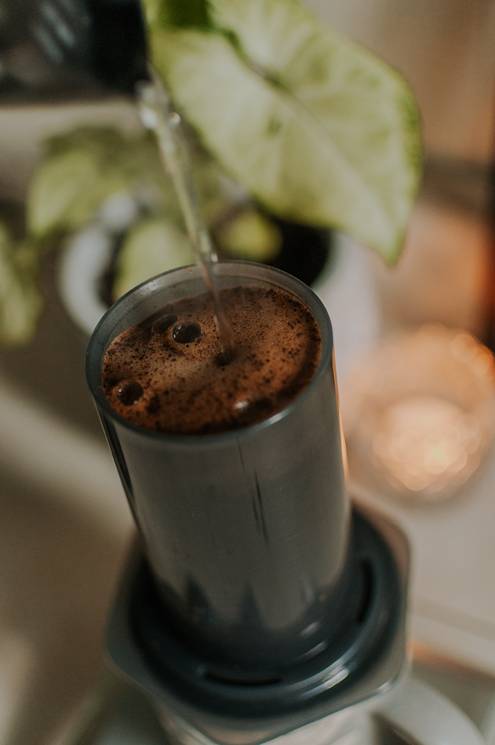
If you want to get the most flavor from your coffee, blooming is a technique you may be wondering how to apply to an AeroPress.
Because the AeroPress uses a variation of immersion brewing, true blooming isn’t necessary (or entirely possible). But you can achieve the same effect.
After you pour your water over your coffee bed and your coffee is steeping, make sure you give it a nice thorough stir.
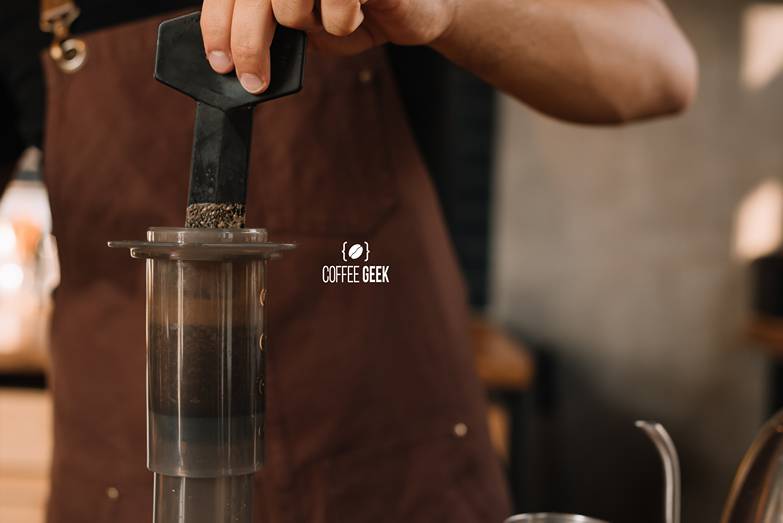
Stirring the coffee in your AeroPress ensures all of your ground coffee gets consistently saturated with hot water.
For pour-over coffee, blooming is essential, but because the AeroPress uses immersion brewing, most of the benefits will occur naturally without extra effort.
Optimal Coffee Grounds to Water Ratio
You may have asked yourself “How many scoops should I use?” The amount of coffee that you use in the AeroPress is going to depend on the type of coffee you’re making.
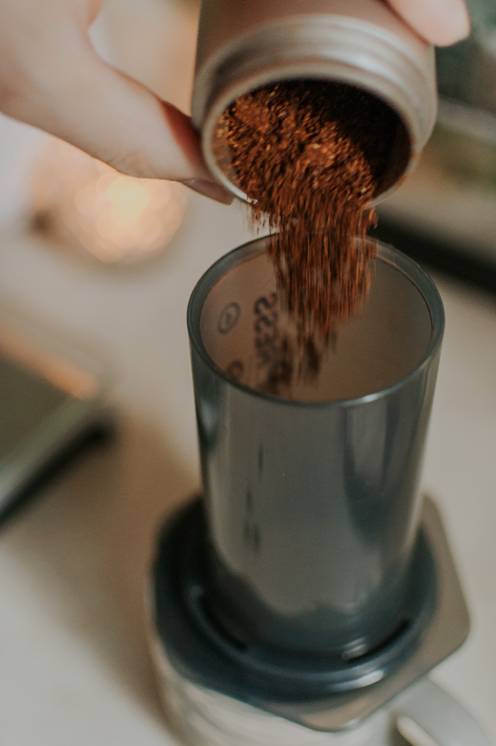
A level scoop holds two to five grams of coffee. A heaping scoop yields 14 grams, or about three tablespoons.
You can also buy a scoop designed specifically for espresso or American coffee.
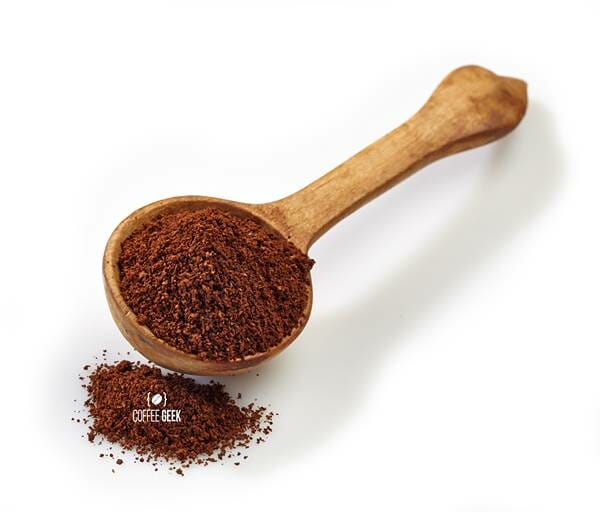
The exact measurements will vary depending on your recipe, but best practice calls for around 15 grams each. For more concentrated coffee you’ll want to use a bit more.
The best way to measure out your coffee grounds is to use a kitchen scale.
No scoop can compare and if you’re reading this looking for ways to fine-tune your brew, you’re likely at the level where the difference will be meaningful enough to warrant the investment.
Ideal Water Temperature
When it comes to brewing AeroPress coffee, the temperature is a key factor. It can make a huge difference in the final flavor of your cup.
It largely depends on your grind and roast, as well as the flavor profile you are looking for.
In general, cooler water will produce smoother coffee, while hot water will produce a more robust flavor.
Hot water or cold brew?
The ideal water temperature for most coffee brewing methods is between 195 and 205 degrees Fahrenheit.
Some people, like Lukas Zahradnik, have been able to get a great brew using a much cooler temperature and swear by that methodology.
Ultimately, you should choose the best temperature for you and your coffee. And don’t be afraid to experiment.

After all, the AeroPress’ innate ability to brew with nearly any water temperature is what enables it to produce excellent iced coffee and AeroPress cold brew, so be encouraged to venture away from only hot water.
Dial-In The Best Grind Size for Your Coffee Beans
Another key consideration in brewing the coffee with the AeroPress is to make sure that you use coarser grounds than for drip coffee.
While it can brew incredibly rich, espresso-like coffee, the AeroPress is no espresso machine.
Using slightly coarser grounds (especially with medium roasted coffee) will give you a coffee with a consistency that is closer to drip than espresso.
Next Level: The Burr grinder
If you really want to maximize the benefits you can gain from using your AeroPress though, we recommend investing in a burr grinder.
Then you can adjust your grind size cup by cup for everything from espresso-level coffee to cold brew.
Perfectly-Timed Brewing Process

When you brew AeroPress coffee, the steeping time should be about a minute and a half.
The longer the steeping time, the more intense the flavor will be. Longer steeps will yield a higher extraction level.
If you want to optimize your brew, use a stopwatch to time the steeping process. Measuring tools beyond the core brewing equipment are key to a truly standout final cup.
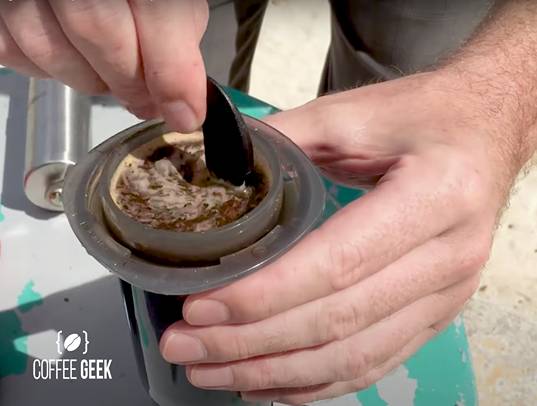
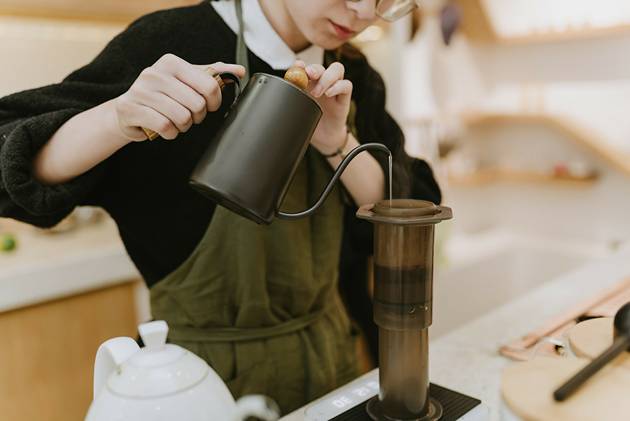
Once the water is at the proper temperature, pour it into the chamber of the AeroPress. After your pour, stir the grounds and let them rest for a minute.
Once the coffee bed is fully saturated, slowly press the plunger.
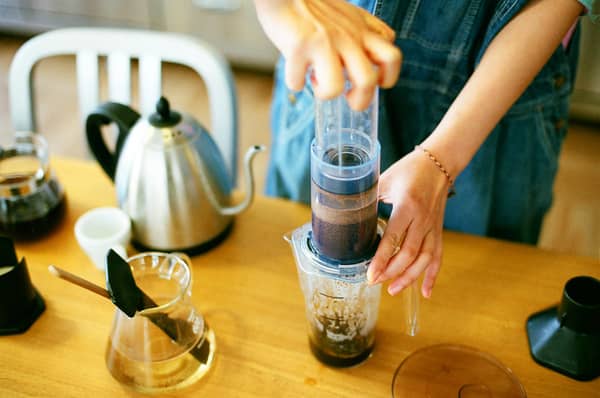
Next, remove the plunger and allow the coffee to rest for about two minutes.
Hack Your AeroPress into A Pressurized Tea Kettle
There are many advantages to using AeroPress for tea.
Since the AeroPress is so portable, it’s a perfect coffee brewing solution for campers, as well as those who want a strong cup for work.
And since it uses immersion brewing and high-pressure, it’s fully capable of brewing tea.
In addition, the filter that comes with the AeroPress is very effective, which prevents particles from getting into the brew.
Even more so if you use a paper filter or multiple paper filters.
The process for using AeroPress this way is surprisingly easy. Tea leaves are placed into the brewer and the plunger is pressed into place.
The tea is steeped under pressure for between 3 and 5 minutes.
Finishing Touches: Get the Most Out of AeroPress Brewed Coffee
You may have noticed that several of the tips and tricks we outlined here come back to one core factor: extraction level.
Over-extraction will produce bitter brews, while under-extracted coffee is the likely culprit behind a cup of coffee that rings with acidic notes.

The longer your brew higher the temperature of your hot water, the more highly extracted your ground coffee will be.
Higher extractions tend to produce a more flavorful cup, but at the end of the day, the best coffee isn’t determined by the Coffee Quality Institute, it’s determined by you.
And Tell us About your own customized brew methods!
We hope you’ve got enough inspiration and ideas to go experiment with different AeroPress recipes and up your AeroPress game!
Let us know what works best for you and if you find any hacks we should include in our next article.
If there’s one thing you take away from our tips and tricks, we hope it’s that there are no true AeroPress instructions, and there is no wrong way to use it if you ultimately end up with a good cup of coffee.
Happy brewing!

