I’ve loved the Aeropress since I’ve been into specialty coffee. But how does it stack up against the pour-over brewing method?
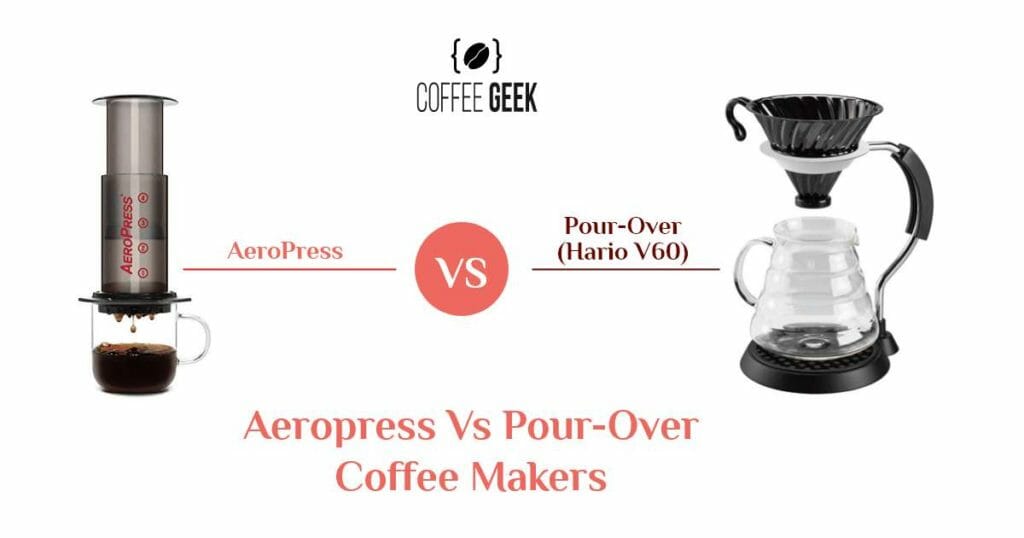
In this article, I will provide you with a detailed AeroPress vs Pour-Over comparison between these two popular brewers.
Making any purchase is making a commitment, so get your money’s worth by making an informed one.
Then you can easily brew an affordable cup of specialty coffee in the comfort of your home. If you’re only here for the summary of the differences, click here.
What Is An AeroPress
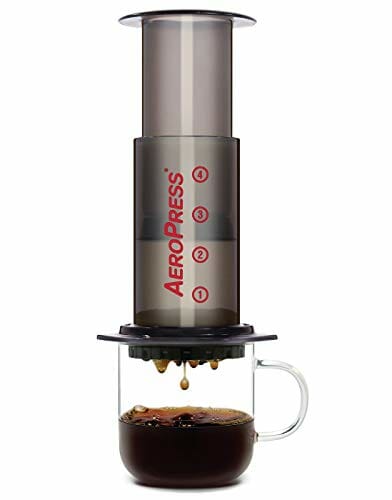
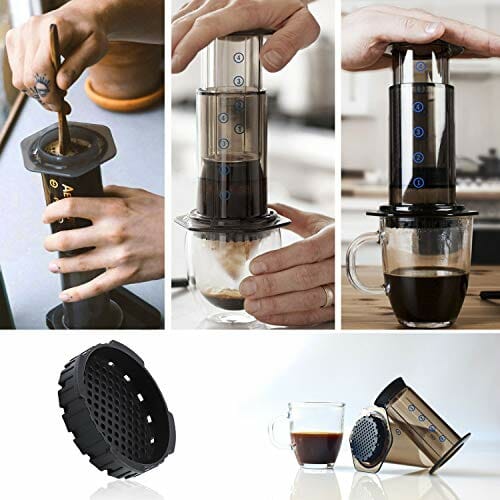
If you’re not familiar, an AeroPress, invented by Alan Adler, is a simple manual brewing single-serve coffee maker, iconic for its grey syringe-like appearance.
Other than the filter cap at the bottom, it has a long cylindrical chamber, an airtight silicone seal, and a plunger – like a syringe.
The device also comes with a paper filter holder carrying a year’s supply, a stirrer, a scoop, and a funnel as well.
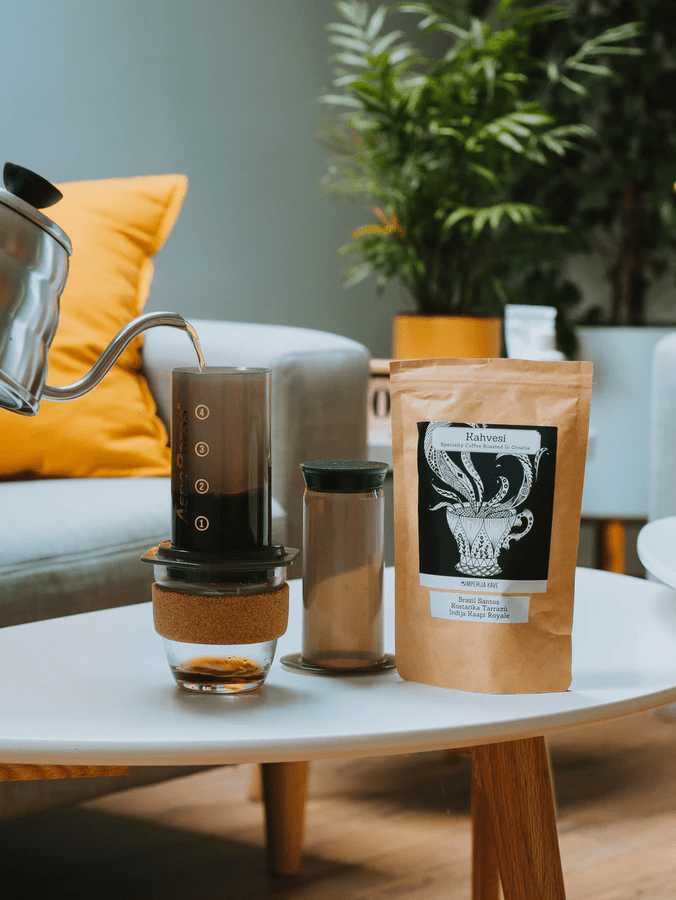
How To Use An AeroPress
Again, even the process is relatively reminiscent of a syringe. The plunger works in a method similar to that of a French Press.
There are two brewing methods to make a cup of espresso-style coffee:
Traditional Method
- Place a filter into the cap.
- Twist the cap onto the chamber.
- Place the whole piece on a sturdy enough cup. The cup’s brim should be wide enough to fit the cap.
- Add one scoop of finely-ground coffee to the chamber using the scoop and the funnel.
- Shake the chamber to level the grind.
- Add 175 degrees F (80 degrees C) hot water to reach Level 1 to the chamber.
- Use the stirrer to stir the mixture for 10 seconds.
- Insert the plunger and press it down to the bottom gently. Pause for a bit if there is resistance.
If you want to make a Cold Brew, use tap water instead and stir the mixture for 1 minute.
Inverted Method
The inverted method was developed later on by creative coffee aficionados.
This was also the method that brought victory to a participant in the annual World AeroPress Championship in 2010!
- Insert the plunger into the chamber so that it’s sealed tight with the other side left open.
- Place the whole piece upside down.
- Follow the Traditional brewing method’s steps 4 to 7.
- Soak the filter with hot water and place it into the cap.
- Twist the cap onto the chamber.
- Invert the brewer and place it on top of a sturdy cup.
- Press the plunger down to the bottom gently. Pause for a bit if there is resistance.
At step 6, you can also hold the AeroPress horizontally and push the coffee into the cup that way (not that I would recommend it). Whatever works best!
Why Is AeroPress Coffee So Good
Other than its cheap price tag, portability, and how easy and fast it is to navigate, the brewer becomes adored by many coffee lovers thanks to its bright and flavorful brew with clear notes and after-tones, especially for specialty coffee.
This great coffee comes from the short brew time and the paper filter.
The filter also helps you get a clean cup of coffee every time by preventing the fines, oils, and foams from entering the final cup.
What’s more, you can easily experiment with the roast and grind size of the coffee ground as well as the brewing time and the amount of coffee and water to discover your ultimate go-to recipe.
Yet, some variations in those factors will still produce consistently quality cups of coffee.
Moreover, the small amount of water (for 1 serving) inevitably cools down faster than your average coffee machine.
Coupling that with the short brewing time, it’s hard to over-extract AeroPress coffee.
So no matter how sloppy you are, brewing AeroPress coffee can’t go terribly wrong.
Should You Buy AeroPress or AeroPress Go?
Did you know, other than the original AeroPress which is already compact and portable, there is an even smaller version made specifically for traveling called AeroPress Go?
So which one should you go for?
This table from the company itself should cover some of the basic differences:
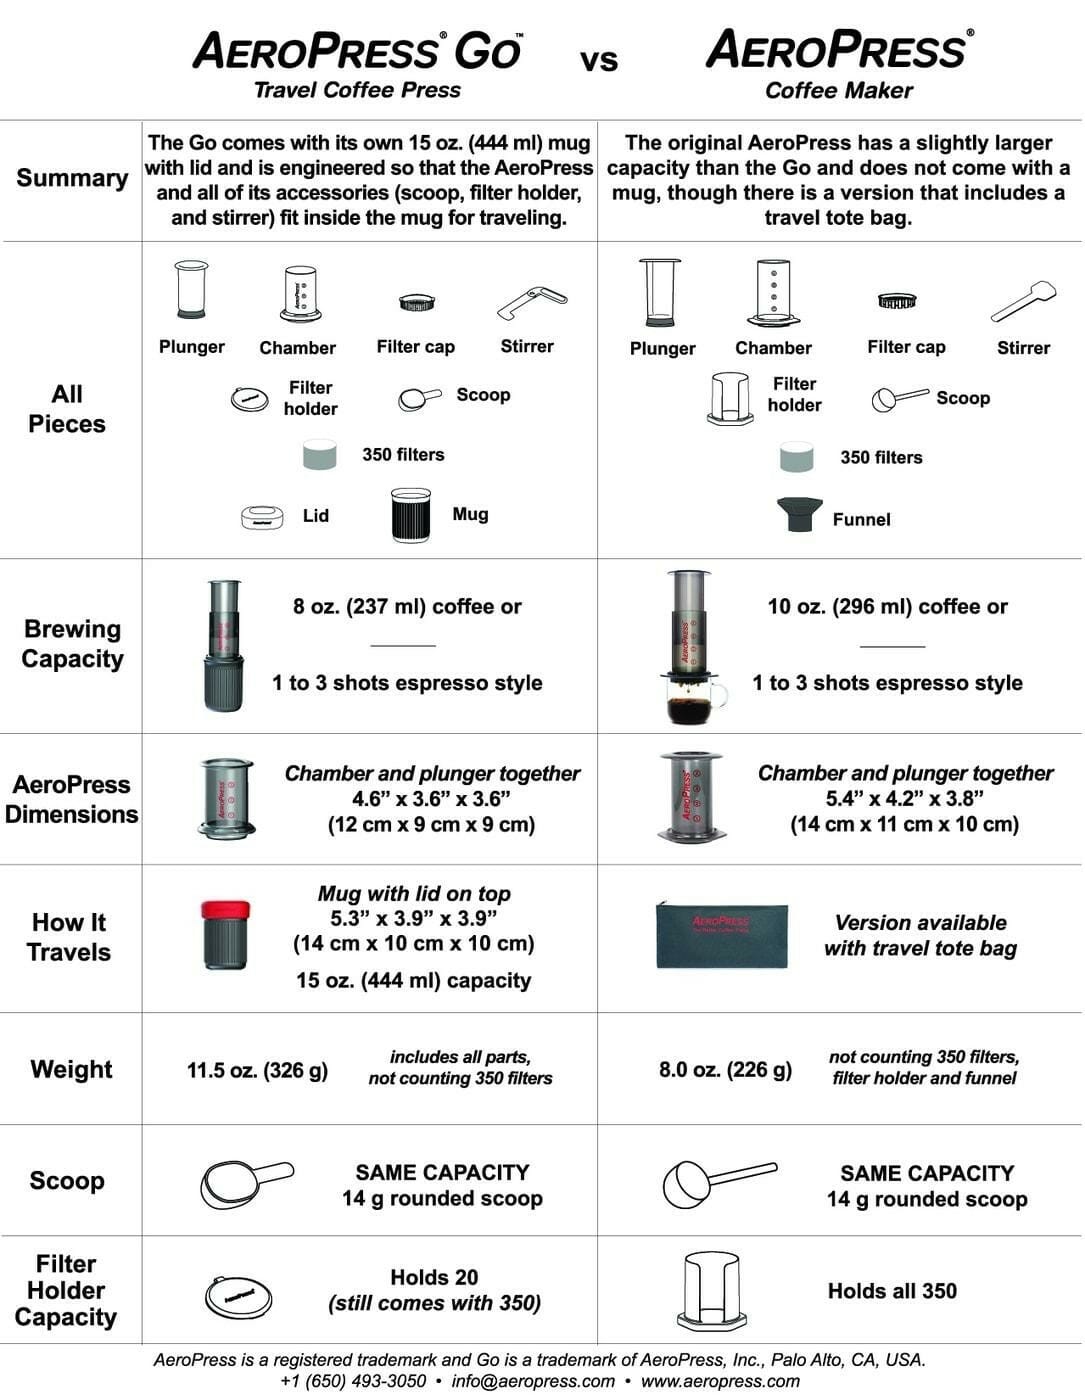
Since the differences aren’t significant, I suggest getting the AeroPress for convenient coffee brewing both at home and on the go.
If you travel often and want neat packing with the mug, AeroPress Go is not a bad choice.
Is AeroPress Plastic Safe?
Some are concerned about the plastic material that made up most of the AeroPress.
According to the manufacturer, the plastic here is polypropylene, one of the safest plastics on the market that is FDA-approved and BPA-free.
It’s very commonly used for kitchen appliances and tools, so don’t worry too much.
What Is Pour-Over Coffee
Pour-Over is another popular fast and easy manual brewing method.
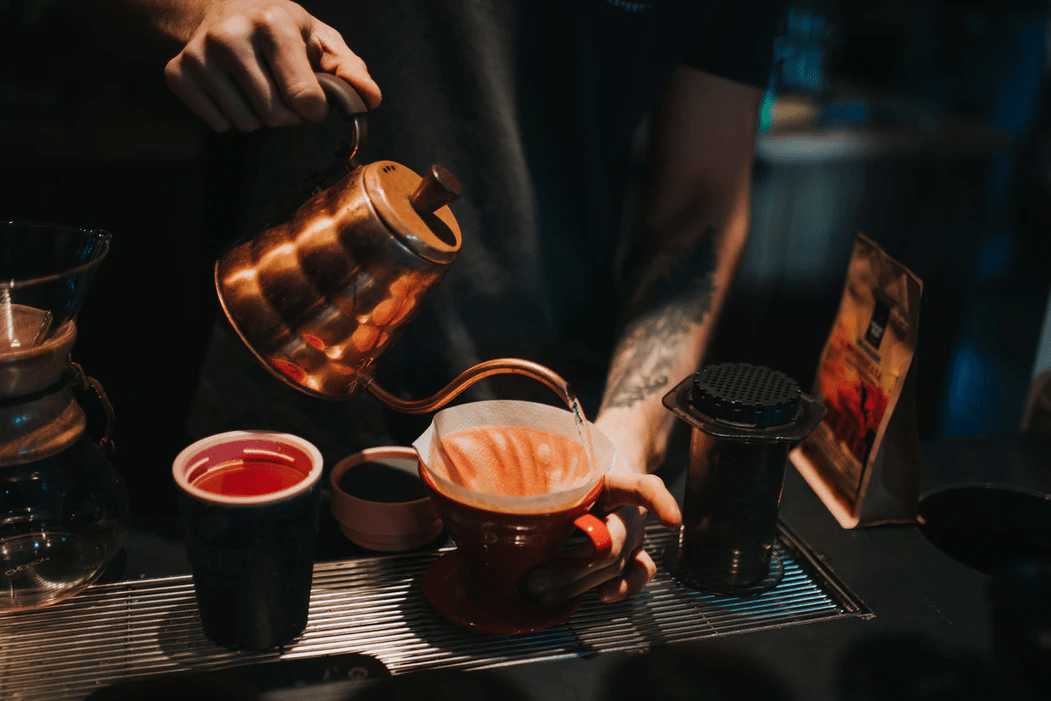
As a drip coffee, the process is simple: hot water is poured over coffee in a filter and drains into a container below, usually a carafe or a cup, leaving the grinds behind.
What’s So Special About Pour-Over Coffee
Pour-Over is an infusion brewing method, where a constant supply of water flows through the coffee grind and a filter.
To get better coffee, before filtration, baristas pour just enough water to wet the ground bed to let the coffee steep and bloom first, creating a brighter brew with higher acidity.
The constant flow of water also allows more time for desirable coffee soluble to be extracted than the full immersion brew method (ahem, French Press), where coffee steeps in the same water over time.
And unlike other brewing devices with mechanics and programmed timing and pressure, the Pour-Over method leaves everything to gravity.
Extraction from the coffee grind follows the pace and flow of water.
And like the AeroPress, the paper filter catches the fines, oils, and bitter notes of the grinds and lets the clean, flavorful, and fragrant coffee drain into your cup.
That doesn’t mean you cannot control the coffee brew, however. You can still adjust the infusion time and pouring technique to achieve your ideal brew.
Types Of Pour-Over Coffee Makers
Since this is a coffee brewing method, there is more than one type of Pour-Over device.
But in this article, I will be focusing on the V60 and Chemex.
Hario V60
The name comes from the signature 60-degree angle dripper cone that shapes the flow of water into the center to optimize coffee and water contact time.
The cone also has spiral ridges to allow air to escape enabling the coffee grind to expand, a beautiful sight! A filter is also placed over the cone.
Coffee grounds and water are added and drain through a single opening at the base into a decanter at the bottom.
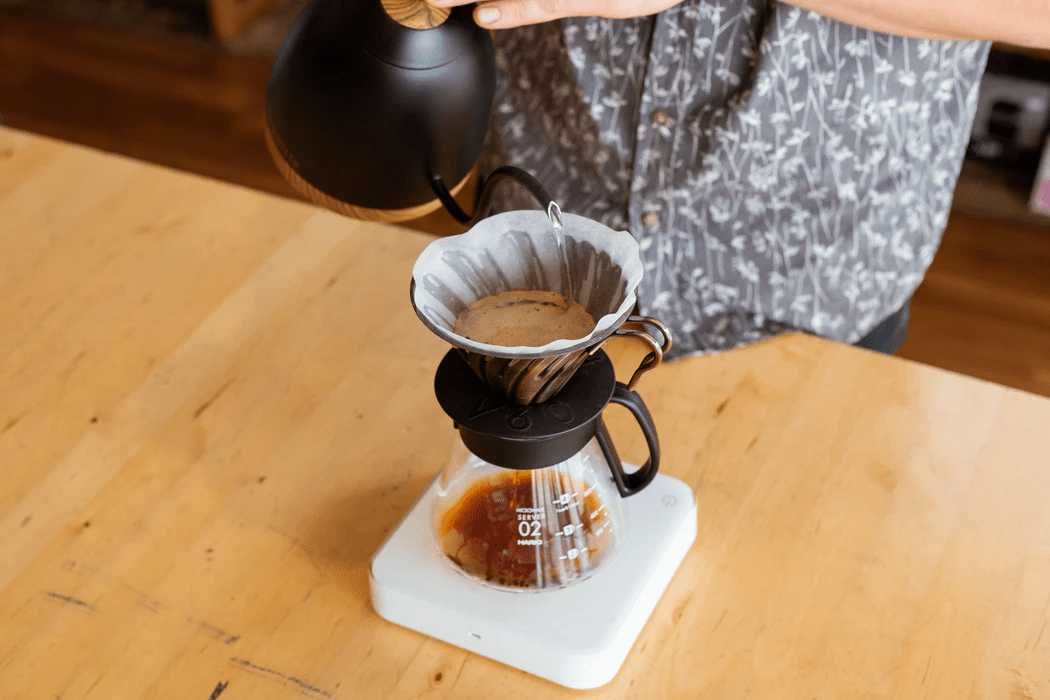
Follow these simple steps for making coffee:
- Place the dripper over the decanter.
- Fold the paper filter and place it into the dripper cone.
- Soak the filter and discard the water.
- Add 17g (0.6oz) of medium-coarse ground coffee.
- Add a bit of water to wet the grounds and wait for 30 seconds for them to bloom.
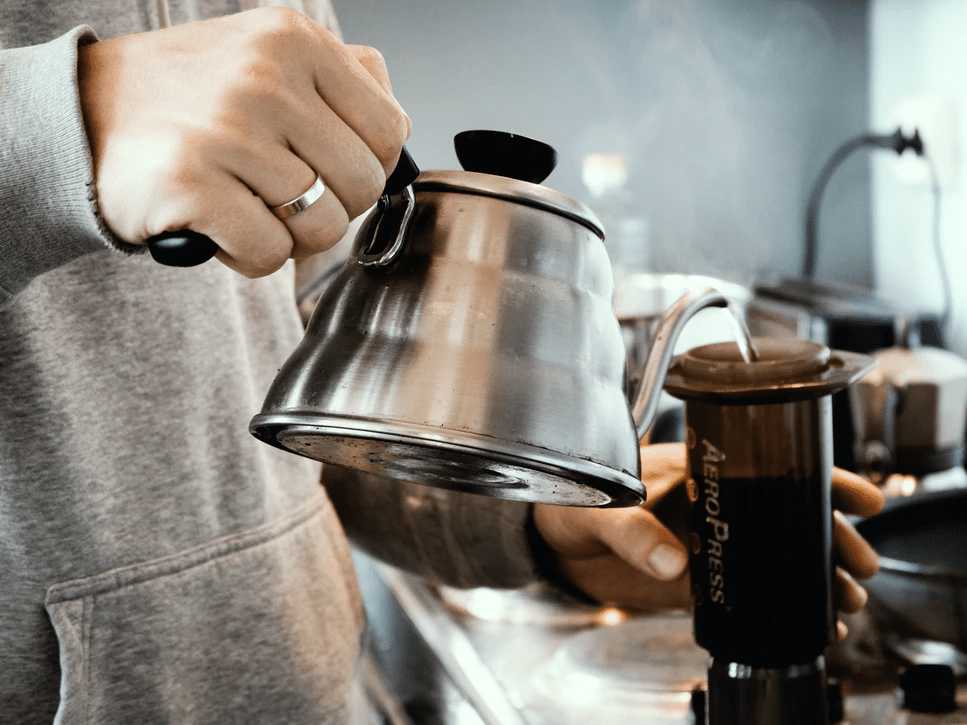
- In around 3 minutes, slowly pour water over the coffee grounds in a circular motion from the center to the edge. Use a gooseneck kettle for the best pour. The total amount of water used in steps 5 and 6 should be around 220g (7.8 oz)
Chemex
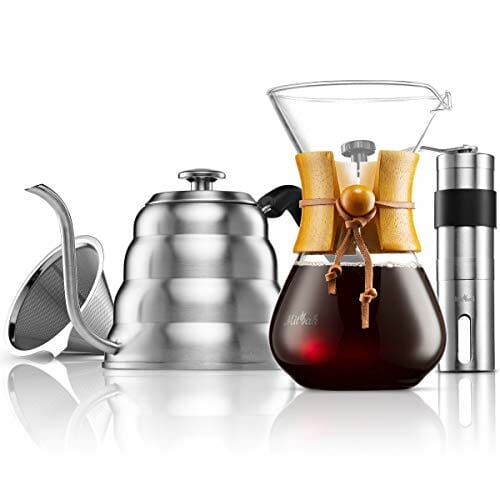
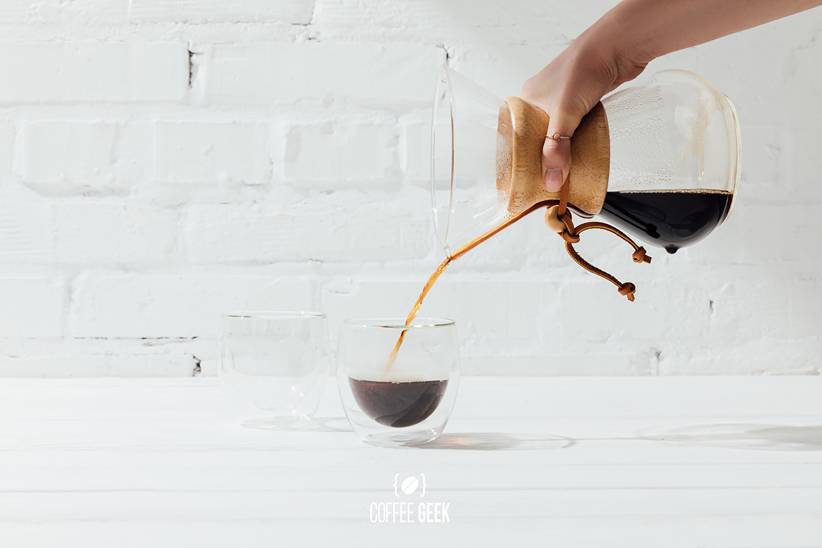
A Chemex is another beautiful device using the manual Pour-Over method.
This hourglass-shaped glass beaker has a conical top with a funnel-like neck.
Chemex also has its own designated bonded filter, which is thicker than the common drip coffee makers’ to better filter out the grounds, oils, and bitter notes.
Since Chemex is all glass, most people’s eyes are drawn to its “waist”, where a heatproof wooden collar is hand-tied. Other than its brewing ability, the visual aesthetic is another reason Chemex gains popularity among specialty coffee lovers.
Follow these simple instructions to brew yourself a good cup of coffee:
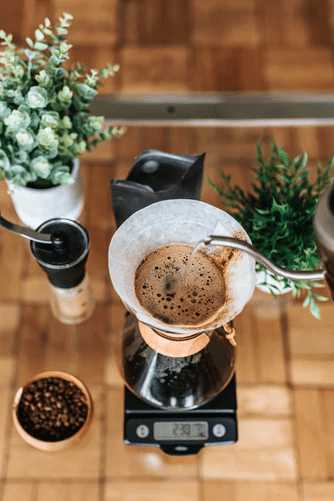
- Fold the half-moon bonded filter in half. Fold the tip in. Then fold the filter in half again. Place it into the neck of the beaker. Make sure the triple-fold portion covers the spout.
- Soak the filter and discard the water.
- Add medium-coarse ground coffee and shake to level the bed.
- Add a bit of water to wet the grounds and wait for 30 seconds for them to bloom.
- Slowly pour water over the coffee grounds in a circular motion from the center to the edge. Use a gooseneck kettle for the best pour. Use 5 oz of water for every 1 tablespoon of coffee.
- Discard the filter.
So is Chemex better than V60? The brewing process seems fairly identical.
They are both good at making deliciously clear and bright coffee with some small differences in flavor and texture due to different filters.
The latter is less forgiving when it comes to pouring over and the former is less forgiving when… you drop it.
AeroPress Vs Pour-Over
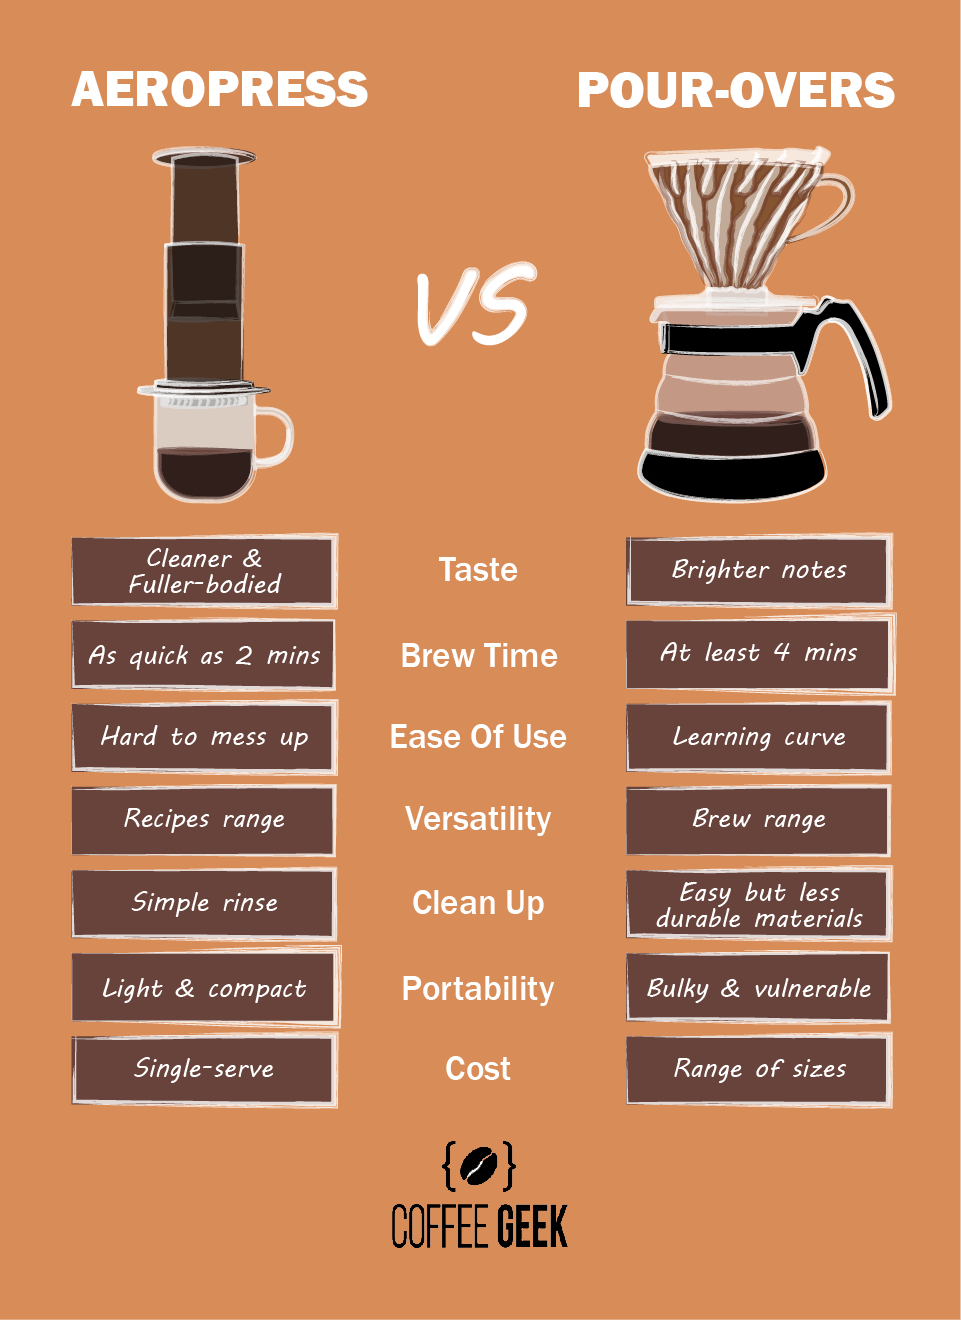
So what are the main differences between AeroPress and Pour-Over?
Taste
Both brewing methods give you a clean cup of coffee. AeroPress gives you a fuller-bodied taste, similar to a French Press, but with much less coffee residue thanks to the filter.
As for the Pour-Over method, V60 and Chemex are better at highlighting the beans’ flavors and brighter notes.
Brew Time
Without taking into account the time it takes to boil water, as mentioned above, with an AeroPress, brew time for a great cup of coffee can be as quick as 2 minutes.
Pour-Over coffee takes longer to make as you have to spare more time for the coarser coffee to bloom, expand, and drain.
Slow pour can take around 3 minutes. So you can’t leave your coffee for at least 4 minutes.
Ease Of Use
The AeroPress works like a French Press: pressing down the plunger to brew coffee. Can’t be simpler than that.
As long as you follow straightforward instructions, it’s almost impossible to mess up your cup of coffee.
The brewing process of Pour-Over is simple as well but… easier said than done.
Aside from the fluctuating grind size and quality and water temperature, you also have to be mindful of the angle, the speed, and the amount of time you pour.
They affect the coffee to water contact time and will be reflected in the result.
So, while it’s not hard to master using AeroPress on your first try, Pour-Over definitely has a coffee-making learning curve.
Versatility
Coffee brewed using the AeroPress is referred to as the espresso-style, which you can drink as it is.
Other than the Cold Brew recipe mentioned above, as you would with a French Press, you can:
- Add water to make American coffee
- Add milk to make Latte and Cappuccino
- Add iced to make Iced Coffee
With the Pour-Over, rather than versatility, you can more easily customize your brew than with an AeroPress.
Since you have control over the pour, adjustment allows you to experiment with taste, still within the realm of Pour-Over coffee.
Ease Of Clean Up
In general, they are all easy to clean. Just discard the filter and the sludge, rinse everything off with soap and water, and give them a vinegar bath once in a while to get rid of the build-up oils.
But if we’re picking the winner, AeroPress has to be the one. Though you may spill coffee a couple of times in the beginning, rinsing the parts under water after each brew is all it takes for simple upkeep.
The coffee maker is also made of much more durable material, making it easier to handle even when slippery.
Portability
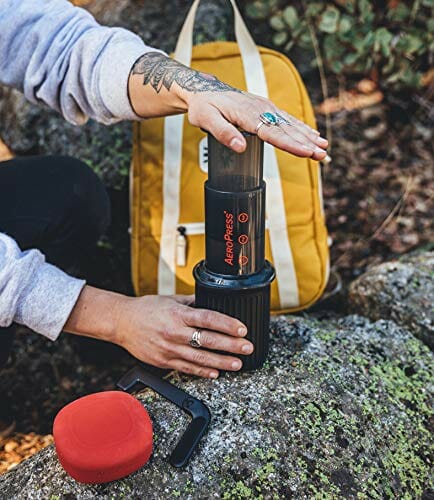
As aforementioned, AeroPress is very light and compact, easy to be brought on your adventures.
It even has a sibling, AeroPress Go, made specifically for this purpose.
The Pour-Over lines, on the other hand, are more bulky and vulnerable, especially the glass Chemex.
The V60 comes in more materials including plastic like this one, so it’s easier to handle on a trip.

Cost
Both are very pocket-friendly. However, while an AeroPress is single-serve, Pour-Over coffee makers provide a range of serving cups. Here are some of our picks for Pour-Over makers if you’re interested.
That was the AeroPress vs Pour-Over comparison. In certain aspects such as the brew time, one may outweigh the other.
But in terms of cost, there’s no clear winner as the answer depends on your lifestyle and intended usage. There’s simply no correct answer to which coffee maker is better.
What matters is practicing to become well-versed in either brewing techniques to garner the flavor profile and outcome you’re looking for.
So whatever call you make, may the perfect cup of coffee be with you!

