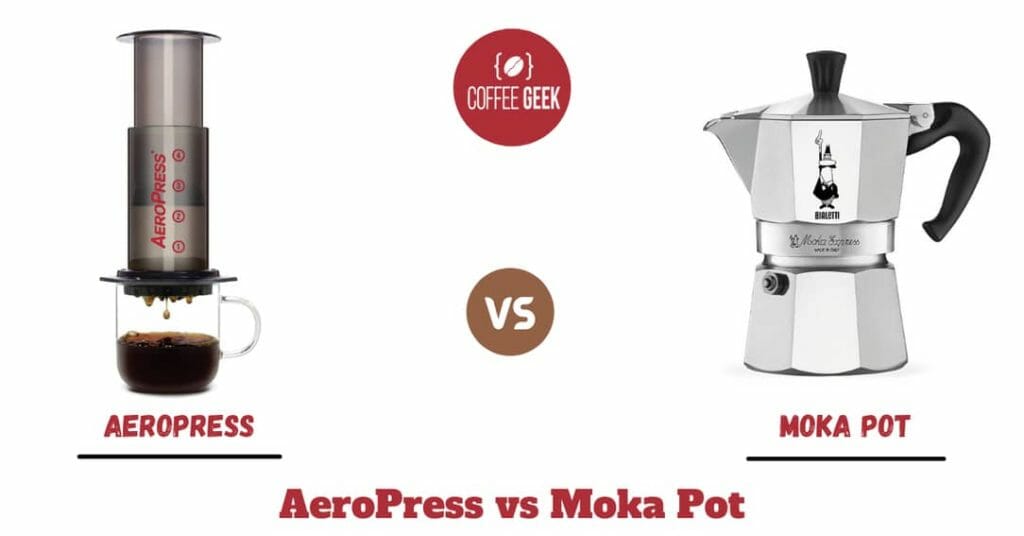
If you love strong coffee but find an espresso machine too expensive, you’re probably considering the more affordable alternative coffee makers, AeroPress and Moka Pot, which are also capable of brewing rich and thick coffee.
So, which should you buy?
In this article, you’ll be able to witness the battle of AeroPress vs Moka Pot. Read more to discover which one is easier to use and offers more versatility and better coffee that suits your taste.
- What Is An AeroPress?
- What Makes AeroPress Coffee So Good
- How Do You Make The Best AeroPress Coffee?
- What Are Moka Pots?
- How The Moka Pot Works
- Why Is It Named Moka Pot?
- Who Made The First Moka Pot?
- How Do You Make Moka Pot Coffee?
- Moka Pot Vs AeroPress Coffee Makers – Ultimate Comparison
- The Final Verdict – Is AeroPress Better Than Moka Pot?
What Is An AeroPress?
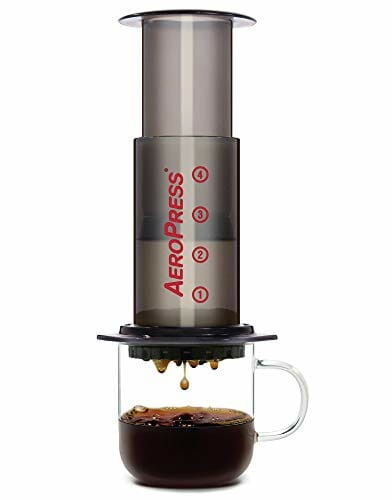
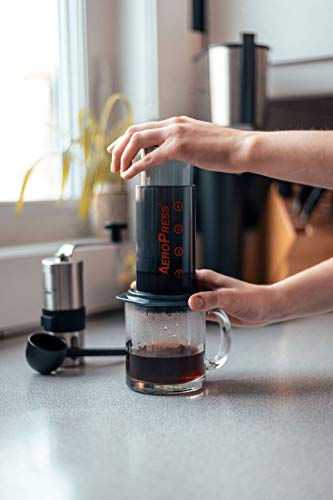
If you haven’t heard of this device before, AeroPress, invented by Alan Adler, is a manual coffee maker that’s especially popular for its portability.
The AeroPress is also known for its iconic shape that resembles a syringe.
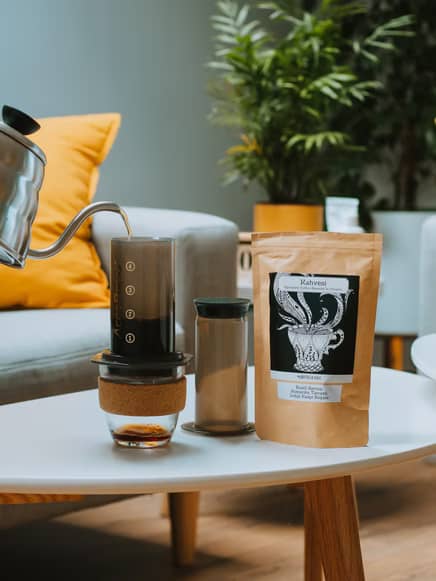
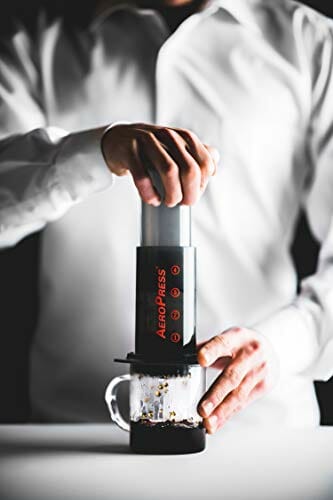
The main chamber is a long tube. On one end, a filter cap is attached that can be screwed on and off of the chamber.
On the other end, a plunger with an airtight silicone seal can be inserted to push the extracted coffee through the paper filter in the cap into the serving mug.
And that’s basically the entire brewing process of the AeroPress, which sounds pretty similar to the syringe, doesn’t it?
Yet, despite being a simple manual device, AeroPress is capable of brewing coffee that’s richer and thicker than your regular Joe. That’s why people often call it “espresso-like coffee”.
Other than the main components that are vital to the making of coffee, when buying an AeroPress, you’ll also get a full package of complementary tools to make brewing coffee even easier and more convenient than it already is.
The list comprises a stirrer, filter holder, grounds scoop, and 350 paper filters so you can get new ones just in time for your first anniversary together.
When traveling, you can stuff them all inside the travel tote bag.
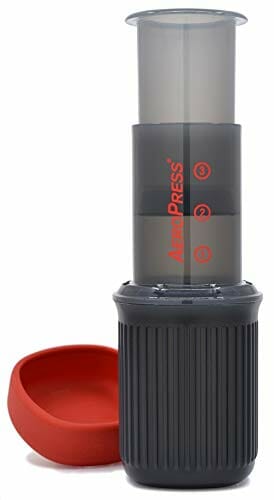
Or get the brand’s AeroPress Go, a smaller version of the AeroPress that offers even more portability.
If you’re curious about how exactly the AeroPress and AeroPress Go are different, you already know where to go.
What Makes AeroPress Coffee So Good
Despite the short brew time and simple coffee-making process, due to the silicone seal, when you press down the plunger, pressure is applied to the extraction of coffee compounds.
Enhanced pressure during the brewing process results in a more concentrated coffee than your watery drip coffee.
This is rather similar to the good-old espresso machine which also utilizes high pressure to pull espresso shots.
What’s more, the paper filter effectively blocks the coffee grounds, unwanted coffee oils, and bitter compounds from entering the coffee cup.
So with the AeroPress coffee maker, you can brew coffee that’s flavorful yet clean with very clear notes.
The AeroPress also offers versatility in the choice of coffee beans, so coffee lovers can freely experiment with different types of coffee and roast levels.
And thanks to the brewing method, each of their distinct flavor notes can be clearly picked up from the delicious cup of coffee.
How Do You Make The Best AeroPress Coffee?
Next, I’ll show you just how easy it is to make delightful cups of AeroPress brews, from the grounds up.
Coffee Grounds
Beans
As I’ve briefly mentioned above, the AeroPress is not only easy-going in terms of operation but also in the beans.
So all coffee enthusiasts can get to grinding beans that they already love. You can also conveniently make use of the coffee bags that you’re currently using for other brew methods.
Roasts
The same can be applied to the roast profiles as well.
And, for those who crave the nearest brewing option to a true espresso, grab the dark roasts. Though most of the coffee oils will be filtered out in AeroPress, the bold, rich, and smoky flavors will still be intact.
If you’re interested in learning more about different types of coffee roasts, check out my in-depth article which goes into each of their characteristics.
For your first brew, you can go with your usual picks which fit your personal preference. Afterward, make sure to branch out and experiment with more beans to become a true coffee aficionado.
Grind Size
Though you can slack off with the above 2, this is the one thing you can’t mess up.
Due to the short brew time AKA short extraction time, you need to use finely ground coffee to get a stronger brew that’s concentrated and flavorful.
Why? As coffee is broken into smaller pieces, the surface area that comes into contact with hot water increases, which enables better extraction and results in rich coffee.
If you find it coming on too strong, try using coarser beans. But the coarsest you can go is medium-sized like your classic drip. French-Press-coarse isn’t going to cut it here.
To learn more about different grind sizes for different brew methods, visit my Ultimate Coffee Grind Chart.
Water
The brand suggests using hot water that’s around 175 degrees Fahrenheit (80 degrees Celsius), which is a little lower than what I would usually suggest for most other brewing methods.
In terms of the coffee-to-water ratio, the AeroPress comes with watermarks on the brewing vessel and a grounds scoop, so you don’t have to bother with any maths.
The go-to routine is adding one scoop of grounds and hot water to Level 1.
AeroPress Brewing Methods
Did you know that there was more than one AeroPress method of coffee-making that’s espresso-style approved? And both will be briefly covered in this article.
Traditional Method
- Step 1: Place a paper filter into the cap before twisting it onto the brewing chamber. Place the coffee maker on a sturdy cup.
- Step 2: Add coffee and water to the chamber. Use a stirrer to stir for 10 seconds. You can let the grounds steep for half a minute before stirring.
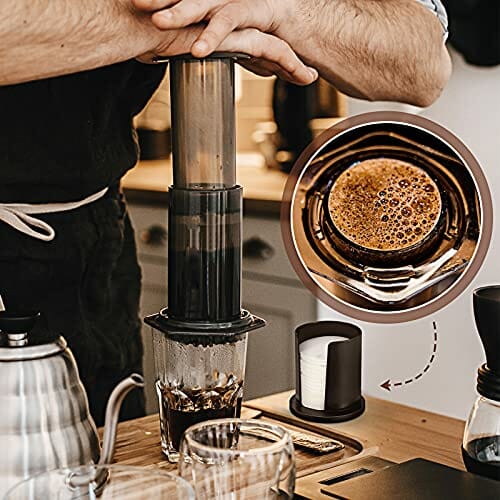
- Step 3: Insert the plunger and press it down slowly to apply consistent pressure. Pause if there’s resistance.
Inverted Method
- Step 1: Insert the plunger into the chamber and flip the whole piece upside down.
- Step 2: Follow the Traditional Method’s step 2.
- Step 3: Soak the filter with hot water before placing it into the cap. Twist it onto the chamber. Invert the brewer again and place it on a sturdy cup.
- Step 4: Press the plunger down slowly and pause if there’s resistance.
You can use this espresso-style AeroPress drink as the base for classic Americano and milky drinks like Flat White, latte, and cappuccino. Pour them over ice for the ultimate summer beverages.
Otherwise, make a good cup of Cold Brew coffee with the AeroPress by using cold water instead of hot water and stir the mixture for a whole minute rather than just 10 seconds.
So, French Presses, you’re not the only ones around here that can press and brew Cold Brew.
What Are Moka Pots?
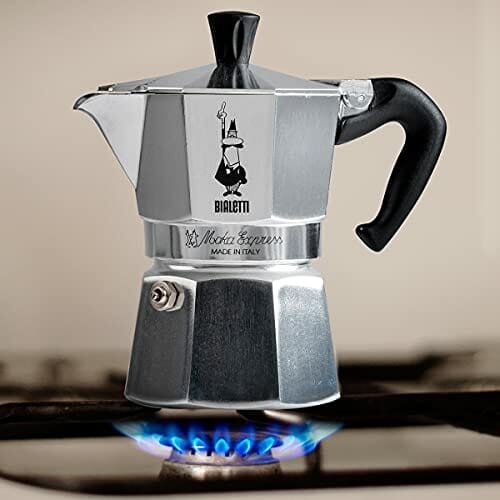
Moka Pot is a stove-top coffee maker.
Some even call it a stovetop espresso maker due to how similar the Moka coffee is to an actual espresso shot pulled by espresso makers.
How come it’s considered one of the best stovetop espresso makers?
You need to learn about the construction of the device and how it works to fully understand it.
How The Moka Pot Works
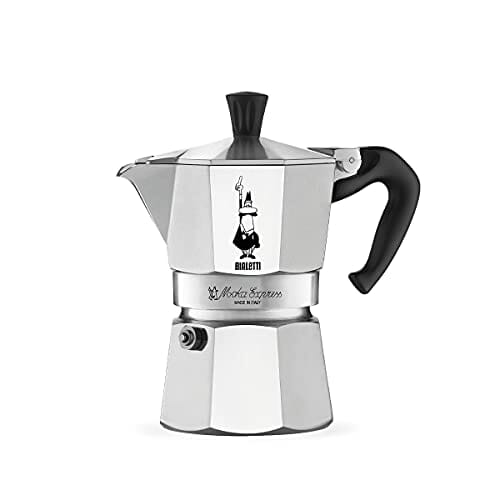
The Moka Pot has 3 chambers:
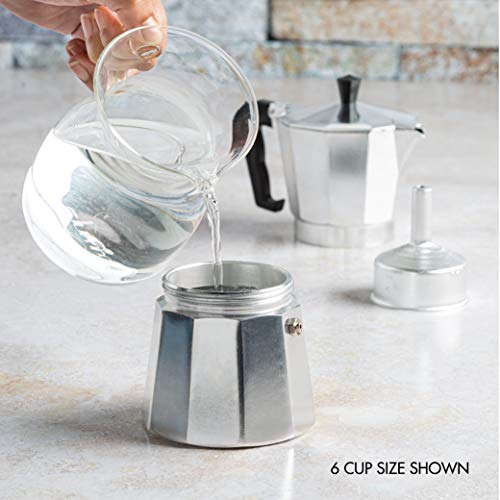
- The bottom is the boiling chamber which carries water to be heated for making coffee.
- The second chamber is the metal filter basket where the grounds are added.
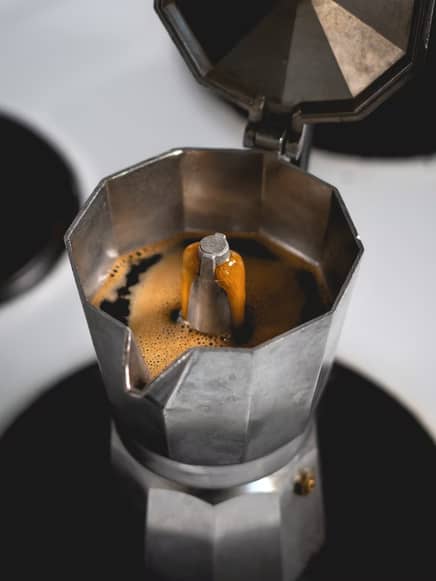
- When the Moka Pot is heated, steam pressure is generated which drives the hot water through the grounds in the second chamber. The extracted coffee is pushed into the third chamber on top.
The gasket helps keep the whole Moka Pot tightly sealed for proper pressure build-up. And it’s the pressure that makes the coffee brews so concentrated and strong, similar to espresso.
Why Is It Named Moka Pot?
The device is named after Mocha, a city in Yemen that’s famous for both its rich coffee culture and history in trading coffee.
So it’s not uncommon for the city to inspire coffee-related items, such as one of the espresso-based drinks called mocha.
Who Made The First Moka Pot?
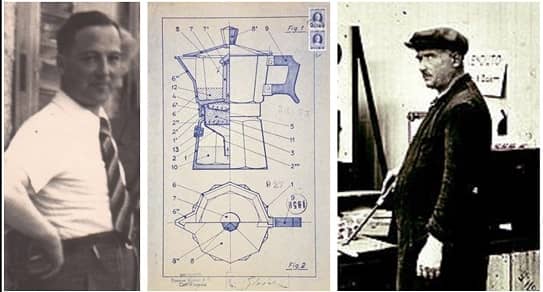
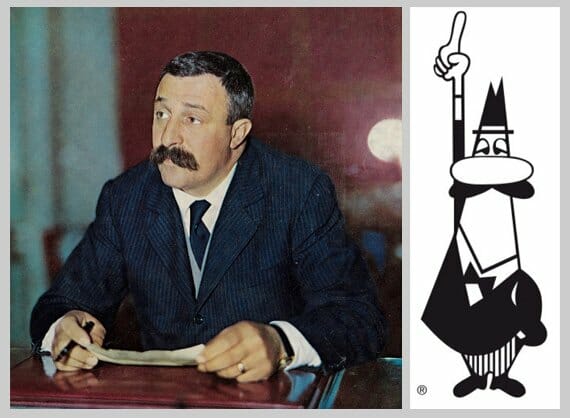
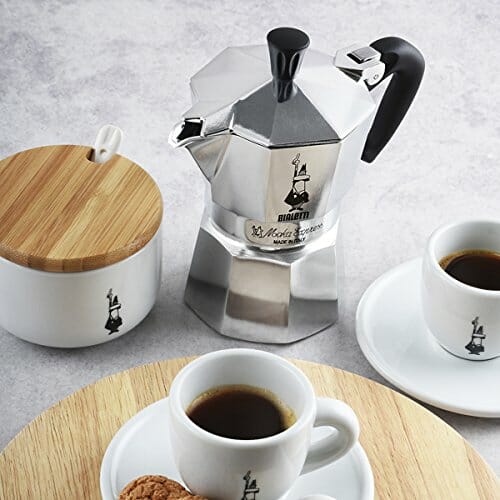
The Moka Pot was invented in 1933 by Alfonso Bialetti, who is also the founder of Bialetti Industrie, an international brand popular for coffee-making products.
Thanks to the incredible marketing efforts of his son, Renato Bialetti, the Moka Pot was considered to be a coffee maker so iconic that it revolutionized coffee-making and drinking at home.
Despite the rise in convenient electric brewers, the classic Moka Pot still remains a treasured coffee brewing method of many households, especially in Europe and Latin America.
How Do You Make Moka Pot Coffee?
Coffee Grounds
Beans
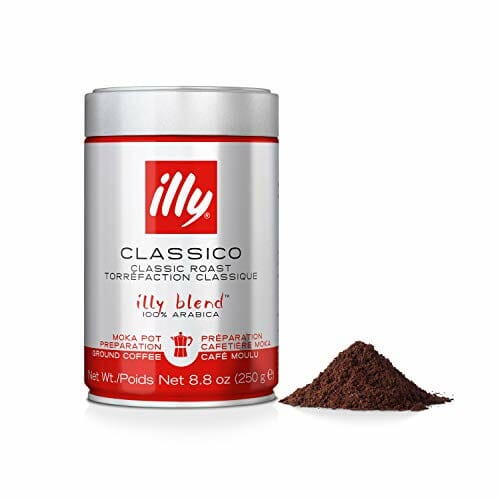
Any type of beans should work fine with the Moka Pot. But keep the Italian brands in mind.
After all, the device is Italian and popular in Italy, so they surely should know more about making Moka Pot coffee than the average brands out there.
Roasts
For the ultimate espresso-like experience, you should opt for darker roasts with lower acidity and bolder taste.
Grind Size
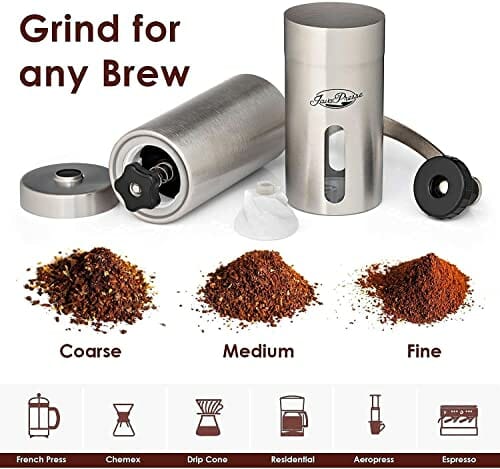
If you’ve checked my Ultimate Coffee Grind Chart, you would know that the Moka Pot calls for medium-fine grind size, which is a bit finer than your black drip but not as fine as espresso.
But thankfully, Moka Pots are pretty forgiving when it comes to the grind size, so even if you mess up a little, it won’t change the final brew by much.
Water
The highlight of this cup of Joe is the concentration and strength, so the coffee-to-water ratio is a bit more intense than your regular drip – 1:7.
If you find it too strong or weak, add more or less water accordingly.
And you’ll heat the water as you brew Moka Pot coffee, so don’t worry too much about the water temperature as all will be covered in the Instruction section below.
Instruction
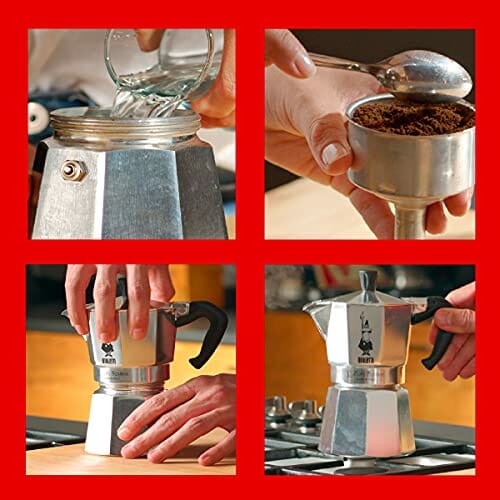
- Step 1: Pour water in the bottom chamber until it reaches the mark. Add grounds to the second chamber.
- Step 2: Assemble the whole Moka Pot. Make sure all the compartments are sealed properly. Put the Moka Pot on the stove burner at medium heat or medium-low heat to start boiling water.
- Step 3: When you hear a hissing sound, the extracted coffee is being pushed into the top chamber and coffee foam is forming. Remove the Moka Pot from heat and let it sit for around 3 minutes more before serving.
Moka Pot Vs AeroPress Coffee Makers – Ultimate Comparison
Ease Of Use
Is it easier to use a Moka Pot or an AeroPress? Although the AeroPress is fairly straightforward in navigation, Moka Pots are a lot easier to work with to make a tasty cup of Joe.
All you have to do is add grounds and water in the right ratio, brew the content at the right heat, and remove the device from the heat at the right time. It’s generally more forgiving as well.
The AeroPress, on the other hand, requires a bit more hands-on manual labor (the stirring and plunging) and precision in timing.
You likely won’t mess up badly, but still, it’s not as easy as the opponent coffee maker it’s facing here.
Brew Time
You might run into ads stating that you can make a perfect cup of AeroPress in less than a minute.
But the actual brewing time needs to account for the time it takes to heat water and prepare the grounds as well, which can take you somewhere around 3-4 minutes.
Luckily, that’s still much faster than the Moka Pots, which needs at least 5 minutes to get the job done. Likely more to get a better brew.
However, there’s a 3-minute window where you wait for the morning coffee to settle before serving. And in the meantime, you can go and take care of a couple of your morning routines.
So I don’t think there’s a clear winner in this Moka Pot vs AeroPress round.
Taste
Depending on your personal taste, you may find one better tasting than the other.
Overall, both are aromatic and rich with a heavier body than your regular Joe, which is why they’re such great espresso alternatives.
But, due to the paper filter, AeroPress tastes cleaner with fewer bitter compounds, while Moka Pot produces hot coffee that’s oilier and a bit darker.
Versatility
Both offer versatility in bean choices, but AeroPress generally offers more freedom, especially for lighter roasts.
What’s more, other than espresso-style, AeroPress is also capable of making cold drinks like Cold Brew.
Portability
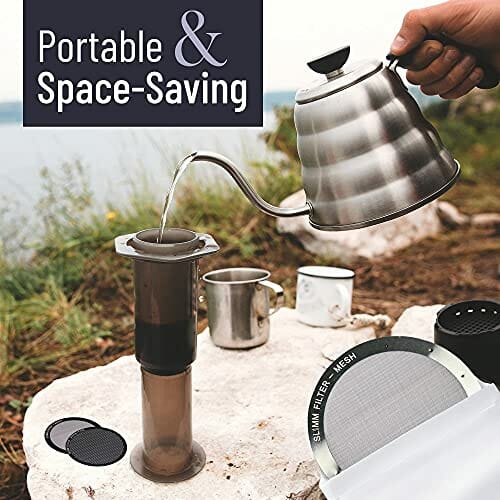
Both the AeroPress and Moka Pot make it to my top list of the best camping coffee makers, so both offer great portability. But, being made of polypropylene plastic and packed in a travel tote bag, AeroPress is much easier to handle on a trip than the aluminum device.
Cost
Is a Moka Pot cheaper than an AeroPress? Both are offered at around the same affordable price range.
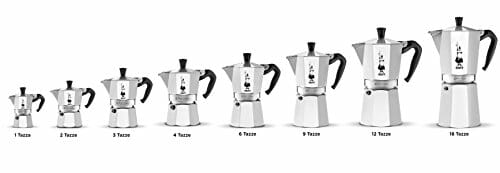
The latter can produce up to 3 cups, FYI.
The Final Verdict – Is AeroPress Better Than Moka Pot?
Each of you will have a different answer to this question. I hope my Moka Pot vs AeroPress comparison helps you make up your mind about which one suits your personal needs better for everyday pressure coffee or just temporary experimentation (after all, they’re both affordable!).
Personally, I like the Aeropress better for its versatility for both traveling and home use. Not to mention how much I prefer the brewing styles.
Unlike the Moka Pots, which are usually best for stronger brews, the AeroPress can cater to whatever degree of strength you desire – espresso-style and lighter, specialty-style brews.

