So you’ve gone and done it. You’re the proud new owner of a Breville coffee machine. We get it.
You’ve been reading so much Coffee Geek you couldn’t resist anymore, and you shelled out for what we might argue is the best home coffee machine out there.
You’re now fully equipped to brew some exceptionally great-tasting coffee. Who are we kidding?
You’ve probably gone through a full bean hopper of coffee beans already and now you’re hopped up on caffeine scouring the internet for hacks on the descaling process.
Well, worry not, fellow bean head, we’ve got you covered.
Follow our guide on how to clean a Breville coffee maker with a grinder for your precious new coffee machine and you’ll be enjoying the best of your fancy home espresso machine for years to come.
- Why It's Important to Clean Any Home Espresso Machines
- What if You Don't Clean Your Breville Espresso Machine?
- How to Clean a Breville Coffee Maker With a Grinder – Instructions
- Using Vinegar for Cleaning
- Cleaning Tablets for Espresso Machine
- Descale Breville Espresso Machine
- How often to clean a Breville Coffee Machine
- Conclusion
Why It’s Important to Clean Any Home Espresso Machines
Here’s the gist: a Breville machine, like any coffee machine, is basically a specialized dust processor.
It takes coffee beans, grinds them into powder, and then uses pressure and water to brew coffee.
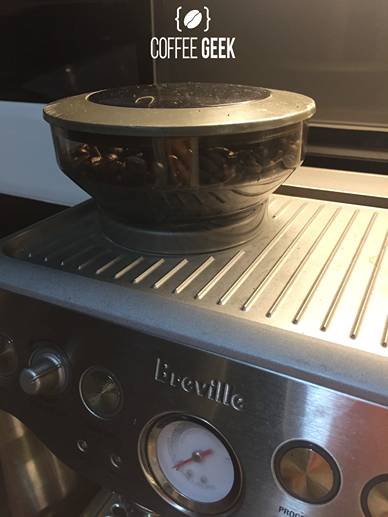
When there’s a grinder involved—and especially when it’s a burr grinder—those wonderful little grounds of happiness lodge themselves into cracks and crevices that eventually get clogged and cause problems.
If you live in a hard-water area, your coffee maker may have limescale buildup.
Decalcifying your coffee machine can prevent future clogging that might otherwise affect the coffee quality.
But perhaps most importantly, coffee is an organic substance. It breaks down over time and decomposes, like anything else.
So even if you avoid clogging your machine full of so many old grounds that it literally grinds to a halt, you don’t want to be drinking coffee that’s been filtered through months-old build-ups.
What if You Don’t Clean Your Breville Espresso Machine?
Let’s start small: a dirty coffee maker makes the coffee taste bad.
The oils from the old beans will settle on the machine’s surfaces and seep into the coffee, giving it an unpleasant, even rancid flavor.
If you’ve gone this far in your coffee journey, that’s a dealbreaker for the enjoyment factor alone.
Drinking rancid coffee is also unadvisable for health and hygiene reasons if you weren’t already aware.
The built-up residue can also clog the moving parts, affecting the machine’s performance and making it more prone to breaking down.
So from a perspective wholly concerned with convenience and protecting your investment, don’t skip what amounts to an easy cleaning regimen.
How to Clean a Breville Coffee Maker With a Grinder – Instructions
Key Steps
Like we’ve said, cleaning your Breville coffee machine can be an easy process. We’ll break it down so it’s quick and painless:
First, be sure to turn off the power to the machine before beginning any cleaning. You can also remove the grinder and lid to clean them properly.
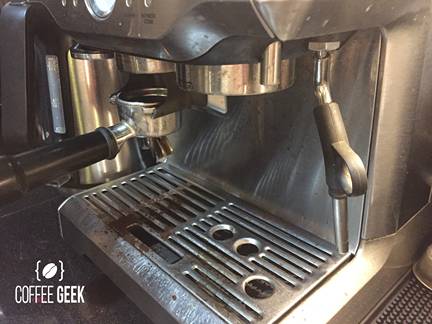
The Group head
Before cleaning the coffee machines, be sure to clean the group head.
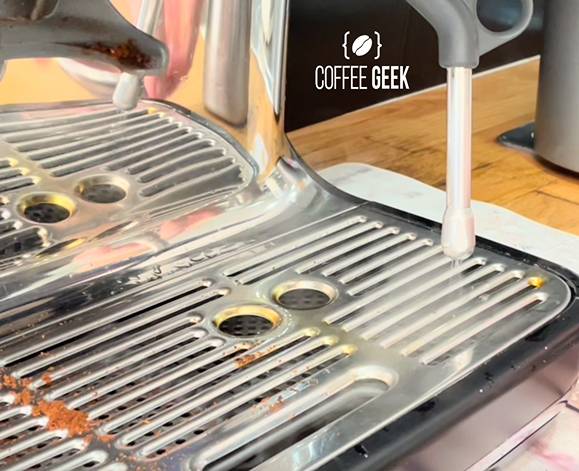
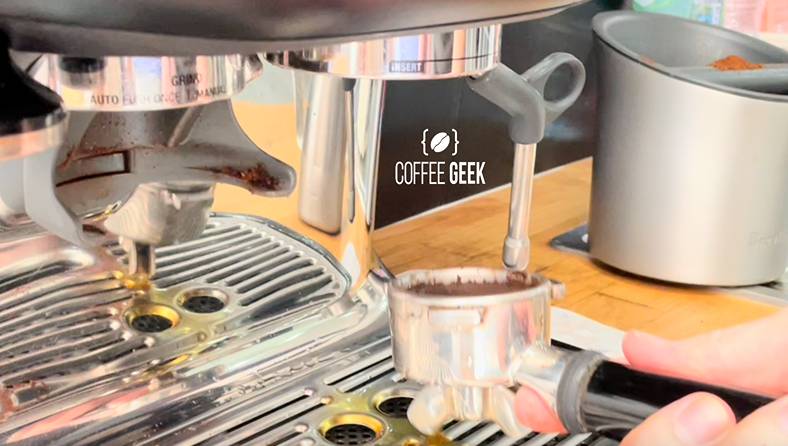
The portafilter has holes that get easily clogged with used coffee grounds, and the group head is particularly susceptible to buildups and blockages.
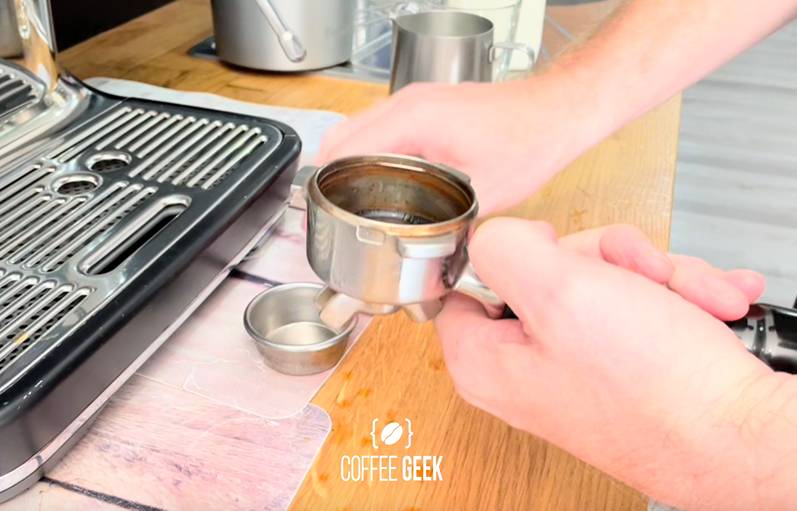
Clean the group head as frequently as you can, as the quality of the coffee is directly related to its cleanliness. Start by attaching a cleaning disk to the portafilter.
Once it is connected, run the water through the portafilter and observe the color. If the water looks like coffee, that means there are still residual coffee grounds stuck inside.
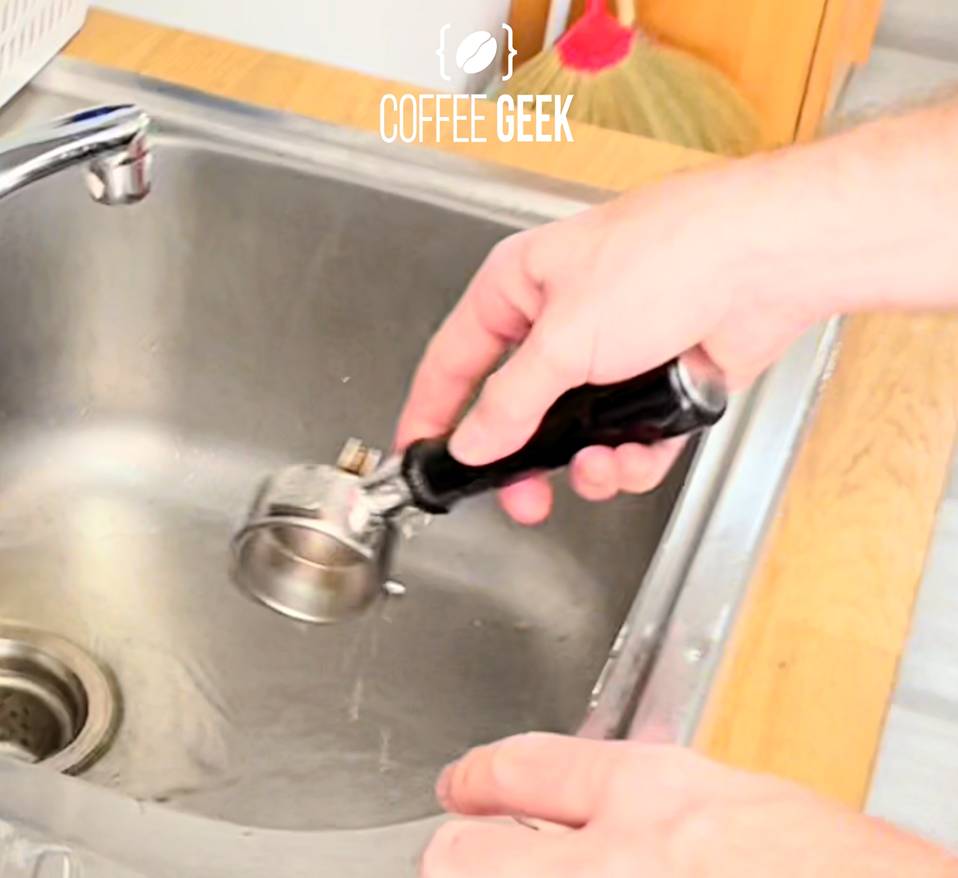
After each use, clean the filter basket with a mixture of soap and water.
The filter basket is likely to become clogged with coffee grinds over time, so we recommend using a cleaning pin to clean the basket and remove any blockages.
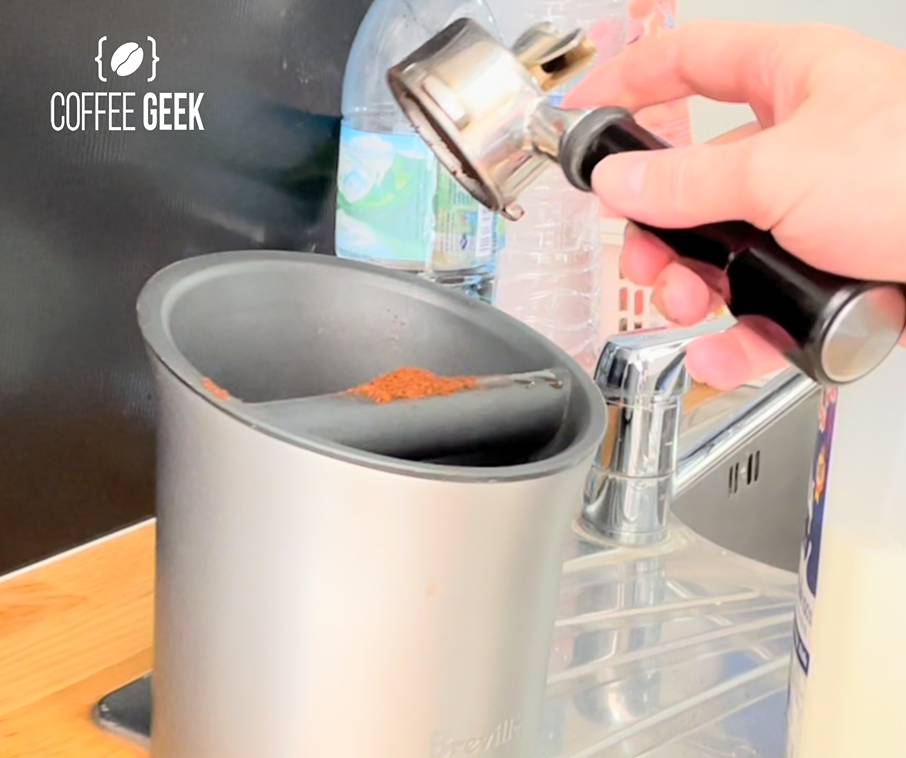
You should also clean the coffee grind bin, drip tray and knock box regularly to prevent the formation of mold and stains.
If you are having difficulty cleaning the filter basket and grinds catcher, or getting under the upper burr, you can use a small vacuum cleaner with a hose attachment.
You can also use soapy water to clean the grinds catcher. Be sure to rinse thoroughly to remove any soap traces. Clean the drip tray first, then move on to the coffee maker grinder cleaning.
Use soap and hot water to thoroughly wash the water tank, and then use a damp cloth to wipe off the steam wand and water filter.
The Automatic Cleaning Cycle
Another huge positive about owning a sophisticated espresso machine like the Breville is the fact that it has a built-in cleaning cycle which will take most of the frustration out of regularly caring for your device.
We’ll discuss both specifically below, but you can employ white vinegar or purpose-made cleaning tablets in conjunction with the machine’s cleaning function in order to give your mid-use maintenance a boost.
Once you’re finished with the cleaning cycle—which essentially uses the system’s core functionality to force through the water at the highest brewing temperature—you can clean the group head and the steam wand.
When cleaning your espresso maker, you can also use distilled water or activated water filters.
Once the cleaning cycle is complete, you should dry the entire unit with a dry cloth, to ensure no water air dries on any metal parts and no soapy residue is left inside.
Breville has a great video covering their recommended cleaning steps, which we agree with and have expanded upon here:
Using Vinegar for Cleaning
Using vinegar on a Breville coffee machine is a great way to both clean and descale it.
Using the ‘descale mode’ on your coffee maker will blend the vinegar with water and then remove any mineral deposits from the system.
If you’ve found that the accumulated vinegar is sticking to the carafe, you can use regular tap water to remove the residue.
The vinegar solution should completely remove the mineral deposits from your coffee machine.
After cleaning your coffee maker with a vinegar solution, fill the water reservoir and turn it on. Wait a few minutes to allow the solution to work before brewing.
Repeat the process every few weeks and use fresh water for brewing.
Afterward, you can switch the device back into cleaning mode and rinse it by running water through it. Repeat this process to remove any residual vinegar smell.
Cleaning Tablets for Espresso Machine
You can purchase cleaning tablets for your espresso machine Breville and grinder directly from Breville. These tablets work to remove buildup and make the brewing process easier.
These tablets are specifically designed to remove coffee residue and oils from intricate parts like filter baskets and the steam wand. They work well on all Breville espresso machines.
To use them, simply drop them into the cleaning reservoir and follow the instructions on the package.

You can also purchase coffee cleaning brushes to remove blockages in the steam system.
The cleaning toolkit products come with cleaning tablets, so if you’re eyeing a deep clean, consider purchasing the full kit.
Using these tablets regularly will help your machine last a long time.
Descale Breville Espresso Machine
If your machine needs descaling, you’ll know it.
If your machine seems to be having trouble doing its job, or if it’s dripping at a slower rate than you’re used to, it’s likely clogged by mineral deposits (often caused by hard water) and in need of descaling.
More specifically, calcium and magnesium deposits can build up in the water channel, preventing the grounds from getting enough hot water to make a satisfying cup of coffee.
The lack of hot water means that the brew is not as strong as it could be. Fortunately, you can simply use vinegar to remove this buildup.
Simply fill up the water reservoir with a light vinegar solution mixed with cold water and run the cleaning cycle on the device.
Lemon juice and citric acid are also acceptable. These solutions are easy to use and will remove most of the buildup in your coffee maker. So will cleaning tablets.
Descaling Breville machines is also important for your machine’s components.
Controlling for acidity
If you’re concerned about the acidity in the coffee, you can use baking soda to remove the scales. It’s less acidic than vinegar and it works well with many types of coffee makers.
Alternatively, you can purchase a special descaling tablet that works to remove residue and oils. Simply add this to the water reservoir.
The vinegar-based solution should dissolve the calcium deposits.
How often to clean a Breville Coffee Machine
You should clean the machine’s parts every couple of weeks to keep them functioning as well as possible.
At the very least, you should clean Breville Espresso machine and grinder filters every two months.
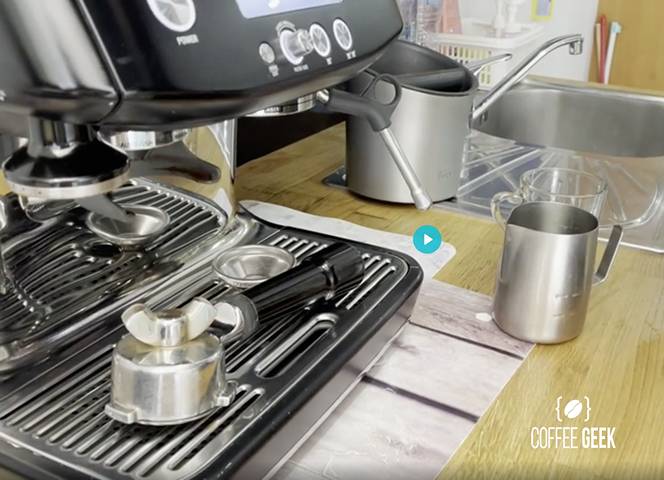
We recommend doing basic, cursory wipe-downs of your machine’s visible parts after each use, and brushing out intricate moving parts as often as you can.
Conclusion
Keeping your Breville coffee maker clean is essential to ensuring its performance and the consistent good taste of your coffee.
Regular cleaning of the ports and steam wand is important, but the most important thing you can do is simply keep the machine free of visible residue and leftover grounds.

You’ve made the investment in top-notch, exquisitely great-tasting coffee by purchasing your very own home espresso machine.
Making a small effort after each use can drastically extend the life of your machine, improve the quality of your brews, and avoid the headaches of maintenance down the road.

