Keurig 2.0 coffee makers may be easy to use, but needle maintenance is an essential part of keeping your machine in tip-top shape.
Over time, coffee grounds and debris can clog the needles that pierce the K-Cup® packs, resulting in not-so-perfect brews or even interruptions in the brewing process.
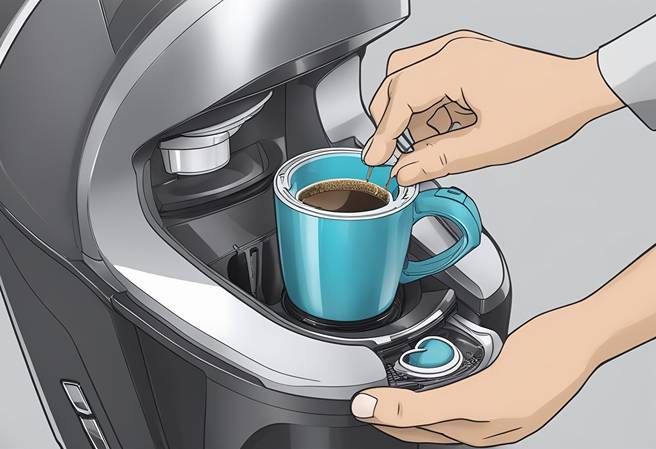
Thankfully, needle maintenance is relatively easy to perform.
With a little bit of care and attention, you can keep your Keurig 2.0’s needles clean and well-functioning, ensuring the perfect cup of coffee every time.
So, let’s dive into what you need to know to keep your coffee flowing and your taste buds satisfied and have the best performance with our kit for needle maintenance Keurig 2.0.
Key Takeaways
- Ensure proper needle maintenance for top-quality coffee brews
- Regular cleaning keeps your Keurig 2.0 functioning optimally
- Troubleshooting common needle issues can help maintain the machine’s performance
Understanding Your Keurig 2.0
Components Overview
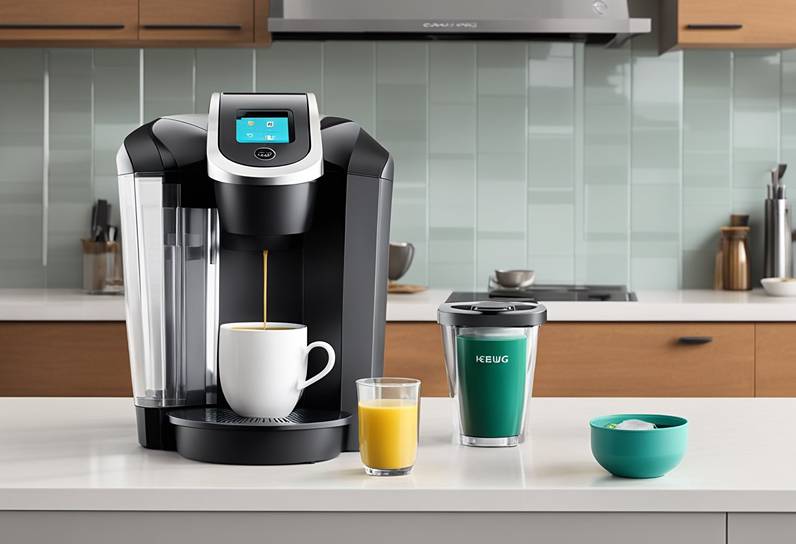
Your Keurig 2.0 model is an exciting and innovative coffee maker! In a nutshell, it’s composed of several key components that work together to give you that perfect cup of coffee every time.
Let’s take a look at the main parts of your Keurig 2.0:
- Reservoir: This is where you’ll store the water needed to brew your coffee.
- Brew Head: This part holds the K-Cup® pod in place and is responsible for puncturing it during brewing.
- Entrance and Exit Needles: These needles play a crucial role in brewing – the entrance needle punctures the top of the K-Cup® pod, while the exit needle pierces its bottom, allowing the hot water to flow through and extract the coffee.
With these components in mind, you’ll have a solid understanding of your Keurig 2.0’s structure.
Brewing System Mechanics
Now that you’re familiar with the main components, let’s dive into the mechanics of the brewing system!
The process starts when you place the K-Cup® pod into the brew head and close it.
The entrance needle then punctures the top of the pod, creating an inlet for hot water.
As the brewing process begins, hot water is pumped from the reservoir through the entrance needle and into the K-Cup® pod.
The water mixes with the coffee grounds, extracting the delicious flavors before exiting through the exit needle and into your coffee mug.
Don’t you just love that smell of freshly brewed coffee?
It’s important to ensure that your entrance and exit needles are well-maintained for the best brewing experience.
By keeping them clean, you’ll prevent clogs, slow brewing times, and ensure consistent, delicious taste in every cup!
With this information, you’re well on your way to mastering the mechanics of your Keurig 2.0 brewing system. Happy brewing!
Needle Maintenance Keurig 2.0
Needle Cleaning Procedure
Wow, your Keurig 2.0 coffee machine is awesome! But just like any other coffee maker, it requires regular maintenance, especially when it comes to needle cleaning.
Fear not, we’ve got your back with a super easy cleaning procedure.
Let’s get started!
- Unplug your Keurig machine: Safety first! Always unplug your Keurig before you begin cleaning.
- Open the top handle: Gently lift the top handle and remove the K-cup pod holder.
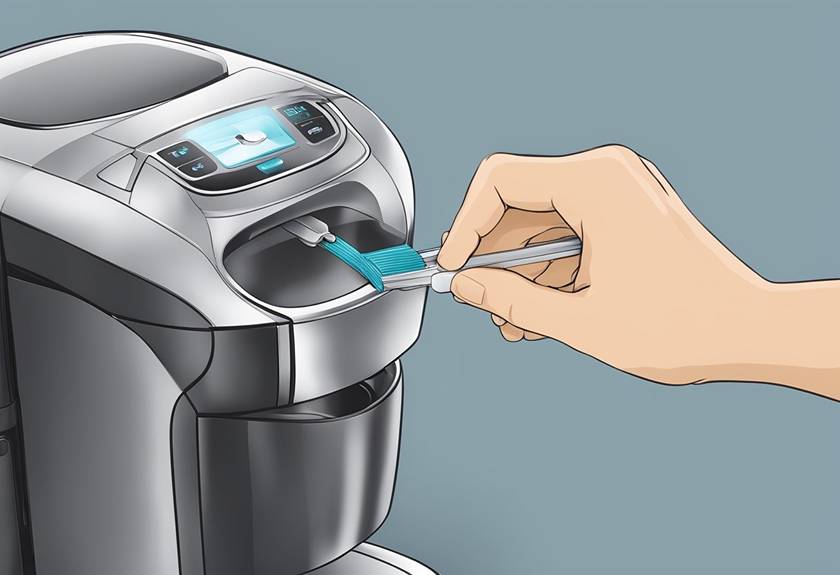
- Inspect the Keurig needles: Take a close look at the needles for any coffee grounds or debris.
- Clean the needles: You can use a paper clip or even a cleaning tool specifically designed for Keurig needles to remove any debris. Gently insert the tool or paper clip into the needle’s holes and gently wiggle it around to dislodge buildup.
- Rinse the pod holder: Clean the pod holder under running water, ensuring any remaining coffee grounds are removed.
- Reassemble: Put the pod holder back in place, close the top handle, and plug your Keurig back in.
Using the Brewer Maintenance Accessory
Let’s take the needle maintenance to the next level with the Keurig Brewer Maintenance Accessory Tool!
This handy tool helps you clean the entrance needles, ensuring a consistent and delicious brew each time.
- Remove the tool from its packaging: Unpack the Brewer Maintenance Accessory tool and have it ready to use.
- Fill with water: Pour water into the tool’s fill line. Make sure you don’t overfill it.
- Insert the tool: Open your Keurig’s top handle and place the Brewer Maintenance Accessory into the pod holder.
- Run a cleaning cycle: Close the handle and start a brewing cycle without a K-cup pod. Make sure to place a cup under the dispenser to catch any water.
- Empty and refill: Empty the tool and refill with water, then run another cleaning cycle.
- Run a freshwater cycle: After you’ve completed two cleaning cycles, remove the Brewer Maintenance Accessory tool and run a freshwater cycle to flush out any remaining debris.
Voilà! Your Keurig needles are now squeaky clean! And don’t forget about descaling your Keurig machine regularly to keep it running smoothly. Cheers to great-tasting coffee every time!
Essential Maintenance Routines
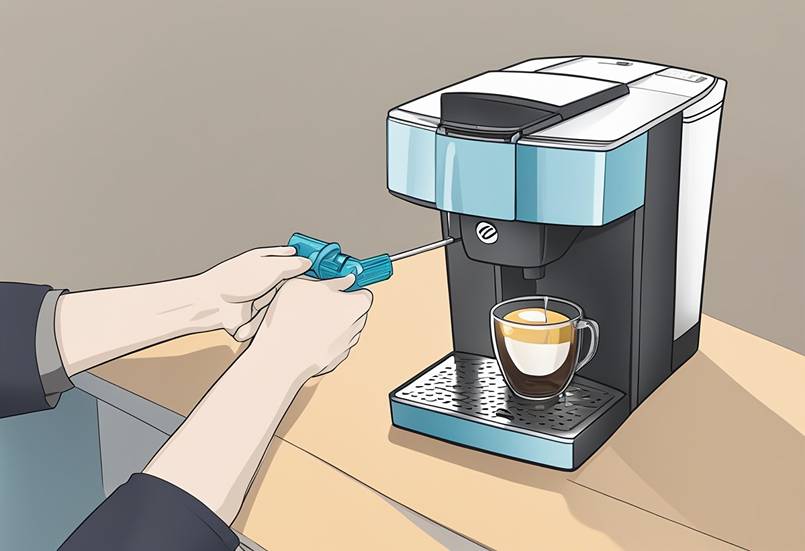
Maintaining your Keurig 2.0 brewer regularly is essential for optimal performance and taste.
In this section, we’ll discuss two fundamental maintenance routines that will keep your Keurig running smoothly: Regular Descale Routine and Monthly Cleaning Steps.
So, let’s get started!
Regular Descale Routine
Descale your brewer every 3 to 6 months, depending on the mineral content of your water.
Descaling removes any buildup of calcium deposits from the internal components ensuring great tasting coffee by maintaining proper water flow.
- Empty the water reservoir and remove the water filter, if any.
- Fill the reservoir with a mixture of 50% white vinegar and 50% water.
- Run a hot water brew cycle without inserting any K-Cup® Pods in the brewer.
- Repeat the brew cycle until the “add water” indicator turns on.
- Let the brewer sit for 30 minutes with the power on.
- Rinse the water reservoir, fill it with fresh water, and run another hot water cycle.
- Repeat the rinse cycle at least 2 more times to ensure all the vinegar solution is flushed out.
By following this descaling routine, your Keurig 2.0 will stay in top shape!
Monthly Cleaning Steps
Apart from descaling, it’s crucial to clean your Keurig 2.0 brewer every month.
Here are some simple steps to follow:
- Remove and clean the water reservoir and lid: Use warm soapy water to clean the water reservoir and its lid, then rinse them thoroughly.
- Wipe the exterior: Use a damp, soapy cloth to clean the brewer’s exterior. Rinse and dry with a soft cloth.
- Clean the exit needle: Unplug the brewer and grab a paper clip. Carefully insert the paper clip into the small holes of the needle, then wiggle it around to loosen any coffee grounds.
- Remove and clean the drip tray: Slide the drip tray out, wash with warm soapy water, rinse, and dry.
Implementing these regular maintenance and cleaning routines will ensure your Keurig 2.0 brewer continues to serve you delicious coffee for years to come!
Troubleshooting Common Issues
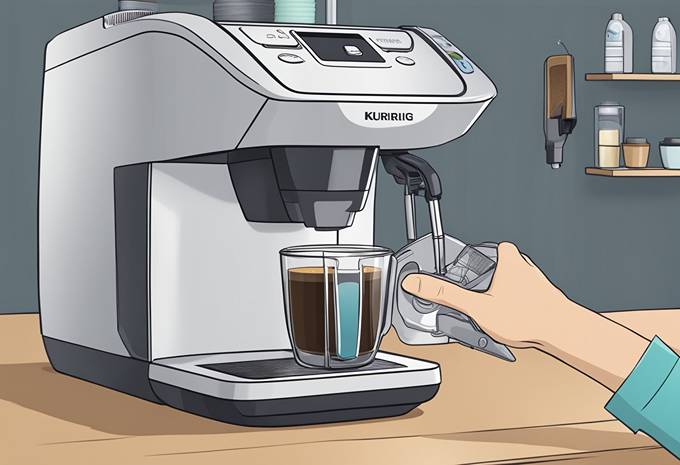
Addressing Clogged Needles
You’ll be excited to know that tackling clogged needles is simple! The most common reason for clogging is a build-up of coffee grounds.
First, unplug your Keurig 2.0 machine and remove the water reservoir. Next, take out the K-cup holder and detach the funnel from the holder.
To clean the needle, you can use either a paper clip or a Keurig needle cleaning tool.
Gently move the paper clip or tool back and forth inside the needle to dislodge any debris. Voilà! Your Keurig 2.0 machine is ready to brew again!
Fixing Water Flow Problems
Encountering water flow issues is no fun, but no worries—you can resolve them with ease! Start by checking the water reservoir for any debris that might be causing blockages.
Next, ensure that the puncture needle is clean as mentioned in the previous section.
If the problem persists, try the following:
- Descale your Keurig machine to remove mineral deposits that may be affecting the water flow.
- Make sure the water pump is functioning correctly; if not, it may be time for a replacement. By addressing these issues, you’ll be back to enjoying your favorite cup of coffee in no time!
When to Seek Professional Help
Don’t panic if you encounter a broken or severe leak when you use Keurig 2.0 machine. Your safety is a top priority, and it’s essential to reach out for professional help in such cases.
If your machine is still under warranty, contact Keurig’s customer support for assistance.
They’ll guide you through the troubleshooting process or advise you on the next properly steps, such as repair or replacement of buttons, housing.
In conclusion, a little maintenance and troubleshooting go a long way in keeping your Keurig 2.0 machine running smoothly.
Whether you’re addressing clogged needles or fixing water flow problems, you can enjoy a perfect cup of coffee every time with just a few simple steps. Happy brewing!
Enhancing Keurig Performance
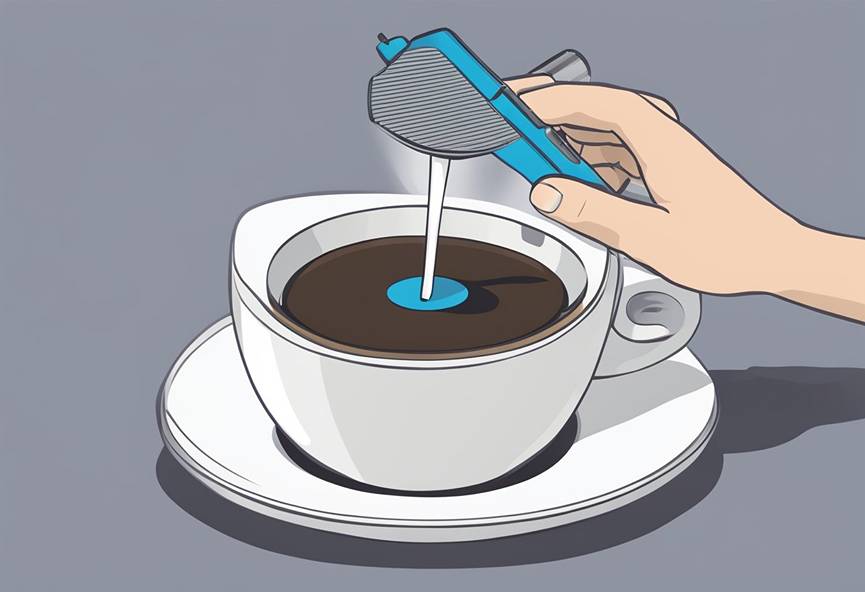
Water Quality and Filtration
Great news! You can boost the taste of your coffee by simply improving the quality of the water you use in your Keurig 2.0!
Hard water, which has high levels of calcium and magnesium, can affect both the flavor of your coffee and the performance of your brewer.
Pro tip: Use a water filter or bottled water to ensure better-tasting coffee. Remember to replace your Keurig’s water filter every 2 months or every 60 tank refills for optimal results.
Adjusting Brew Settings
Did you know that your Keurig 2.0 offers customization options to enhance your coffee experience?
Let’s dive into these fantastic features!
- K-Cup Selection: Choose the right k-cup for your taste preferences. Experiment with different flavors and brands to find your perfect cup of coffee.
- Filter Basket: Use the reusable filter basket to brew your favorite ground coffee. It enables you to fine-tune the coffee strength and flavor!
- Cup Size: Your Keurig 2.0 allows you to select different cup sizes to control the coffee concentration. Smaller cup sizes result in a stronger brew, while larger cup sizes yield a milder cup of coffee.
- Temperature: Some Keurig models let you adjust the brewing temperature. Increasing the temperature can enhance the extraction of coffee flavors.
By giving attention to water quality and adjusting your brew settings, you’re on your way to enjoying a fantastic cup of coffee every time you use your clean Keurig 2.0! Cheers to extraordinary coffee moments!
| Step | Action |
|---|---|
| 1 | Power off the Keurig 2.0 machine. |
| 2 | Lift and open the handle to expose the K-Cup holder. |
| 3 | Locate the entrance needle inside the K-Cup holder. |
| 4 | Use a paperclip or Keurig needle cleaning tool to gently clean the entrance needle. |
| 5 | Remove any coffee grounds or debris that may be stuck on the needle. |
| 6 | Close the handle once the needle is clean. |
| 7 | Power on the Keurig 2.0 machine. |
| 8 | Run a water-only brew cycle without inserting a K-Cup to flush out any remaining debris. |
| 9 | Repeat the brew cycle if necessary until the water runs clear. |
| 10 | Your Keurig 2.0 machine is now ready for use. |
Conclusion
Maintaining your Keurig 2.0 coffee maker is crucial for ensuring the best quality coffee and the longevity of your machine.
One essential aspect of this maintenance is taking care of the needle, which can accumulate coffee residue over time, affecting the taste of your coffee and potentially clogging the machine.
The needle maintenance tool, specifically designed for this purpose, plays a pivotal role in keeping the needle clean and your Keurig functioning smoothly.
To clean your Keurig effectively, it’s recommended to use the needle maintenance tool provided by Keurig.
This tool is designed to cleanse the needle that punctures the K cup holder, ensuring that coffee oils and residue do not collect and hinder the machine’s performance.
The process is straightforward but requires attention to detail.
You should slowly press the needle cleaner into the K cup holder area, using an orange needle maintenance tool for visibility and safety.
Careful handling is essential, as the needle is sharp.
It’s advisable to raise and lower the handle five times with the maintenance tool inserted, as this action helps to remove any accumulated coffee grounds or residue.
This procedure doesn’t just cleanse; it prevents potential clogs that could disrupt your coffee brewing process.
Keurig also recommends changing water and cleansing the holder with water regularly to ensure that no coffee residue is left behind.
For those who want more detailed instructions, Keurig has provided resources on platforms like YouTube, where users can find step-by-step videos.
These resources are incredibly helpful and provide visual guidance that can simplify the cleaning process.
Additionally, don’t forget to clean other parts of your Keurig 2.0, such as the K cup holder and the water reservoir, to ensure every cup of coffee in the morning is as fresh and delicious as possible.
Remember, regular maintenance of your Keurig, including the needle, is not just about cleanliness; it’s about ensuring the best performance of your machine.
By following these steps and using the needle maintenance tool correctly, you can prevent common issues and enjoy your Keurig coffee maker for years to come.
Frequently Asked Questions
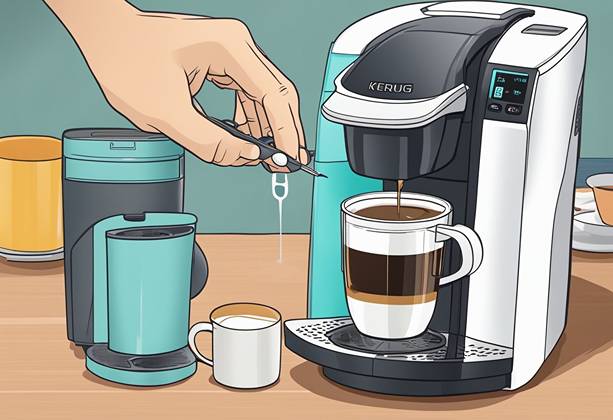
What’s the best way to clean the exit needle of my coffee maker?
To clean the exit needle, start by turning off your Keurig 2.0 and unplug it. Remove the k-cup holder and gently clean both upper and lower needles using a Keurig needle cleaning tool or a small, flexible brush.
Ensure that any debris or coffee grounds are removed, and rinse the holder under warm water before reassembling your coffee maker.
Can you guide me through unclogging a Keurig 2.0 needle?
Sure! First, turn off and unplug your Keurig 2.0. Open the top lid to access the upper needle.
Use a paper clip to carefully remove any debris or coffee grounds that are stuck in the needle’s opening.
For the lower needle, remove the k-cup holder and do the same. Finally, run a cleaning brew without a k-cup to clear any remaining debris.
What should I do if my Keurig isn’t piercing the cups anymore?
If your Keurig 2.0 isn’t piercing the cups, it’s possible the needles are clogged or damaged. First, try cleaning the needles.
If that doesn’t solve the issue, you may need to replace the needles.
Is it safe to use a paper clip to clean my Keurig needles?
Yes, it’s safe to use a paperclip for cleaning your Keurig needles, just be gentle while doing so to avoid damaging them.
Make sure to straighten the paperclip before carefully inserting it into the needle to remove debris and coffee grounds.
However, using a designated Keurig needle cleaning tool might be more efficient and safer for your machine.
How can I tell when my Keurig 2.0 needle requires descaling?
If you notice a significant decrease in brewing speed, inconsistent taste, or your Keurig displays a “descale” message, these are signs that it’s time to descale. Descaling should be done every three to six months or as suggested by the manufacturer.
What are some homemade solutions for descaling my Keurig 2.0?
A common homemade solution for descaling is a description of using white vinegar. Mix equal parts of white vinegar and water, fill the water reservoir, and run a brewing cycle without a k-cup.
After that, fill the reservoir with plain water and run a few more cycles to rinse out any remaining vinegar. Another option is using a mixture of lemon juice and water.
Remember to follow the manufacturer’s guidelines when descaling your Keurig 2.0 and comment on your experience.

