Automatic drip coffee makers have made our coffee life so much easier with simple navigation, a quick and easy coffee-making process, and little clean-up.
Mr. Coffee is a fairly well-known brand in the market that produces drip machines, having been referenced multiple times in pop culture.
So, in this article, for the new buyers, I will instruct you on how to use a Mr. Coffee Maker and spill the beans on all of the tips and tricks on the optimal grind and water to brew the perfect cup.
- Different Types Of Mr. Coffee Coffee Makers
- How Do You Prepare A New Coffee Maker?
- Preparation For Brewing Coffee
- How To Work A Mr. Coffee Maker – Mr. Coffee Maker Instructions in 4 Steps
- How Do I Program My Mr. Coffee 12-Cup Coffee Maker?
- How To Clean A Mr. Coffee Coffee Maker?
- Why Is My Mr. Coffee Not Brewing?
Different Types Of Mr. Coffee Coffee Makers
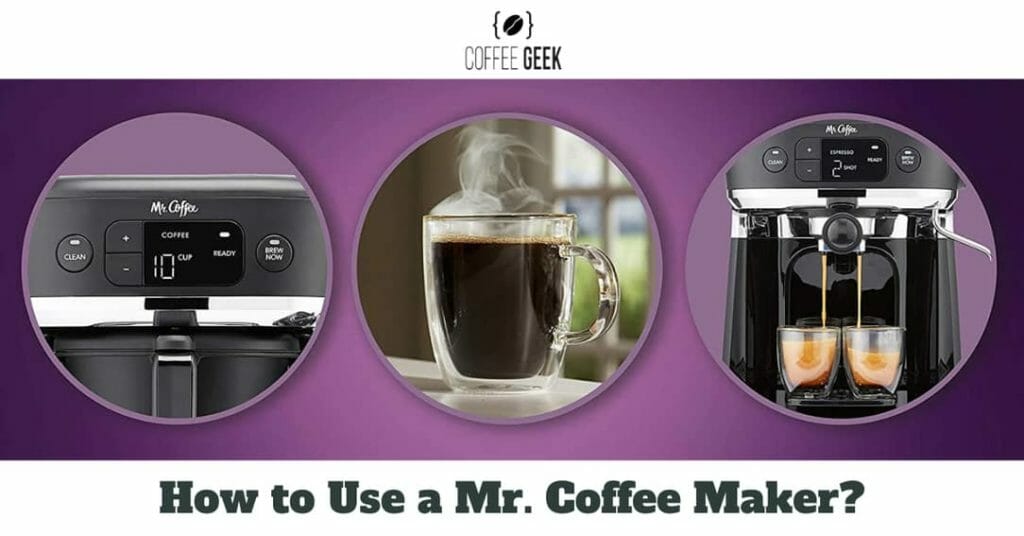
Currently, the brand is the manufacturer of 19 different coffee makers to fulfill the caffeine needs of coffee drinkers everywhere.
The majority of them are traditional drip machines available in a wide range of cup numbers such as 5, 10, 12, and 14.
Most of them also come with convenient programmability to assist you with automatically making coffee on busy mornings.
Like most drip machines in the market, your Mr. Coffee coffee maker will also arrive with either a glass or thermal carafe.
The glass carafe is more favored by those who prioritize good looks as it’s not as good at preserving the coffee temperature post-brew as its thermal counterpart.
Not to mention the vulnerability of the material it’s made of. But, regardless of which carafe you opt for, the heating plate that comes with the coffee maker should keep it hot for another 2 hours after the brew cycle.
Other than the regular drip, single coffee drinkers can grab the HotCup Single Serve/Pod Free Coffee Maker that can make coffee in adjustable cup sizes – 6, 8, 10, or 12 oz, which should lessen the number of times you accidentally make too much or too little coffee for personal consumption.
For those looking for extra convenience, Mr. Coffee also distributes the Pod + 10-Cup Space-Saving Combo Brewer that allows you to brew coffee in 2 ways.
One involves the usage of a disposable compatible coffee pod (like K-Cup) and the other is the traditional drip-brew.
So, essentially, you can opt for either method at the price of one brewer depending on how much effort you feel like putting into brewing coffee that day.
If you’re more of a versatile coffee drinker, Mr. Coffee has managed to accommodate this demographic with the All-in-One Occasions Coffee Maker that’s able to produce single-serve pod coffee, authentic espresso, and specialty espresso-based drinks on top of the traditional drip to satisfy whatever cravings you may have that day.
And, for the folks that can’t start the morning without a cup of iced coffee, the Iced Coffee Maker that comes with a reusable tumbler and coffee filter is dedicated to making the morning blue disappear in under 4 minutes.
But, since most of the listed models are regular drip machines, our article today will only focus on showing you how to use them to make great coffee.
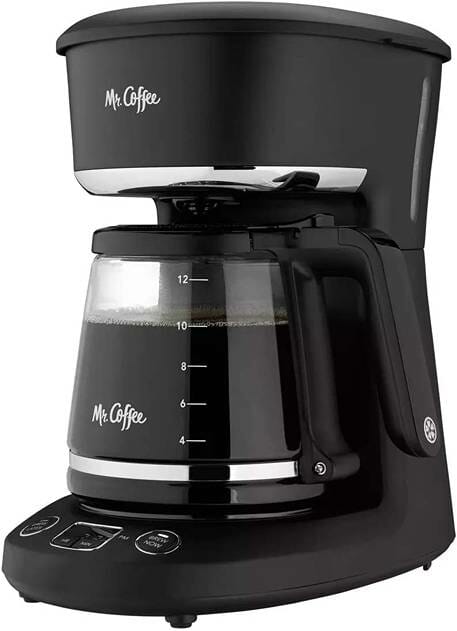
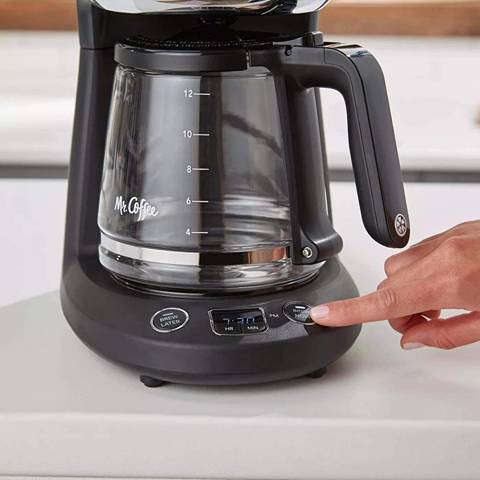
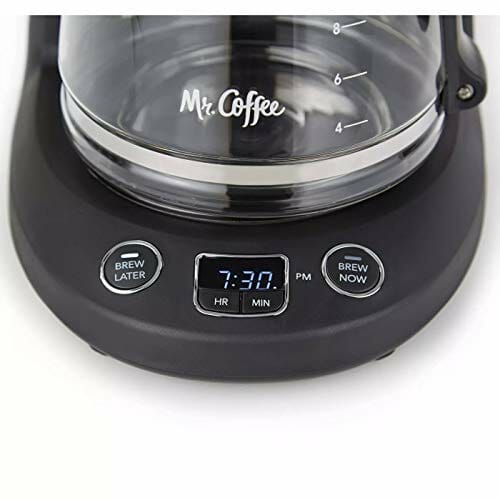
The instructions will be demonstrated with the Mr. Coffee 12-Cup Programmable Coffeemaker, Brew Now or Later.
How Do You Prepare A New Coffee Maker?
Now I’m sure you’re eager to brew the first cup of coffee with your new coffee maker. But hold your horses. New machines tend to gather a lot of dust on both the external and internal components, so what you want to do first is:
- Remove the coffeemaker out of the box.
- Fill the coffee pot with cold water.
- Add water to the water reservoir.
- Place the coffee pot back on the warmer plate.
- Plugin the coffeemaker.
- Turn the switch on to start the brewing cycle to flush the internal system clean.
- Detach the coffee pot, lid, and removable brew basket. Remember to remove the carafe from the heating plate before opening the swivel basket to prevent the drip stop valve from catching on the lid of the carafe.
- Wash them with a mild detergent, warm water, and a soft and non-abrasive sponge. Make sure to rinse them thoroughly.
- Let everything air-dry.
Preparation For Brewing Coffee
To make great coffee, there are more steps involved than just turning the machine on and starting the brewing process.
You need to gather good quality ingredients, coffee, and water, first. And this applies to all brew methods and devices, not just your Mr. Coffee.
Coffee Grounds
Type
Luckily, since it’s a drip machine, there are virtually no restrictions on what kind of coffee you want to use.
Think unique single-origin with exotic and consistent flavor notes.
Think interesting blends that bring the best out of each other for a more balanced body and taste. The possibilities are endless.
But generally, opt for the milder and sweeter Arabica ground coffee as Robusta can be very bitter and grainy, which most coffee drinkers aren’t used to when making a drip-brew.
But blends containing both of them can work better than you might think, especially when paired with sweet and creamy add-ons like milk and sugar.
Roast Profile
Similarly, brew a cup of coffee with whatever roast you prefer. Lighter roasts are well-loved by those who enjoy the interestingly complex flavor notes with high acidity.
On the other hand, darker roasts are popular among those who look for a bolder cup with low acidity, for preference or the sake of their own stomachs.
And medium roast provides the perfect Medium Place for those who don’t have a preference for either. You can enjoy a cup of brewed Joe that’s balanced with medium acidity, body, and flavor profile.
Grind Size
Though it doesn’t matter what type of coffee bean you choose, make sure to get fresh whole beans and grind coffee to a medium or medium-fine size before starting up the machine.
Freshness can noticeably enhance the quality of the resulting cup. And pre-ground coffee goes stale a lot faster than whole beans, resulting in its bad reputation among coffee aficionados.
The grind size also matters significantly to how well the coffee-making process goes. Too fine of a grind can lead to over-extraction and even clogging and overflowing. And too coarse of a grind can make a poor cup of under-extracted coffee.
Water
You probably intend to just pour regular tap water into your coffeemaker. Let me tell you why that might be a bad idea. If the sink water tastes off, that weird flavor will get transferred to your final cup as well.
What’s more, lots of impurities in plain water such as limescale and bits of debris can require you to descale a lot more often and even cause damages to the internal parts of your coffeemaker.
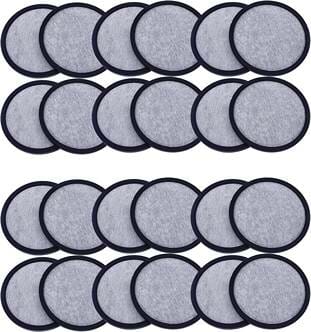
So, if you don’t have a water filtration system in place to use filtered water, consider getting these charcoal water filters to alleviate the trouble for your coffeemaker and for you.
How To Work A Mr. Coffee Maker – Mr. Coffee Maker Instructions in 4 Steps
Step 1: Prepare
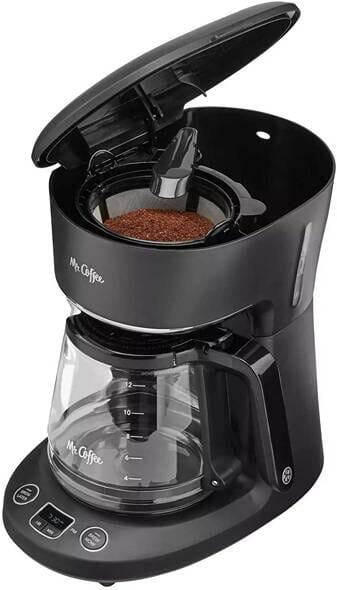
- Open the swing-out brew basket and insert a filter into the removable inner brew basket.
- Measure and add your desired amount of coffee grounds. Level the grounds bed by shaking lightly.
- Fill the carafe with water. Use the water markings on the side to measure how much is poured in.
- Pour water from the carafe into the reservoir. Follow the cup markings inside to know when to stop.
Step 2: Preheat
- Pour hot water into the carafe to preheat it. Discard the water afterward.
- Put the carafe back on the heating plate.
- Plug the coffeemaker in.
Step 3: Brew
- Turn the switch on to start the brewing cycle. The cycle ends when the coffee stops flowing.
- Use the Pause ‘N Serve function to pour yourself a cup of Joe even when it hasn’t finished making the full pot.
- Make sure to return the carafe within 30 seconds; otherwise, the coffeemaker will likely overflow and cause preventable injuries.
Step 4: Post-brew
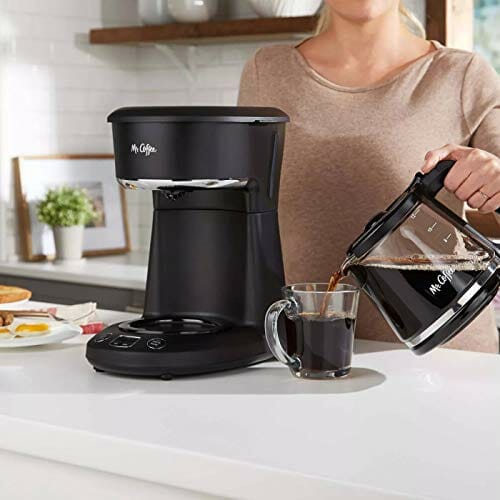
- Grab the carafe to pour yourself a cup of coffee.
- While the carafe is not on the heating plate, carefully remove the inner brew basket to discard the used coffee grinds and filter.
- Rinse the brew basket and put it and the coffee pot back in place.
- Repeat the process to make a second pot.
- Turn the coffeemaker off when the carafe is empty.
How Do I Program My Mr. Coffee 12-Cup Coffee Maker?
Clock
- Turn the AUTO/OFF/ON switch to OFF.
- Plugin your coffeemaker and the clock display should flash, indicating the setup mode.
- Press and hold the HOUR AND MINUTE buttons to change it to your current time. For PM time, make sure the PM indicator light illuminates.
Auto-Brew Timer
- Press and hold the BREW button. Simultaneously, set your desired brew time with the HOUR and MINUTE buttons. Make sure the PM indicator light is on for PM time.
- Follow step 1 of the coffee-making guide. Then press the PRESS/HOLD button to turn on the AUTO indicator light and have the coffeemaker automatically start the process at the preset time.
How To Clean A Mr. Coffee Coffee Maker?
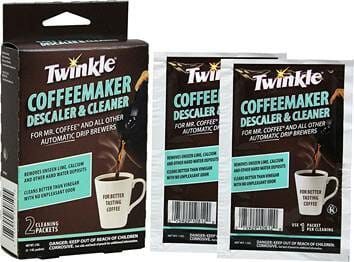
Other than the daily maintenance rituals that I briefly explained in the post-brew section, you can use either white vinegar or the branded Mr. Coffee Cleaner to descale the machine and the carafe after every 60 brew cycles on average.
For more on cleaning your Mr. Coffee Maker read my detailed guide (Coming Soon!) or how to turn off your cleaning light here.
Why Is My Mr. Coffee Not Brewing?
Make sure everything is plugged in, properly filled (i.e. water reservoir), and in the right place (i.e. carafe lid).
Run a descaling cycle if you haven’t done so in a while to get rid of the limescale build-up over time that may have clogged your device.

