A Keurig coffee maker is a prized appliance for brewing delicious coffee at the push of a button.
However, it may occasionally show an error message, such as “prime,” indicating that it requires some extra attention before it can brew your perfect cup.
Priming a Keurig is a straightforward process that involves cleaning and preparing the machine to rectify the error message and ensure its smooth operation.
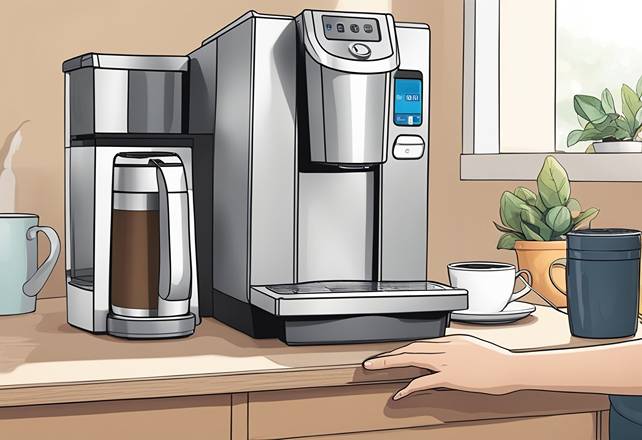
Priming your Keurig coffee maker doesn’t require any specific technical knowledge and is essential for maintaining the machine and extending its lifespan.
Proper priming ensures that water flows correctly through the device, which can help produce a consistently great cup of coffee.
Getting to know the right techniques and maintenance tips will surely enhance your overall experience with your Keurig coffee maker. So, how to prime a Keurig machine?
Key Takeaways
- Priming a Keurig involves cleaning and preparing the machine to rectify the “prime” error message and ensure its smooth operation.
- Regular maintenance, including priming, can extend the lifespan of your Keurig coffee maker and result in a better-tasting coffee.
- Understanding the priming process and addressing common issues can enhance your overall experience with your Keurig coffee maker.
Preparing for Priming
Inspecting the Machine
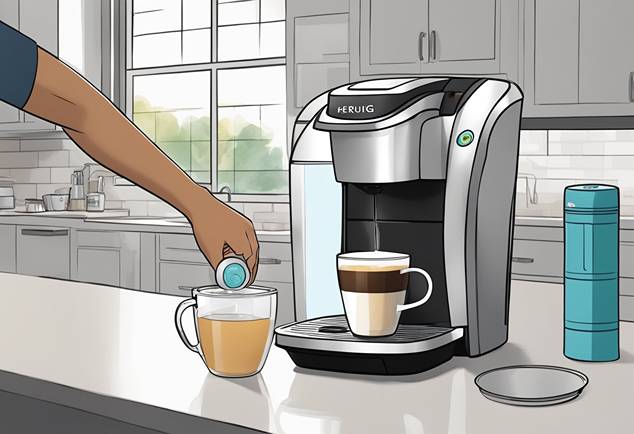
Before you begin the process of priming your Keurig coffee maker, take a few moments to inspect the machine.
Ensure that it is unplugged and placed on a stable surface.
Check for any visible signs of damage or wear, such as cracks or loose parts.
If everything appears to be in good condition, you can proceed with the priming process.
Gathering Necessary Items
To prime a Keurig, you’ll need a few items to help you complete the task.
Gather the following:
- A clean, dry cloth
- A paper clip or similar thin wire
- A large, empty mug
- Descaling solution or white vinegar
You should also use fresh, filtered water to fill the reservoir during the priming process.
It’s essential to prevent any buildup of contaminants, which might contribute to a prime error.
To begin, take a look at the Keurig’s water reservoir.
Detach it from the machine and clean it using a soft, non-abrasive cloth.
Rinse it well to remove any residue or particles that might interfere with the priming process.
Be sure to also clean the exterior and interior water outlets to ensure the water flows smoothly during the prime.
In some cases, air bubbles or mineral buildup within the machine may have caused the prime error.
To address this issue, start by straightening out the paper clip and carefully insert it into the needles located underneath the machine’s lid.
Gently poke the paper clip into the holes to remove any debris or mineral deposits that might have accumulated.
Next, mix the descaling solution with the appropriate amount of water according to the manufacturer’s instructions.
If you don’t have a descaling solution available, you can use white vinegar in a 1:1 ratio with water as an alternative.
Once you have completed the steps above, your Keurig is now ready for the priming process.
Following the appropriate priming steps will help ensure that your coffee maker performs optimally and consistently delivers a delicious cup of coffee every time.
How to Prime a Keurig Coffee Maker?
Initial Steps to Prime a Keurig
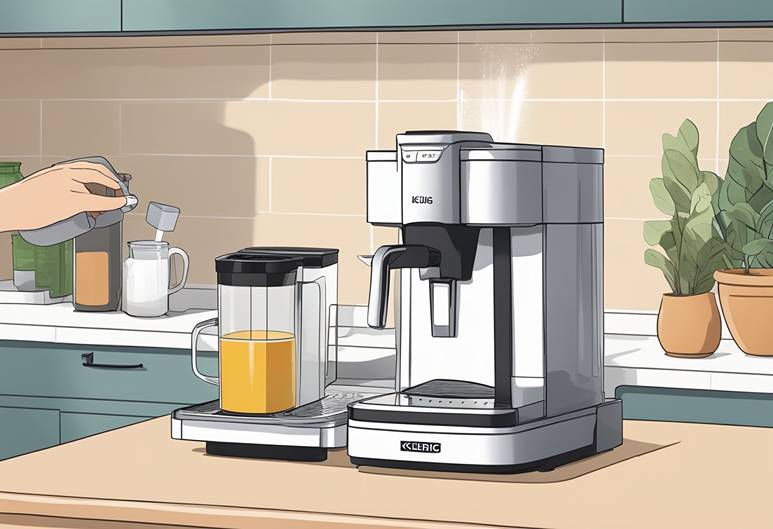
To prime your Keurig coffee maker, you’ll want to start by turning off the power and unplugging the machine.
Next, remove the portion pack holder by lifting the handle of the machine up to expose the holder, then pulling it out with a steady hand.
Now, clean the reservoir using a soft dish soap and non-abrasive cloth, ensuring to clean both the inside and outside outlets.
Rinse the reservoir thoroughly to remove any soap residue, and repeat this process several times if necessary.
Here are some additional steps you should take:
- Remove any debris from the mesh filter screen by pulling it gently.
- Clean the needles using a paper clip or toothpick, being careful not to damage them.
- Reassemble the machine and ensure everything is in place.
Troubleshooting Common Prime Errors
If your Keurig coffee maker still displays a prime error message after following these initial steps, you can try some simple troubleshooting techniques:
- Purging the machine: Reattach the water reservoir and plug the machine back in. Fill the tank with descaling solution and water, place a cup under the brew head, and run a descaling cycle. This will help remove any mineral buildup inside the machine.
- Reset the machine: Unplug the coffee maker, wait for a few moments, and plug it back in to see if the prime message disappears.
- Check the pump water: If the machine isn’t pumping water or if the water flow is obstructed, it’s crucial to clean the entire system and ensure there are no blockages.
While dealing with a prime error message can be frustrating, following these steps and understanding how to properly use and maintain your Keurig coffee maker will help make your brewing experience smooth and enjoyable!
Maintenance Post-Priming
Cleaning and Maintenance
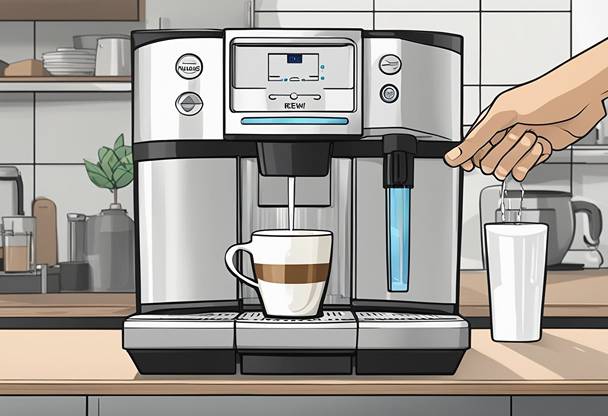
After priming your Keurig, it’s essential to maintain its cleanliness for optimal performance.
Regularly clean the reservoir by using a soft dish soap and non-abrasive cloth.
Remember to reach the outlets both on the inside and outside, then rinse well and let it dry.
Thorough rinsing is crucial to remove any soap residue.
Additionally, make sure to clean the needles for proper functionality. A paper clip can be used to unclog debris that may be blocking the needles.
Entrance needle maintenance ensures that the water flows evenly while brewing your coffee.
Regular Descaling of Your Keurig
Another vital maintenance step is descaling, which helps remove calcium build-up from the machine.
Calcium build-up can affect your Keurig’s performance and taste of your coffee.
To descale your Keurig, follow these simple steps:
- Turn the machine off power and unplug it.
- Remove the reservoir and portion pack holder.
- Prepare a descaling solution or alternatively, you can use white vinegar. Mix the solution with water according to the manufacturer’s instructions.
- Pour the descaling solution or vinegar into the reservoir, then run a descaling cycle. Place a cup under the brew head to catch the solution coming out.
- After the descaling cycle, rinse the reservoir thoroughly to remove any remaining solution or vinegar.
- Re-assemble the Keurig machine, plug it back in, and enjoy your freshly brewed coffee.
By following these cleaning and maintenance steps, you’ll ensure a longer-lasting, optimally functioning Keurig coffee maker.
Maintaining your Keurig will result in a better-tasting and more enjoyable cup of coffee for you and your guests.
Enhancing Your Coffee Experience
Choosing the Right K-Cups
Selecting the right K-Cups is essential for a delicious cup of coffee.
There’s a wide variety of flavors and coffee blends available, so be sure to explore your options until you find the ones that suit your tastes.
Remember, the quality of coffee grounds used in K-Cups can also affect the flavor of your coffee.
Look for reputable brands and read reviews to find the most highly-rated K-Cups.
- Bold flavors: For a strong, robust cup of coffee, choose dark roast K-Cups.
- Milder flavors: If you prefer a milder taste, opt for medium or light roast K-Cups.
- Specialty beverages: K-Cups also come in flavored coffees, teas, hot cocoa, and other specialty drinks.
Achieving Ideal Water Quality
Water quality plays a significant role in the brewing process and the taste of your coffee.
If your tap water has a high mineral content or a strong taste, consider using filtered water in your Keurig to improve the flavor of your brew.
- Filter your tap water: Using a water filter pitcher or an inline water filter can help remove impurities and enhance the taste of your coffee.
- Use bottled water: If you prefer, you can use bottled water for a consistently clean and delicious cup of coffee.
- Water-only brew cycle: To maintain optimal brewing performance, run a water brew cycle without a K-Cup occasionally. This helps to clean the brewing process and remove any leftover coffee grounds.
Primed and ready with the proper K-Cups and water quality, your Keurig should now be all set to craft delicious coffee for you to enjoy.
Following these simple guidelines will ensure you get the most out of your Keurig machine and enhance your coffee experience.
Happy brewing!
Additional Support for Your Keurig
Contacting Customer Service
If you need help with your Keurig coffee machine, the friendly customer service team is always there for you.
You can get in touch with them through various methods:
- Phone: Call the customer service hotline for quick assistance.
- Email: Send them an email explaining your issue, and they’ll get back to you as soon as possible.
- Live chat: Many websites offer live chat support, allowing you to have a real-time conversation with a customer service representative.
When contacting customer service, make sure to provide the following information to ensure a smooth and efficient experience:
- Your Keurig coffee machine’s model number
- A brief description of the issue
- Your contact information
Understanding Warranty and Support
Keurig coffee machines come with a manufacturer’s warranty that covers your appliance for a certain period.
This warranty typically includes:
- Free repairs or replacements for factory defects
- Access to customer support for troubleshooting and guidance
To better understand your Keurig’s warranty, consider the following tips:
- Read the warranty documentation: The terms and conditions of your warranty can often be found in the user manual or on the Keurig website.
- Register your Keurig machine: Registering your machine on the Keurig website will help ensure you receive the appropriate warranty support and coverage.
- Keep your proof of purchase: Retain a copy of your receipt or invoice, as it may be required for any warranty claims.
Remember, your warranty may not cover issues resulting from misuse or normal wear and tear, so it’s essential to carefully follow the guidelines in your Keurig’s user manual to keep your coffee machine in top-notch condition.
| Step | Instructions |
|---|---|
| 1. | Fill the Water Reservoir |
| 2. | Turn On the Keurig Machine |
| 3. | Lift and Lower the Handle to Prepare for Brewing |
| 4. | Place a Mug on the Drip Tray |
| 5. | Choose a Brew Size |
| 6. | Press Brew |
| 7. | Wait for the Brewing Process to Complete |
| 8. | Discard the Brewed Water |
| 9. | Repeat Steps 3-8 until Water Priming is Complete |
| 10. | Begin Brewing Your Desired Beverage |
Conclusion
Priming a Keurig coffee maker is a crucial step to ensure it functions correctly, especially if you’re encountering the dreaded “Prime” error message on your Keurig brewer.
This issue often arises from air bubbles in the machine, a clogged water line, or debris buildup, affecting the brewer’s ability to run water through the system properly and make coffee.
The process of priming essentially prepares the machine for its optimal operation, ensuring water can flow freely for your next brew.
The first step in priming your Keurig involves removing the water reservoir from the machine and giving it a thorough cleaning.
Fill it with fresh, clean water and reattach it to the machine, securely.
This ensures that the water reservoir is clean and filled to the required level.
You may need to clean the needle with a paperclip to remove any clog and rinse the k-cup holder and funnel with soapy water or under a tap.
It’s essential to separate the funnel from the holder and use a damp cloth to clean the inside, removing any leftover calcium build-up or lint that might impede water flow.
Running a water-only cycle is next, where you refill and reinsert the reservoir with clean water and run the machine without a K-cup to help flush out any impurities.
This step helps to remove any air bubbles trapped in the line and clear out any residue.
Place a mug on the tray to catch the water and ensure that everything is securely in place before you start.
You might need to run water through the system multiple times to fully prime the brewer.
For detailed instructions on addressing specific issues related to the “Prime” error or other maintenance tips, resources like wikiHow offer step-by-step guides committed to providing valuable information.
Remember to unplug the machine from the wall before any cleaning process and reassemble all parts correctly after cleaning.
By following these steps, you can help ensure your Keurig brewer operates efficiently, delivering the perfect cup of coffee every time.
Frequently Asked Questions
What steps should I follow to descale my Keurig coffee maker?
To descale your Keurig coffee maker, start by emptying the water reservoir.
Next, mix a descaling solution and fill the reservoir with it. Place a cup under the brew head and run a descaling cycle as mentioned in these instructions.
After the cycle is complete, rinse the reservoir and run a few cycles with fresh water that helps to flush out any descaling solution residue.
Keurig says that cleaning and descaling are great ways to keep your maker in good condition.
Why is my Keurig showing a ‘prime’ error, and how can I fix it?
A ‘prime’ error indicates that there is an air bubble or blockage in your Keurig’s water line.
You can fix this issue by filling your water reservoir with fresh water, turning on the machine, and running a few hot water cycles without a K-cup.
This should clear the blockage and allow your machine to function properly.
How do I resolve a blinking blue light on my Keurig that indicates it needs priming?
If you see a blinking blue light on your Keurig, it means the machine needs to be primed.
Start by filling the water reservoir, then lift the handle and close it without inserting a K-cup.
Press the “brew” button to initiate a hot water cycle. Repeat this process a couple of times to ensure the machine is properly primed.
Can you guide me through priming my new Keurig Duo?
To prime your Keurig Duo, fill the water reservoir and ensure it is properly seated on the base.
Turn on the machine and run a few hot water cycles without a K-cup or coffee grounds.
This will flush out any air bubbles or debris in the water lines and prepare your machine for brewing.
What does the ‘Prime auto off set’ message mean on my Keurig, and what should I do?
The ‘Prime auto off set’ message means that your Keurig has entered water heating mode and is getting ready to brew.
To resolve this message, simply wait a few moments for your Keurig to heat the water, and it will automatically begin brewing.
If the message persists, you may need to prime the machine or check for blockages as mentioned in the previous answers.
How can I purge the air from my Keurig to ensure it functions properly?
Purging air from your Keurig involves running a few hot water cycles without a K-cup or coffee grounds.
This process allows any trapped air bubbles to escape through the water lines and ensures proper function.

