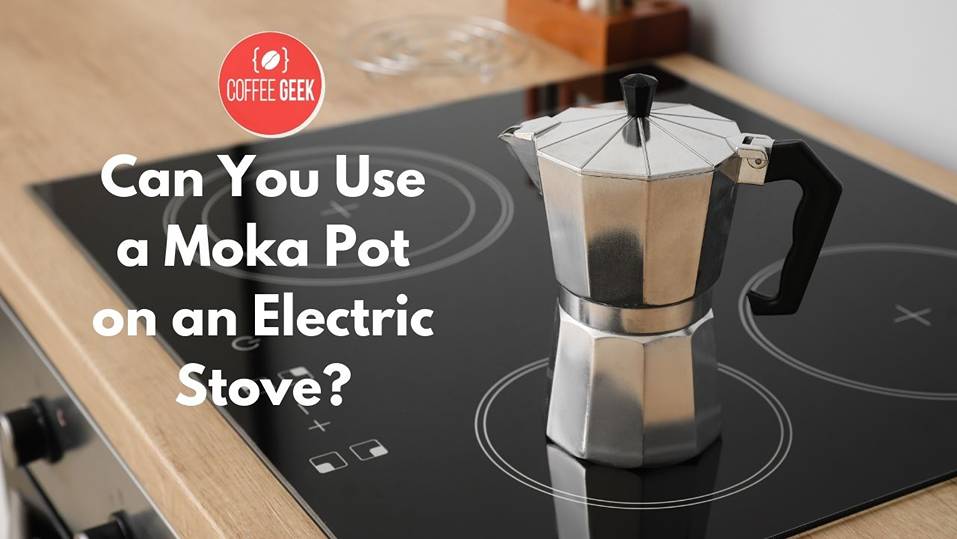
If you’re a coffee enthusiast, you might be wondering if you can use a moka pot to brew your coffee on an electric stove. Can you use a moka pot on an electric stove?
Moka pots, initially designed for gas stovetops, have long been a favorite choice for those who enjoy strong and rich coffee.
Although they were originally designed for gas stovetops, many people have successfully adapted their brewing techniques to use a moka pot on an electric stove without any problems.
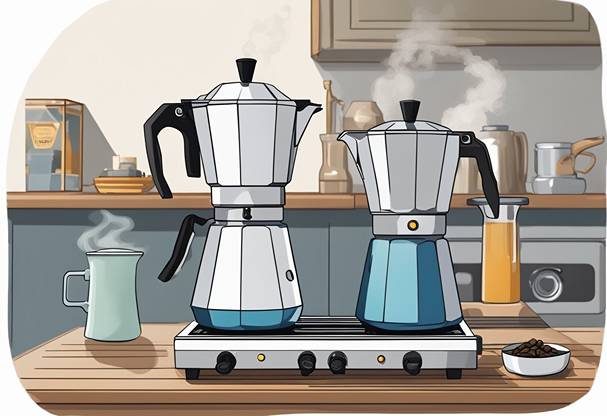
When brewing coffee with a moka pot on an electric stove, it’s crucial to understand the differences in heat control and distribution between the two types of stovetops.
With proper technique and adjustments, you’ll be able to enjoy a delicious cup of coffee from your moka pot, regardless of whether you have a gas or electric stovetop in your kitchen.
Understanding the Moka Pot
History and Design
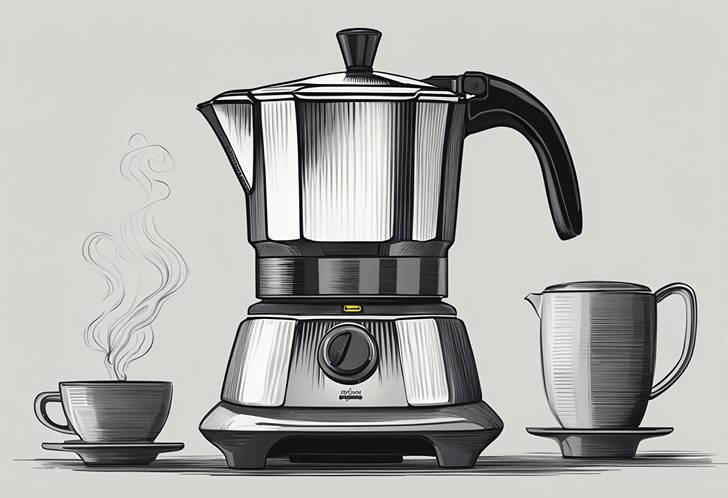
The Moka pot is an ingenious invention that has been around since the early 1930s. It was designed by Alfonso Bialetti in Italy as a convenient way to brew coffee at home.
The Moka pot is made, typically, of aluminum or stainless steel and has earned a reputation for its ability to produce rich, espresso-like coffee.
Aluminum and stainless steel made a classic design and time-tested functionality have made it a popular choice among coffee lovers worldwide.
Components and Functionality
A closer look at the Moka pot reveals that Moka Pot is pretty simple, yet effective method for brewing coffee using pressure.
The pot is made up of a few key components:
- Base: The lower chamber of the Moka pot is designed to hold water. This part is usually made of aluminum or stainless steel and comes with a safety valve to release excess pressure.
- Filter basket: this component holds the coffee grounds and is placed just above the base of the pot.
- Top chamber: this is where your brewed coffee will collect. It attaches to the base and the filter basket.
When you’re ready to brew your coffee, simply fill the base with water and the filter basket with coffee grounds.
As you heat the Moka pot on your stove, the pressure from the steam forces the water up through the coffee grounds, and into the top chamber.
This brewing process results in a strong, espresso-like coffee that you’ll find in many Italian households.
Some Moka pots come equipped with a handle to make lifting and pouring easier.
Also, remember that using the right heat setting and allowing the coffee to brew completely can make a difference when using a Moka pot on an electric stove.
Enjoying a cup of coffee brewed in a right Moka pot is still a delightful experience, and understanding its history, design, and functionality only adds to the charm.
So, the next time you’re sipping from your Moka pot, take a moment to appreciate the ingenuity behind this classic coffee brewing method.
Can You Use a Moka Pot on an Electric Stove?
Heat Source Considerations
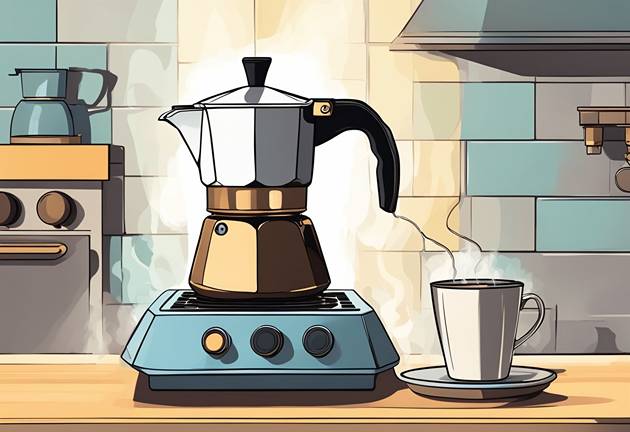
Yes, you can use a Moka Pot on an electric stove, even though these coffee makers were initially designed for gas stovetops.
Moka pots are versatile and can be used on various heat sources, including gas, electric, induction, and even camping stoves.
However, there might be slight differences in brewing techniques due to heat control and distribution variations between gas and electric stovetops.
Temperature and Heat Settings
To properly use a Moka pot on an electric stove, pay close attention to temperature and heat settings.
Start with a low to medium heat setting, as this will ensure that the coffee brews correctly and does not result in a burnt or bitter taste.
It is essential to monitor the heat levels and make adjustments if necessary; higher heat settings can lead to over-extraction of the coffee grounds.
Placing the Moka Pot on the Burner
When placing the Moka pot on an electric stove, position it over the burner as evenly as possible to ensure proper heat distribution.
Although not mandatory, you may prefer to use a heat diffuser to disperse heat more evenly and prevent potential heat build-ups or hotspots on the pot’s base.
A heat diffuser is especially helpful for cooking surfaces with uneven or large electric stove burners.
Monitoring the Brewing Process
Keep an eye on the brewing process to ensure a quality cup of coffee. As the water in the bottom chamber starts to heat up, the pressure will push it through the coffee grounds and into the upper chamber.
Listen for a gurgling sound, which indicates that the water has passed through the coffee grounds and the brewing process is nearly complete.
At this point, turn off the electric stove, remove the Moka pot from the heat source, and let it sit for a minute to allow any residual pressure to release. Now, your coffee is ready to be enjoyed!
Preparing the Moka Pot for Brewing
Choosing the Right Size
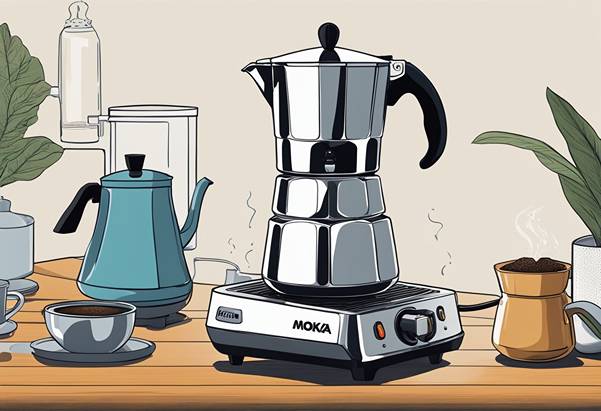
To get started with your Moka pot brewing process, it’s essential to select the right size.
Moka pots come in various sizes, typically measured by the number of espresso servings they produce.
Consider your coffee consumption habits and the number of people you’ll be serving to determine the most suitable size for your needs.
Grinding Coffee Beans
Freshly ground beans are vital for a great-tasting brew. For the best results, choose high-quality beans specifically labeled for espresso or stovetop brewing, and grind them to a medium-coarse consistency.
Not too fine, as that can clog the filter, and not too coarse, because it’ll result in weak coffee.
You can use your preferred coffee grinder or buy pre-ground coffee if you’re pressed for time.
Water and Coffee Grounds
When it comes to water, use filtered or bottled water for better taste.
Fill the bottom chamber with water just below the safety valve. Avoid overfilling, as it could cause excessive pressure and impair the brewing process.
For the coffee grounds, fill the filter funnel with your medium-coarse ground coffee.
Level it off without compressing it, allowing enough room for the coffee to expand as it reacts with water.
Assembly Tips
Once you’ve added the water and coffee grounds, carefully place the filter funnel into the bottom chamber. Ensure the ground coffee does not spill into the threads.
Next, screw on the top chamber securely but avoid overtightening. It’s essential to have a tight seal, but it should also be easy enough to unscrew after brewing.
Putting your Moka pot on your electric stove, remember to use a heat diffuser to ensure an even heat distribution and prevent scorching.
Your Moka pot is now ready for brewing! Follow the brewing instructions and enjoy a delicious cup of coffee made from your electric stove.
Tasting and Perfecting Your Brew
Adjusting Coffee Strength and Flavor
To find the perfect balance for your brew, you’ll want to experiment with different coffee beans, grind sizes, and water quantities.
Start by choosing high-quality, freshly roasted beans specifically labeled for espresso or stovetop coffee brewing sources.
Then, grind them to a medium-coarse consistency.
Remember to use hot water around 195-205°F (90-96°C) for the best extraction without scorching or making the coffee bitter.
It’s optimal for your pot to be heated over low to medium heat.
Identifying Over-Extraction
Over-extraction happens when your moka coffee is too strong, resulting in a bitter taste.
One way to identify over-extraction is by paying attention to the aroma and flavor.
Over-extracted coffee can have a harsh, bitter taste, masking its natural complexity. By adjusting the grind size and brewing time, you’ll be able to prevent this issue and achieve a delicious cup of espresso-style coffee.
Serving Your Coffee
Once the brewing process is complete, take a moment to appreciate the aroma before pouring your coffee into a warm cup.
Serve your coffee as is, or add a touch of sweetness with sugar or your preferred sweetener.
For a more indulgent experience, try adding some frothed milk for a delightful cappuccino or latte-like beverage.
Cheers to your newfound skill, and enjoy your delicious cup of coffee brewed with your Moka pot on an electric stove!
Additional Considerations for Electric Stovetops
Compatibility with Electric Stovetops
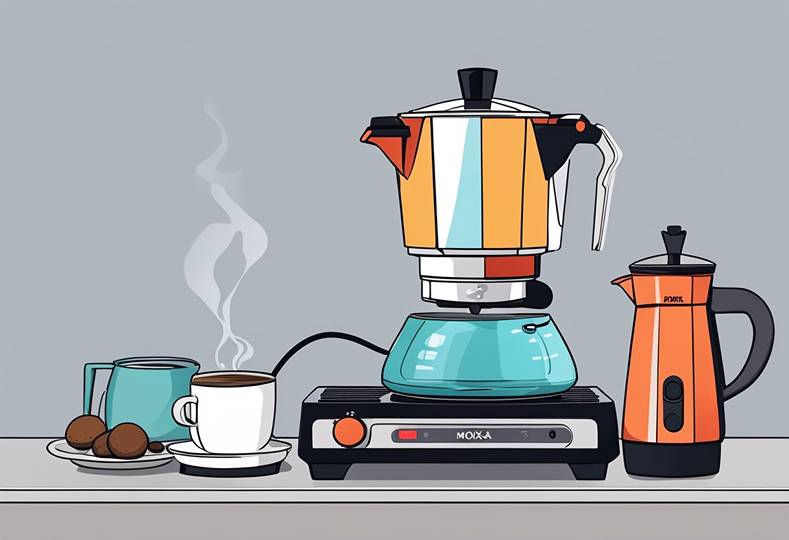
Using a Moka pot on an electric stove is possible, but there are a few things you should consider.
Moka pots are designed to work on a gas stovetops, which provide a direct heat source and faster heat transfer.
Electric stovetops, such as coil and ceramic stoves, have a slower heat transfer, which slightly affects the brewing process when using a Moka pot.
However, you can still enjoy a delicious cup of coffee with a few adaptations.
For example, electric stove compatible Moka pots are available, which make it more convenient for electric stove users.
Special Tips for Electric Coil Stoves
If you have an electric stove, specifically a coil stove, here are some tips to optimize your Moka pot brewing experience:
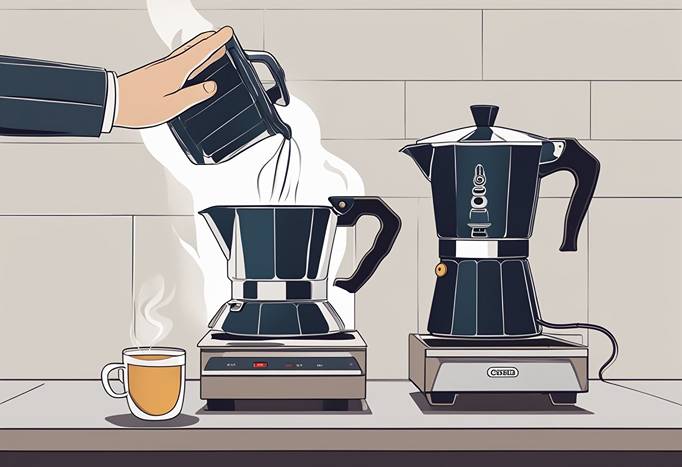
- Pre-heat water: Start by pre-heating water in a separate kettle before adding it to the Moka pot. This helps speed up the brewing process and reduces the risk of coffee overheating.
- Use medium heat: Keep the heat setting on medium to ensure even and controlled heat for brewing coffee in a Moka pot.
- Position the pot correctly: Ensure that the Moka pot’s base is centered on the coil for proper heat distribution.
Using a Heat Diffuser
A heat diffuser is an essential accessory for using a Moka pot on an electric or induction stove.
A heat diffuser evenly distributes the heat from the stove to the pot, preventing hot spots and ensuring an even brewing process.
Here’s how to use a heat diffuser with your Moka pot:
- Place the heat diffuser on the electric stove burner.
- Center the Moka pot on top of the heat diffuser.
- Make sure to use medium heat to avoid overheating or burning the coffee.
For induction stove users, you’ll need an induction converter plate.
This accessory will create a compatible surface for your Moka pot, as traditional Moka pots are usually not induction-ready.
By keeping these considerations in mind, you can enjoy a well-brewed cup of coffee using an electric stove with your Moka pot.
Remember to follow the brewing instructions, use proper heat settings, and utilize heat diffusers or induction converter plates when needed.
| Moka Pot | Compatible with Electric Stove |
|---|---|
| Aluminum | Yes |
| Stainless Steel | Yes |
| Copper | Yes |
| Cast Iron | Yes |
| Ceramic | Yes |
| Glass | Yes |
Final Words
Using a Moka pot on an electric stove is definitely possible, but there are a few considerations to keep in mind to ensure the best possible outcome for your coffee.
While Moka pots are traditionally associated with gas stoves, electric stoves can also be used to brew a delicious cup of Moka pot coffee.
However, the process might take longer compared to gas stoves due to the different heat distribution of electric stoves.
Aluminum Moka pots, like the classic Moka Express, are widely used but require a bit more attention when used on an electric stove.
The base of the Moka pot, whether made from aluminum or stainless steel, needs to be compatible with your stove.
For those with induction stoves, which use magnetism to heat, an adapter may be necessary since not all Moka pots are magnetic.
Brands like Luxhaus and Vremi offer options that are designed to work well on both gas and electric stoves, including induction.
The key to using a Moka pot on an electric stove is to control the temperature carefully.
Electric stoves can cause the coffee to boil too quickly or slowly, impacting the taste of your coffee by either burning it or not extracting enough flavor.
It’s crucial to start with a low heat setting and gradually increase it if needed to prevent the coffee from brewing too fast.
This allows for better control over the brewing process, ensuring that your coffee does not taste burnt or under-extracted.
For those who cherish the ritual of making espresso at home without an espresso machine, a Moka pot is an excellent option.
It may require a bit of practice to get used to the differences in heat control compared to gas stoves, but with patience, you can still make a cup of coffee that rivals that of an espresso machine.
Remember, the taste of your coffee can also be influenced by the type of coffee grounds you use, with an espresso roast being a popular choice for many.
In conclusion, while Moka pots can indeed be used on an electric stove, users need to be careful and may need to adjust their brewing technique to accommodate the different heat source.
Whether made from aluminum or stainless steel, ensuring your pot is compatible with your specific type of electric stove will lead to the best results, allowing you to enjoy your favorite stovetop espresso maker’s brews without compromise.
Frequently Asked Questions
Is it safe to use a stainless steel Moka pot on an electric stove?
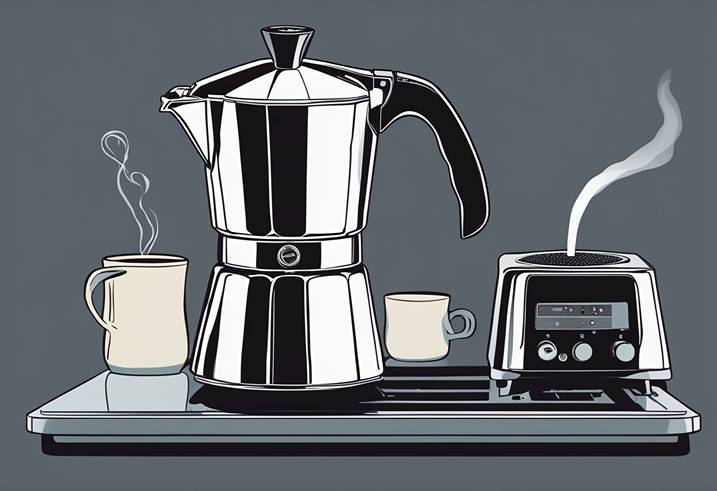
Yes, it is safe to use a stainless steel Moka pot on an electric stove.
However, proper temperature management and heat control are necessary to ensure even heat distribution and avoid damaging the pot.
It’s recommended to use a heat diffuser to ensure even heating across the pot’s base.
What’s the best way to use a Bialetti Moka pot on an electric stove?
To use a Bialetti Moka pot on an electric stove, follow these simple steps:
- Fill the bottom chamber with water up to the safety valve.
- Fill the coffee basket with finely ground coffee, without pressing down.
- Attach the top chamber and screw it shut.
- Place the Moka pot on the electric stove, using a heat diffuser if possible.
- Set the stove to medium heat and wait for the coffee to percolate.
- Remove the Moka pot from the stove when you hear a gurgling sound, indicating the coffee has finished brewing.
Remember to keep an eye on the brewing process and adjust the heat as needed.
Are there specific Moka pots designed for use on glass top stoves?
While most Moka pots can be used on glass top stoves, it’s crucial to ensure the pot’s base has a flat and smooth surface that makes proper contact with the stove.
Some Moka pots are specifically designed with flat bottoms, making them more suitable for glass-top stoves.
As with other electric stoves, using a heat diffuser is highly recommended.
How should a Moka pot be properly positioned on an electric stove for optimal use?
For optimal use, center the Moka pot burner on the electric stove to ensure even heating.
Make sure there’s good contact between the pot and the stove’s surface.
If you notice any wobbling or instability, adjust the pot’s position until it’s stable.
Again, using a heat diffuser can help with even heat distribution and stability.
Can an induction Moka pot be used on a regular electric stove?
Yes, an induction Moka pot can be used on a regular electric stove. Induction Moka pots are typically made of stainless steel, which is compatible with various stovetop types.
When using an induction Moka pot on an electric stove, follow the same guidelines and precautions mentioned for regular Moka pots, such as using a heat diffuser and monitoring the brewing process.
What considerations should be taken into account when using a Moka pot on different types of electric stoves?
When using a Moka pot on various types of electric stoves, consider the following:
- Heat control: Adjust the heating element to maintain a consistent brewing temperature.
- Stability: Ensure the Moka pot sits steadily on the stovetop to prevent wobbling or slipping.
- Positioning: Place the Moka pot at the center of the burner for even heat distribution.
- Compatibility: Check the Moka pot manufacturer’s instructions for stovetop compatibility.
- Heat diffusers: Use a heat diffuser, especially on glass top stoves, to protect the pot and ensure even heating.

